I don’t think I had been fusing for long when I started taking more of an interest in flowers and nature-inspired pieces. I kept envisioning making blue Hydrangeas out of glass, and wanted something very dimensional. I knew it would most likely need to be cold-fused (using epoxy or silicone) to retain the dimension I wanted. I started thinking about how I would create the petals and finally one day I started with some squares of blue glass and a bit of creative determination to turn them into something more.
Creating the Petals
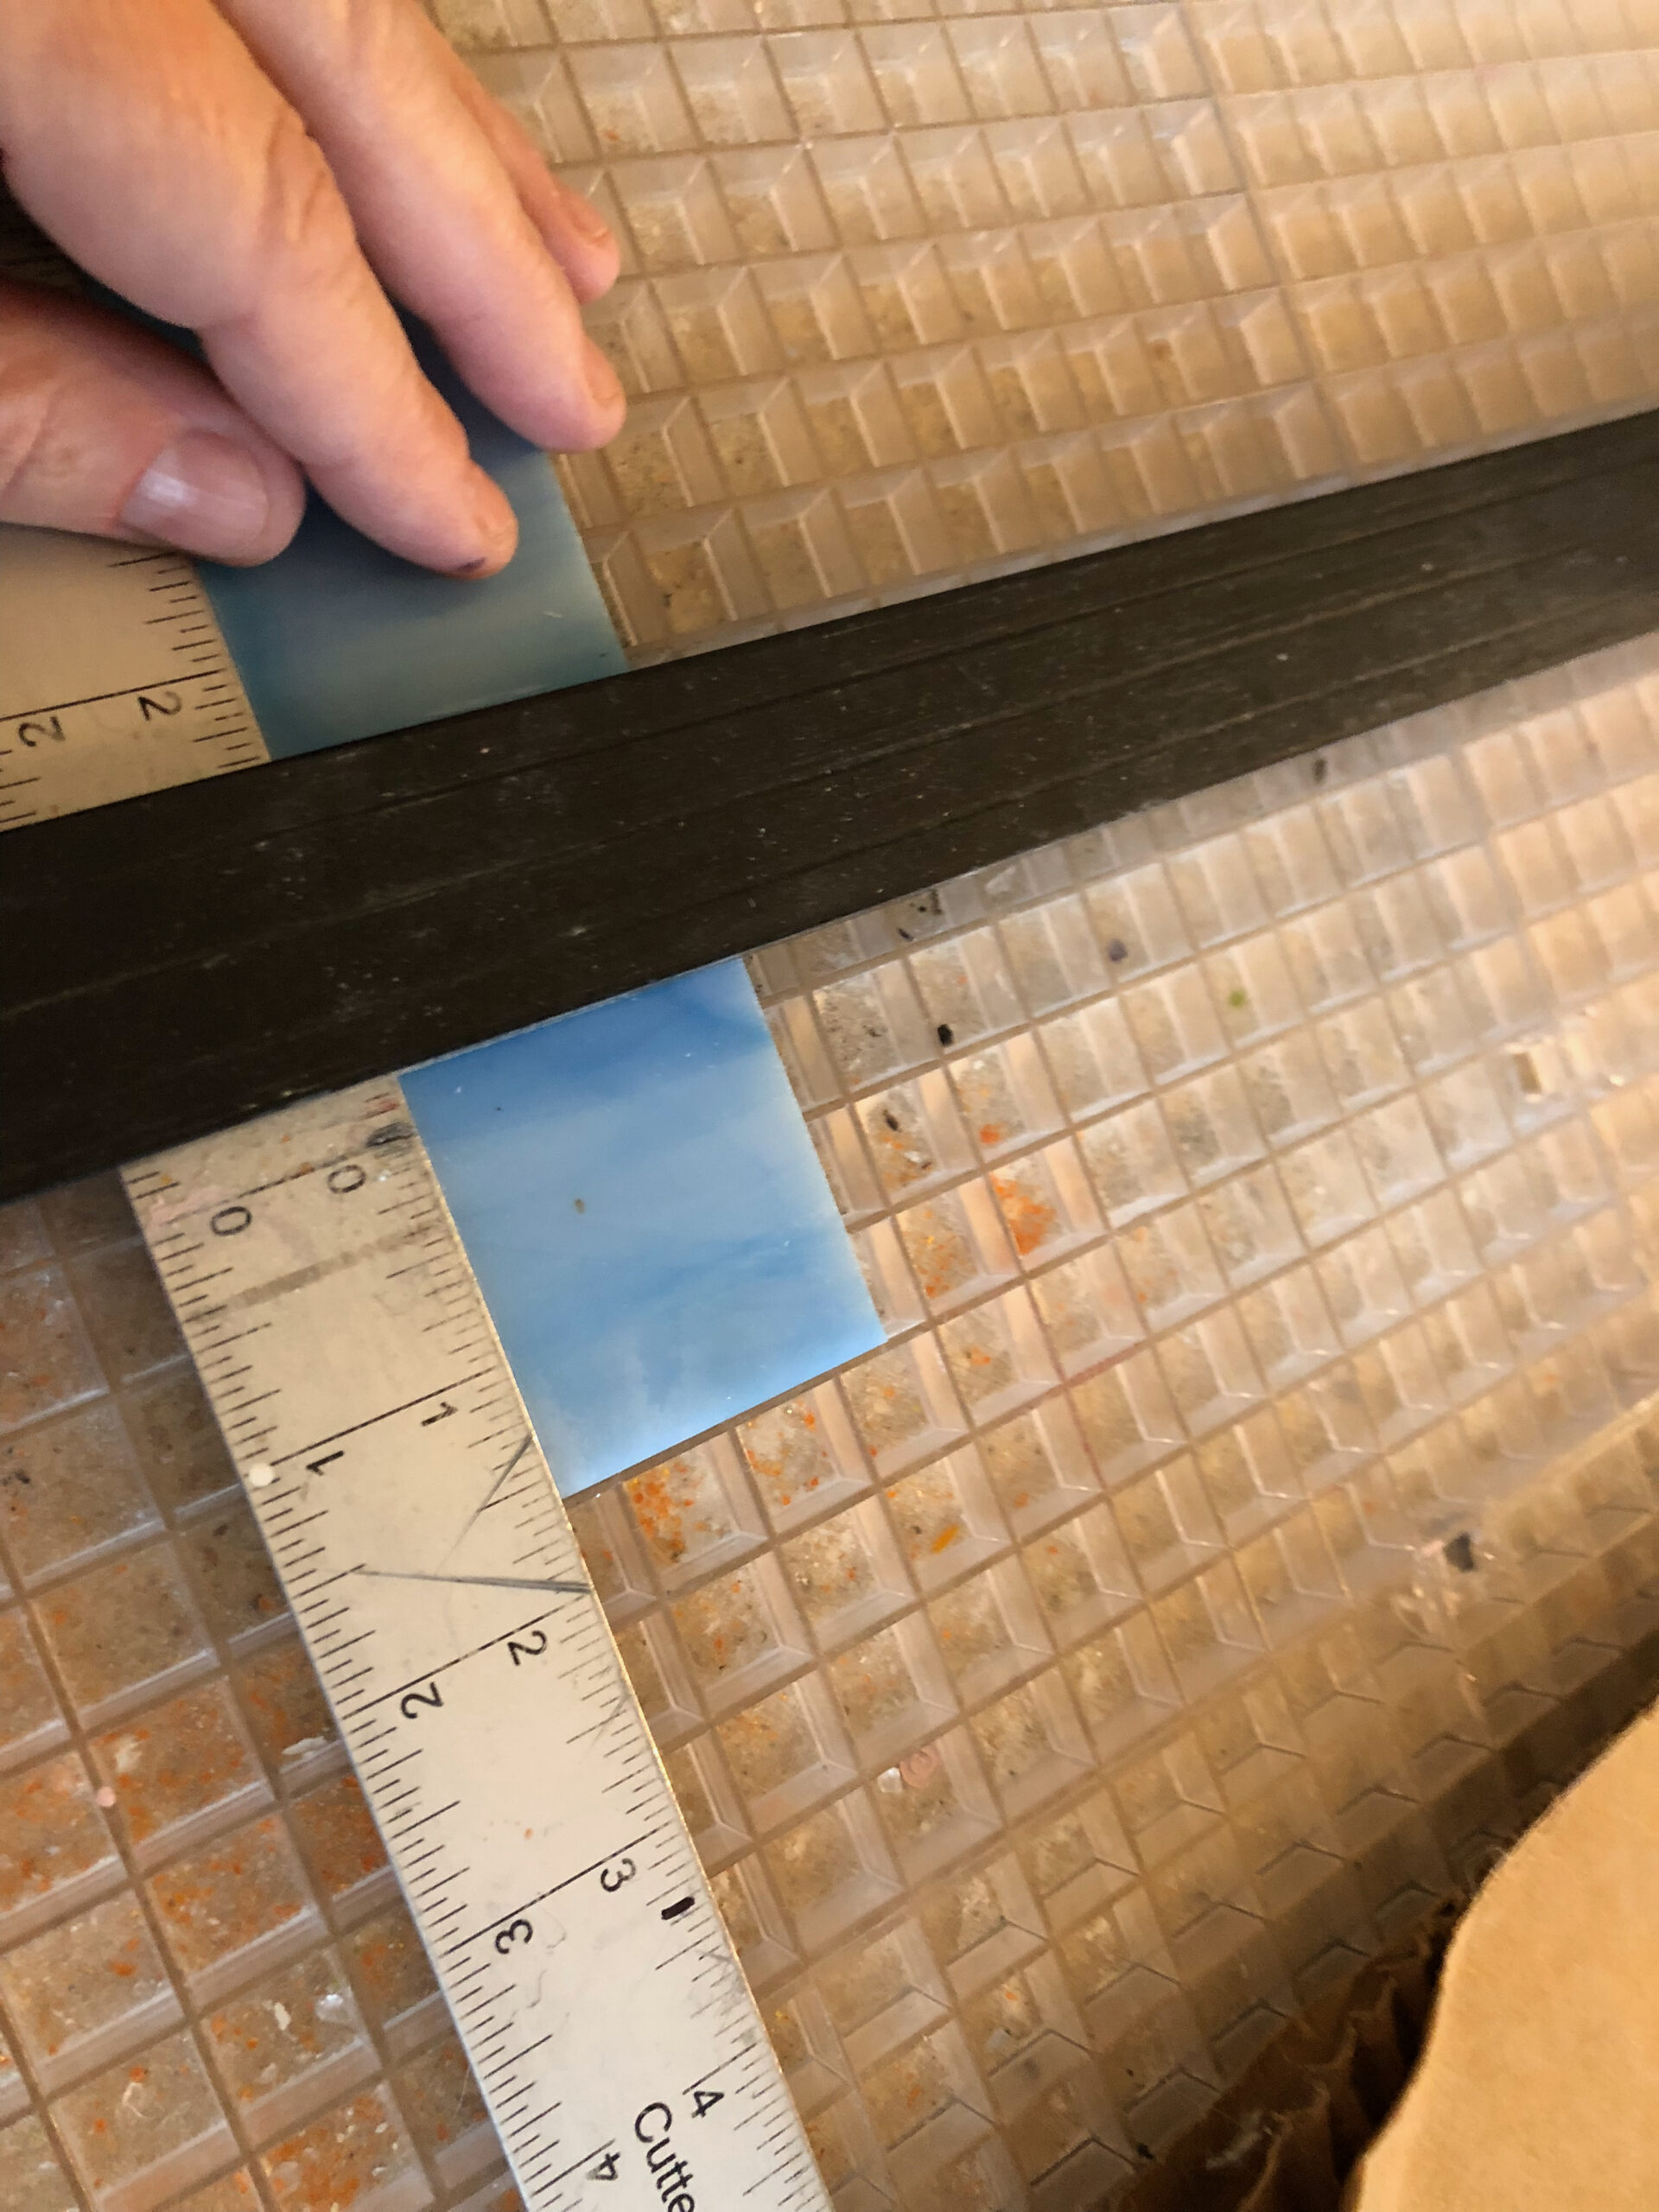
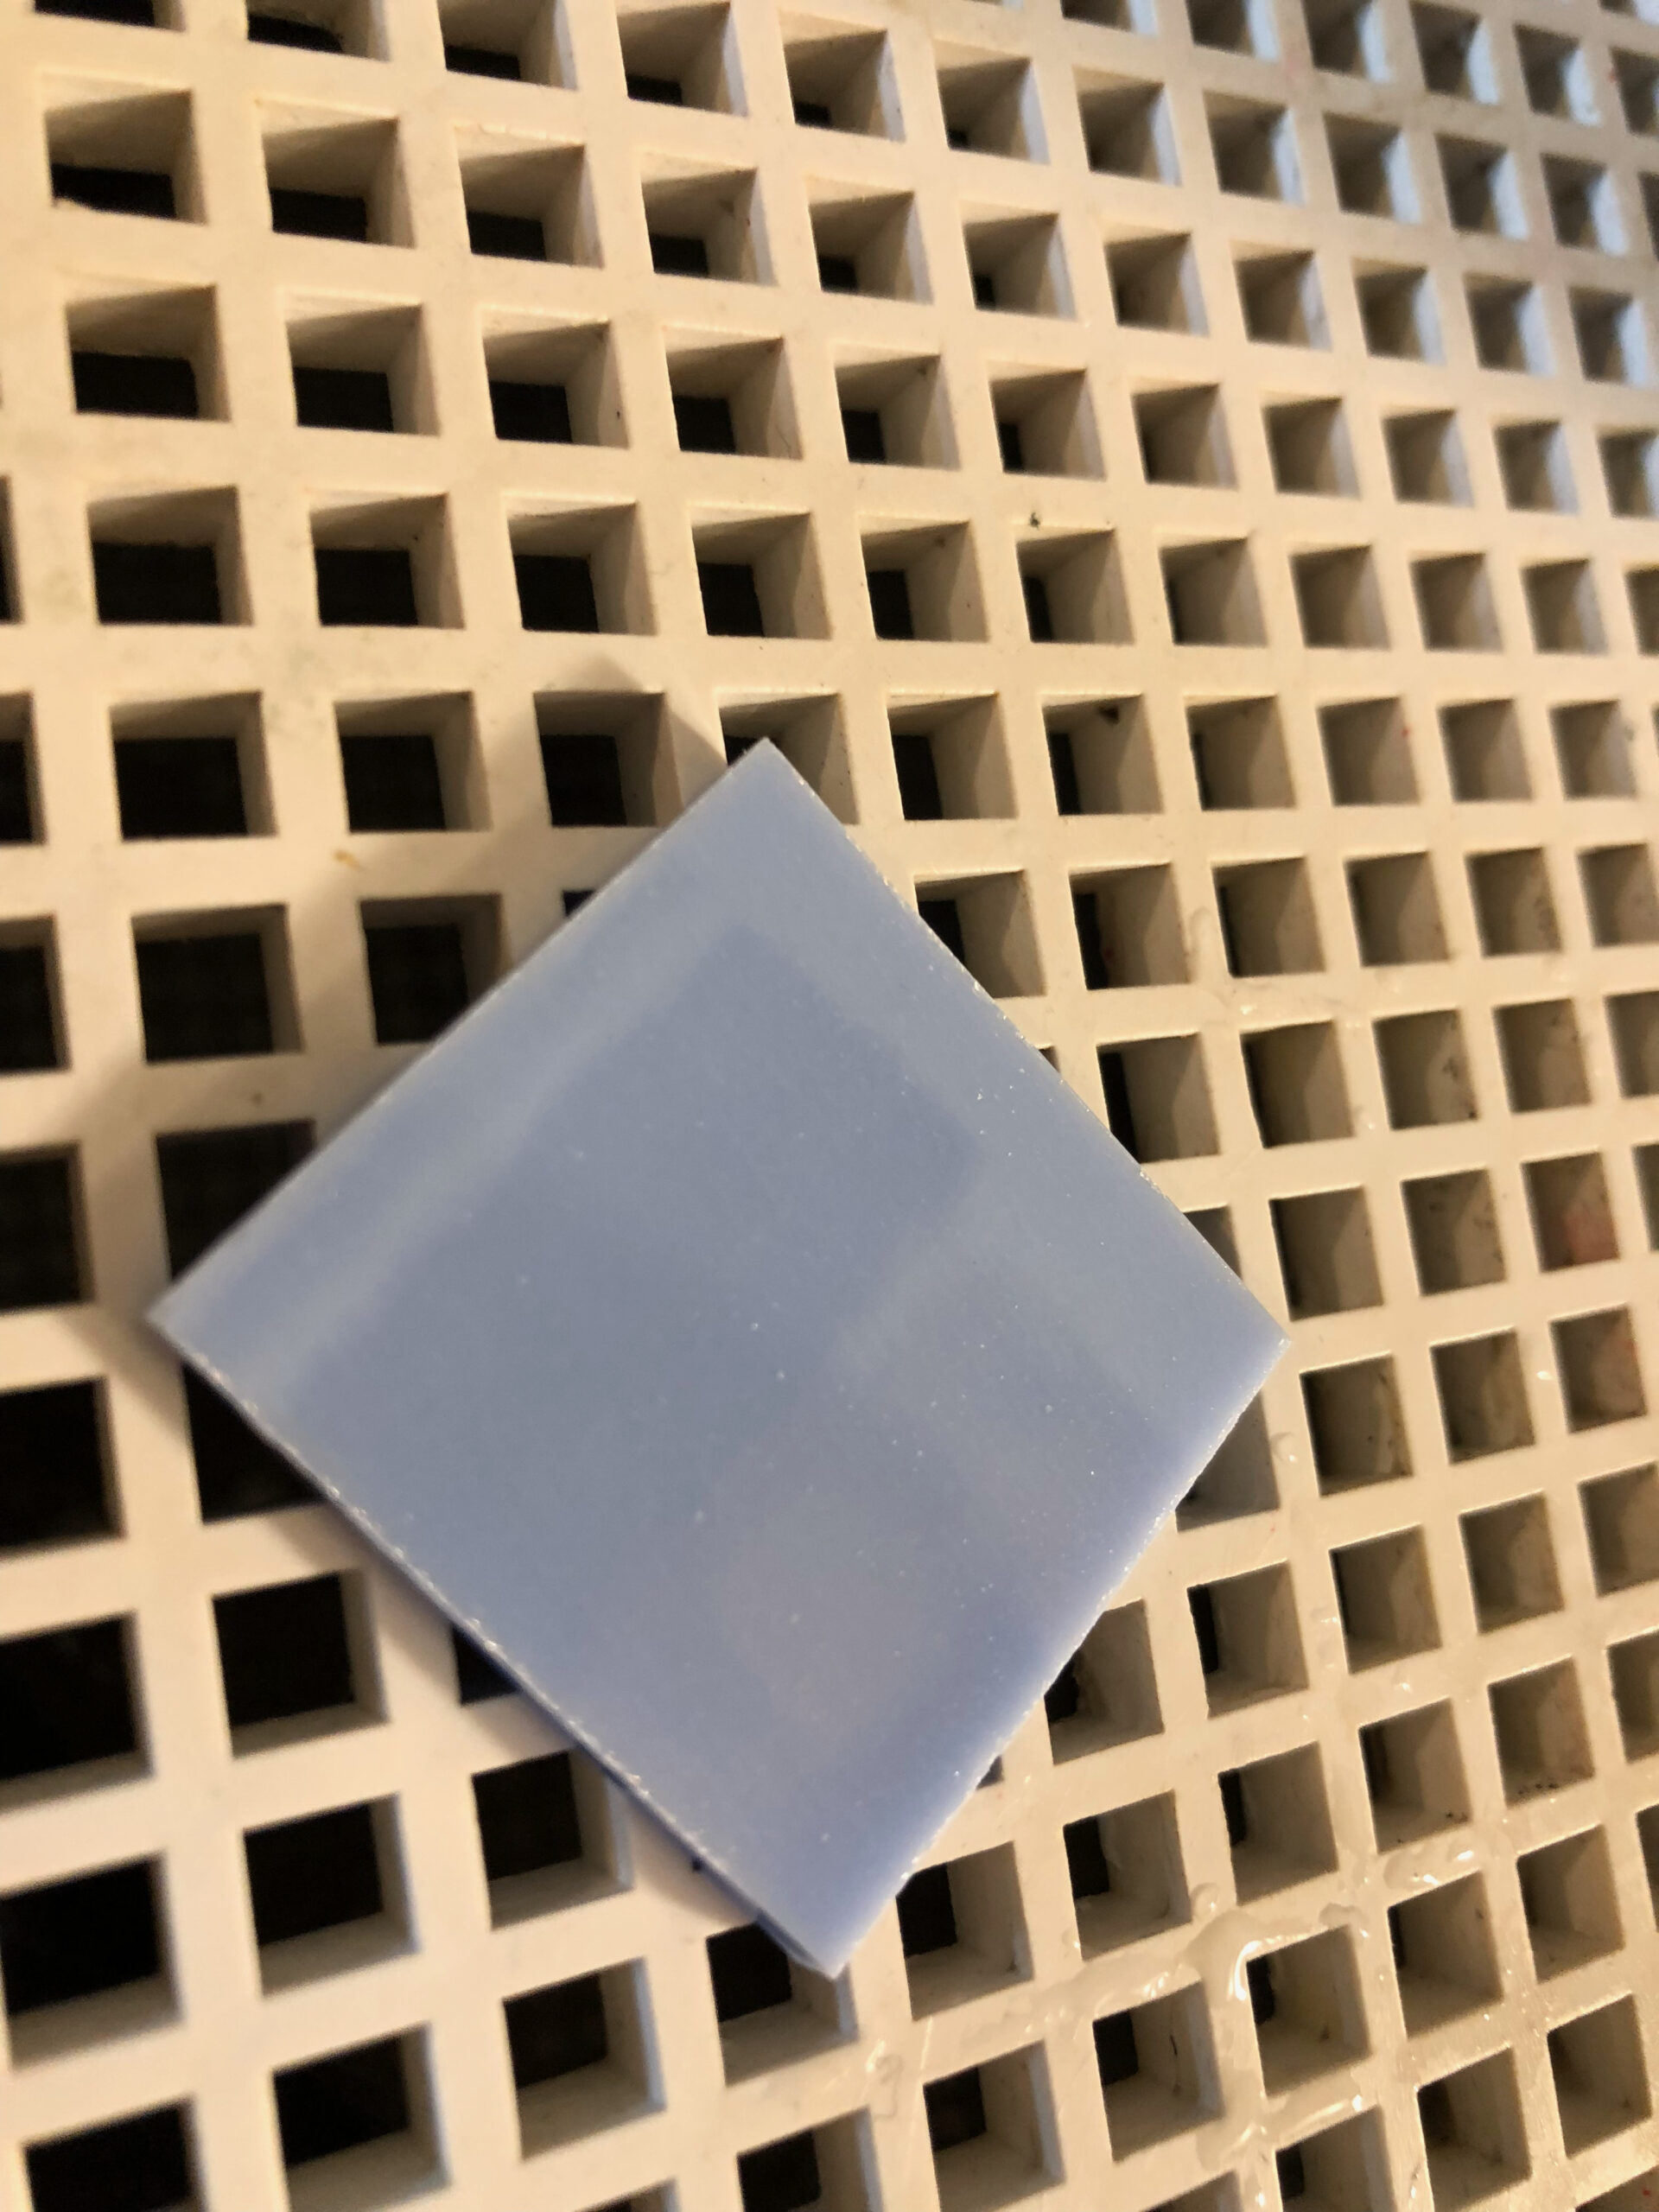
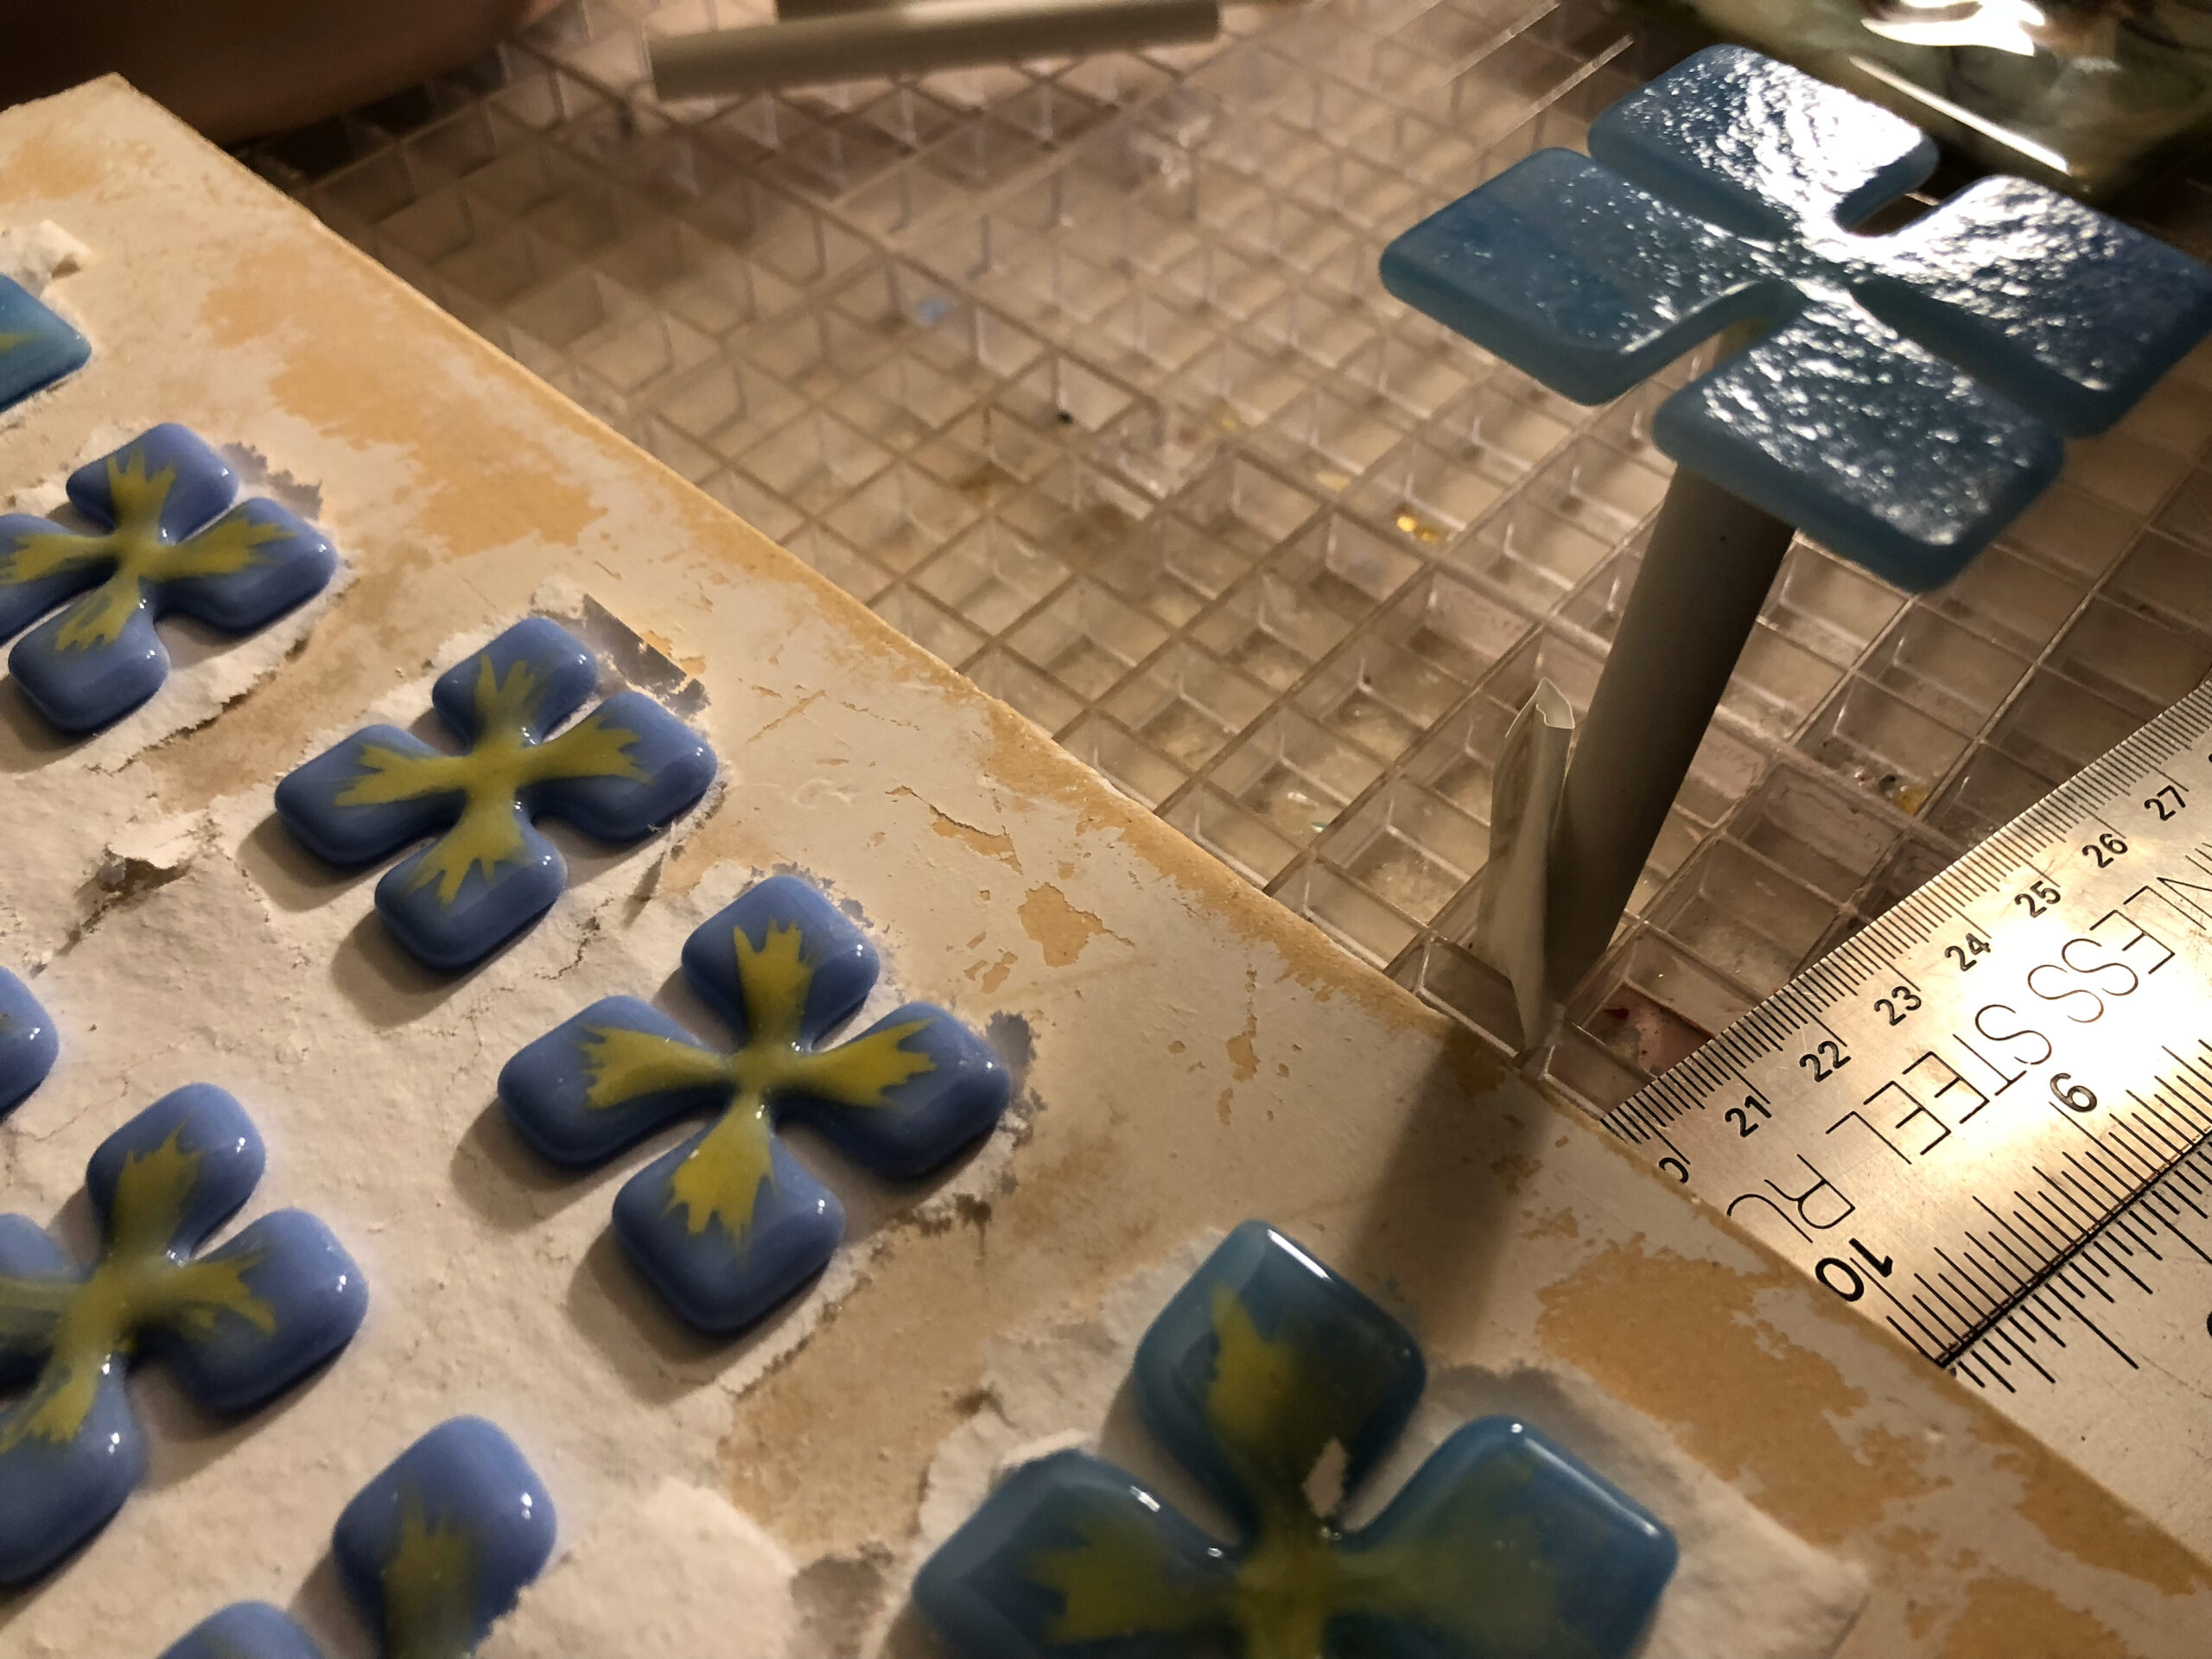
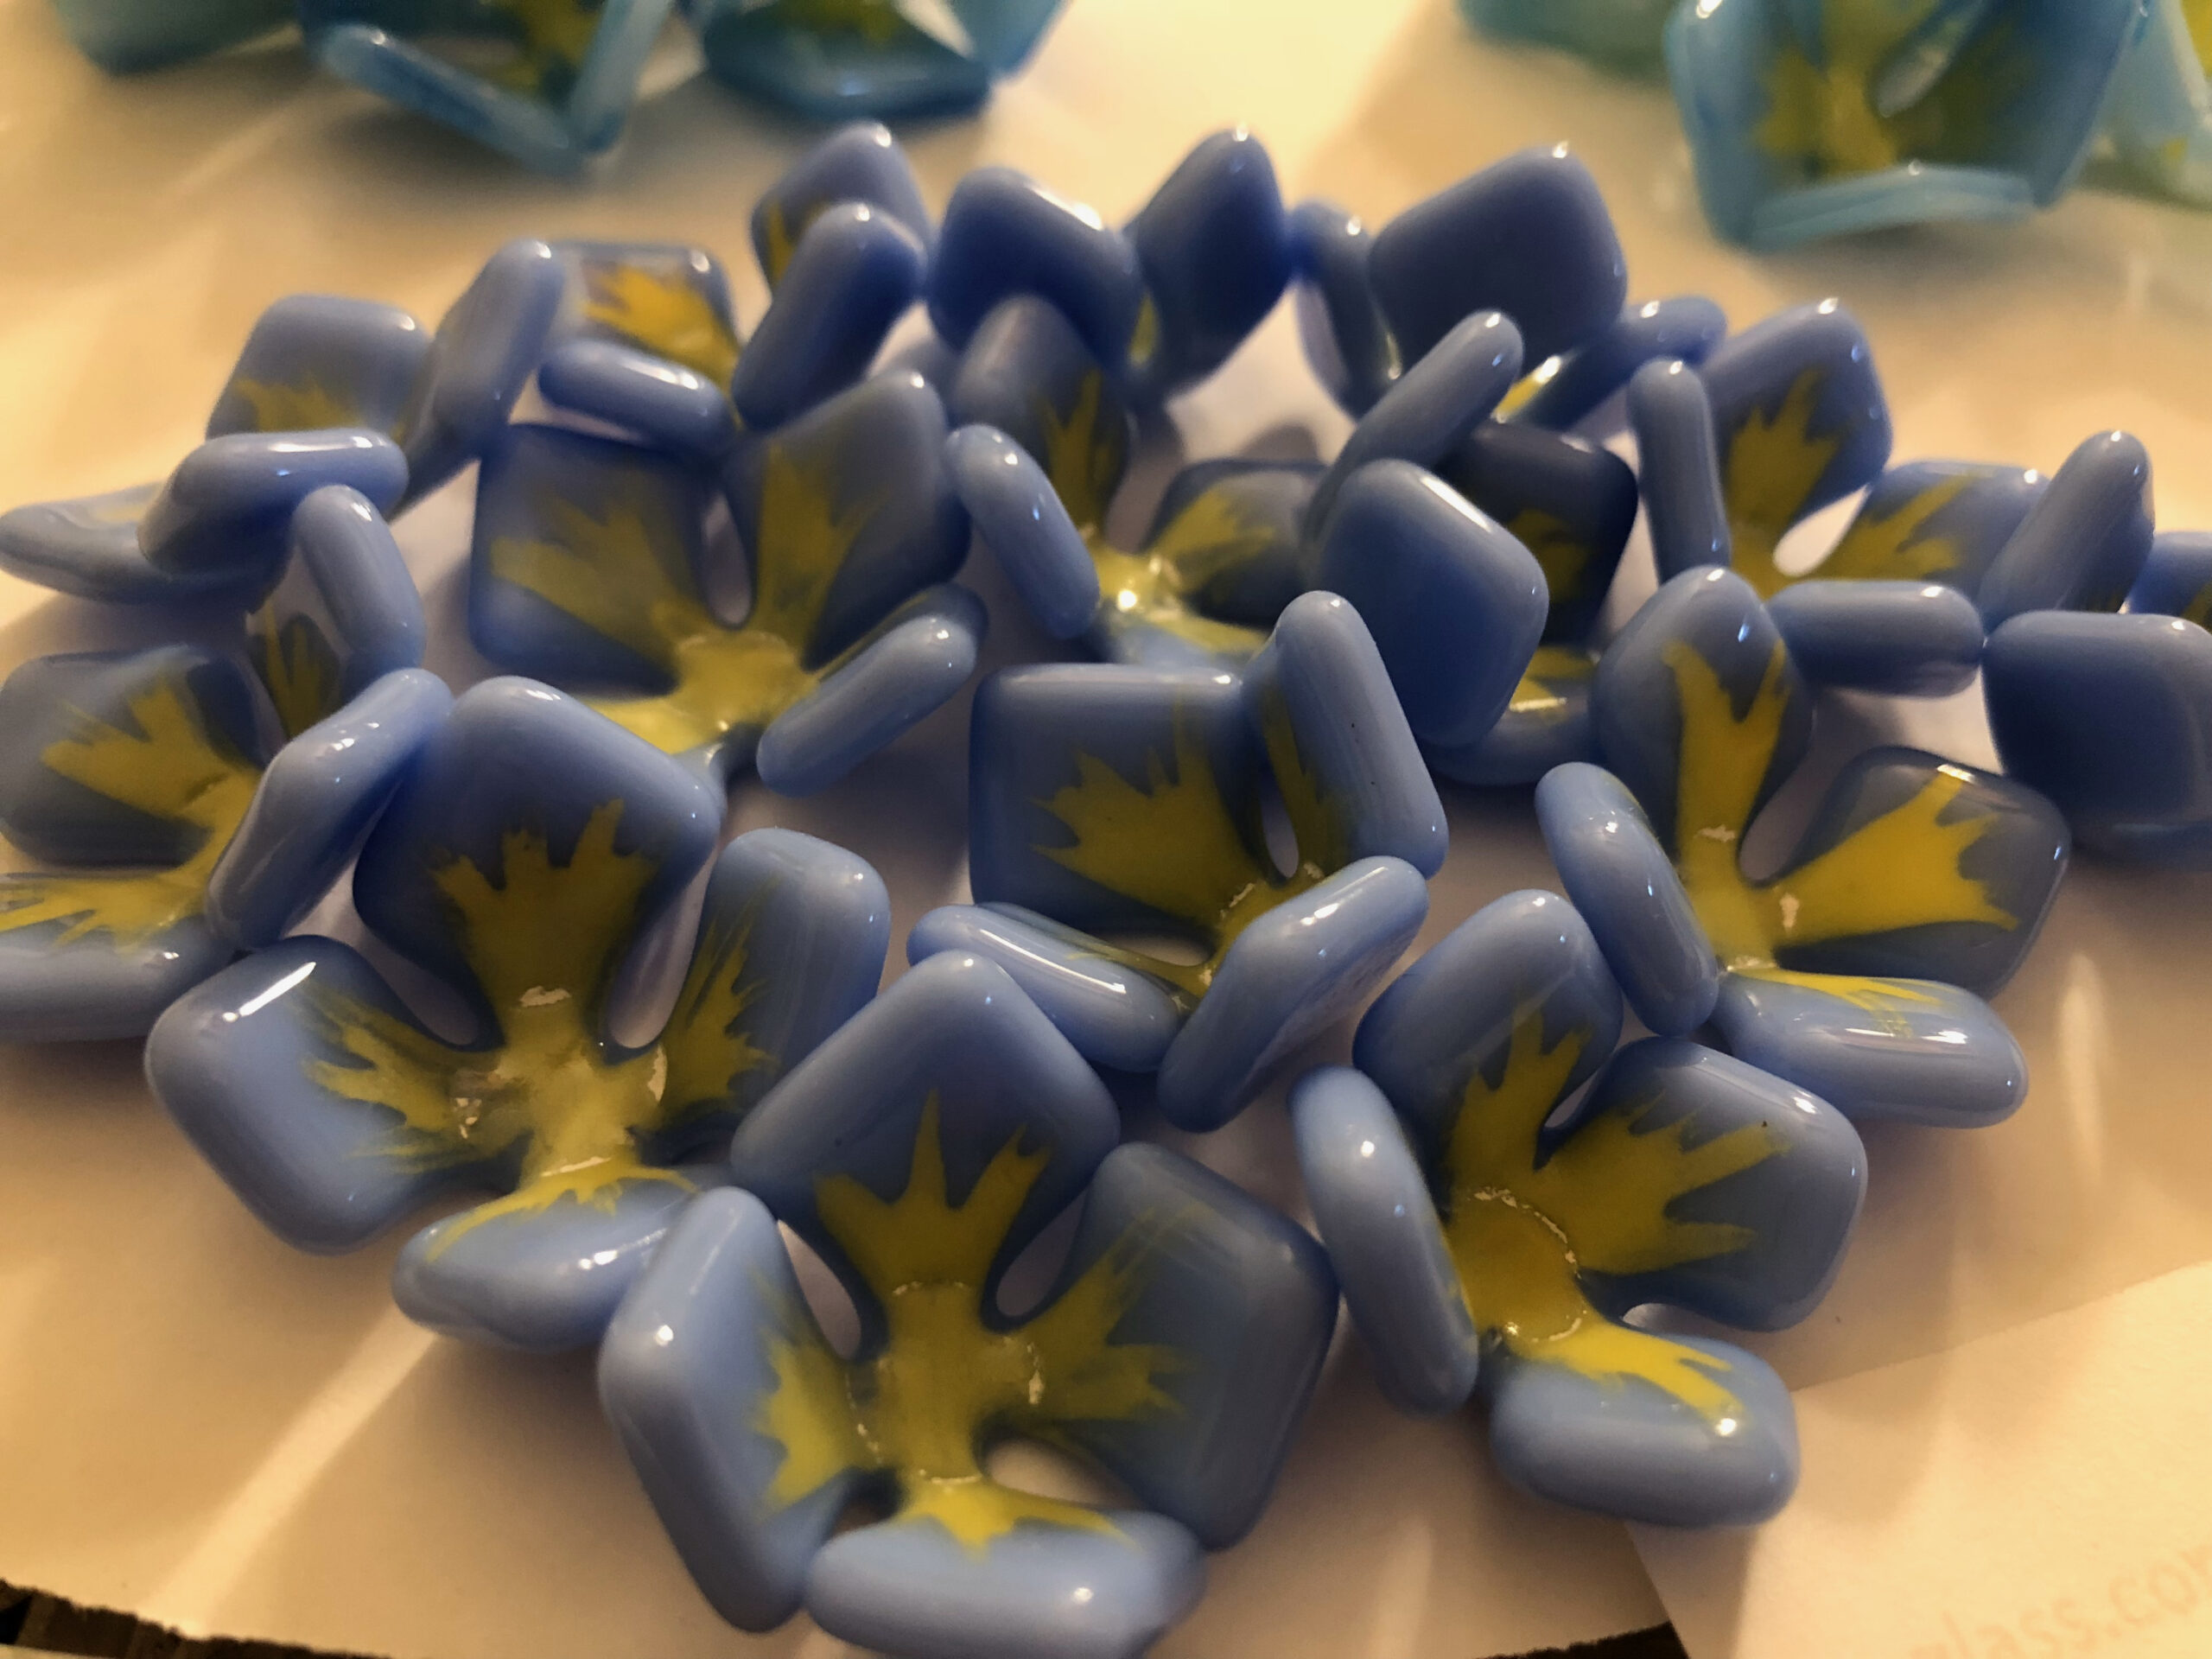
I tried a couple of different sizes, I believe the ones I liked best were 1.25″, cut on my strip cutter and broken apart into squares. Next I marked them for cut lines and took them to the ring saw. (I’ve since upgraded to a Taurus 3 ring saw – thank you Jeff!) I cut along the marked lines, but not quite all the way to the center. As I moved the blade back through the glass toward the edges, I rounded each section. As I cut them I tossed them into a tub of vinegar & water solution for cleaning.
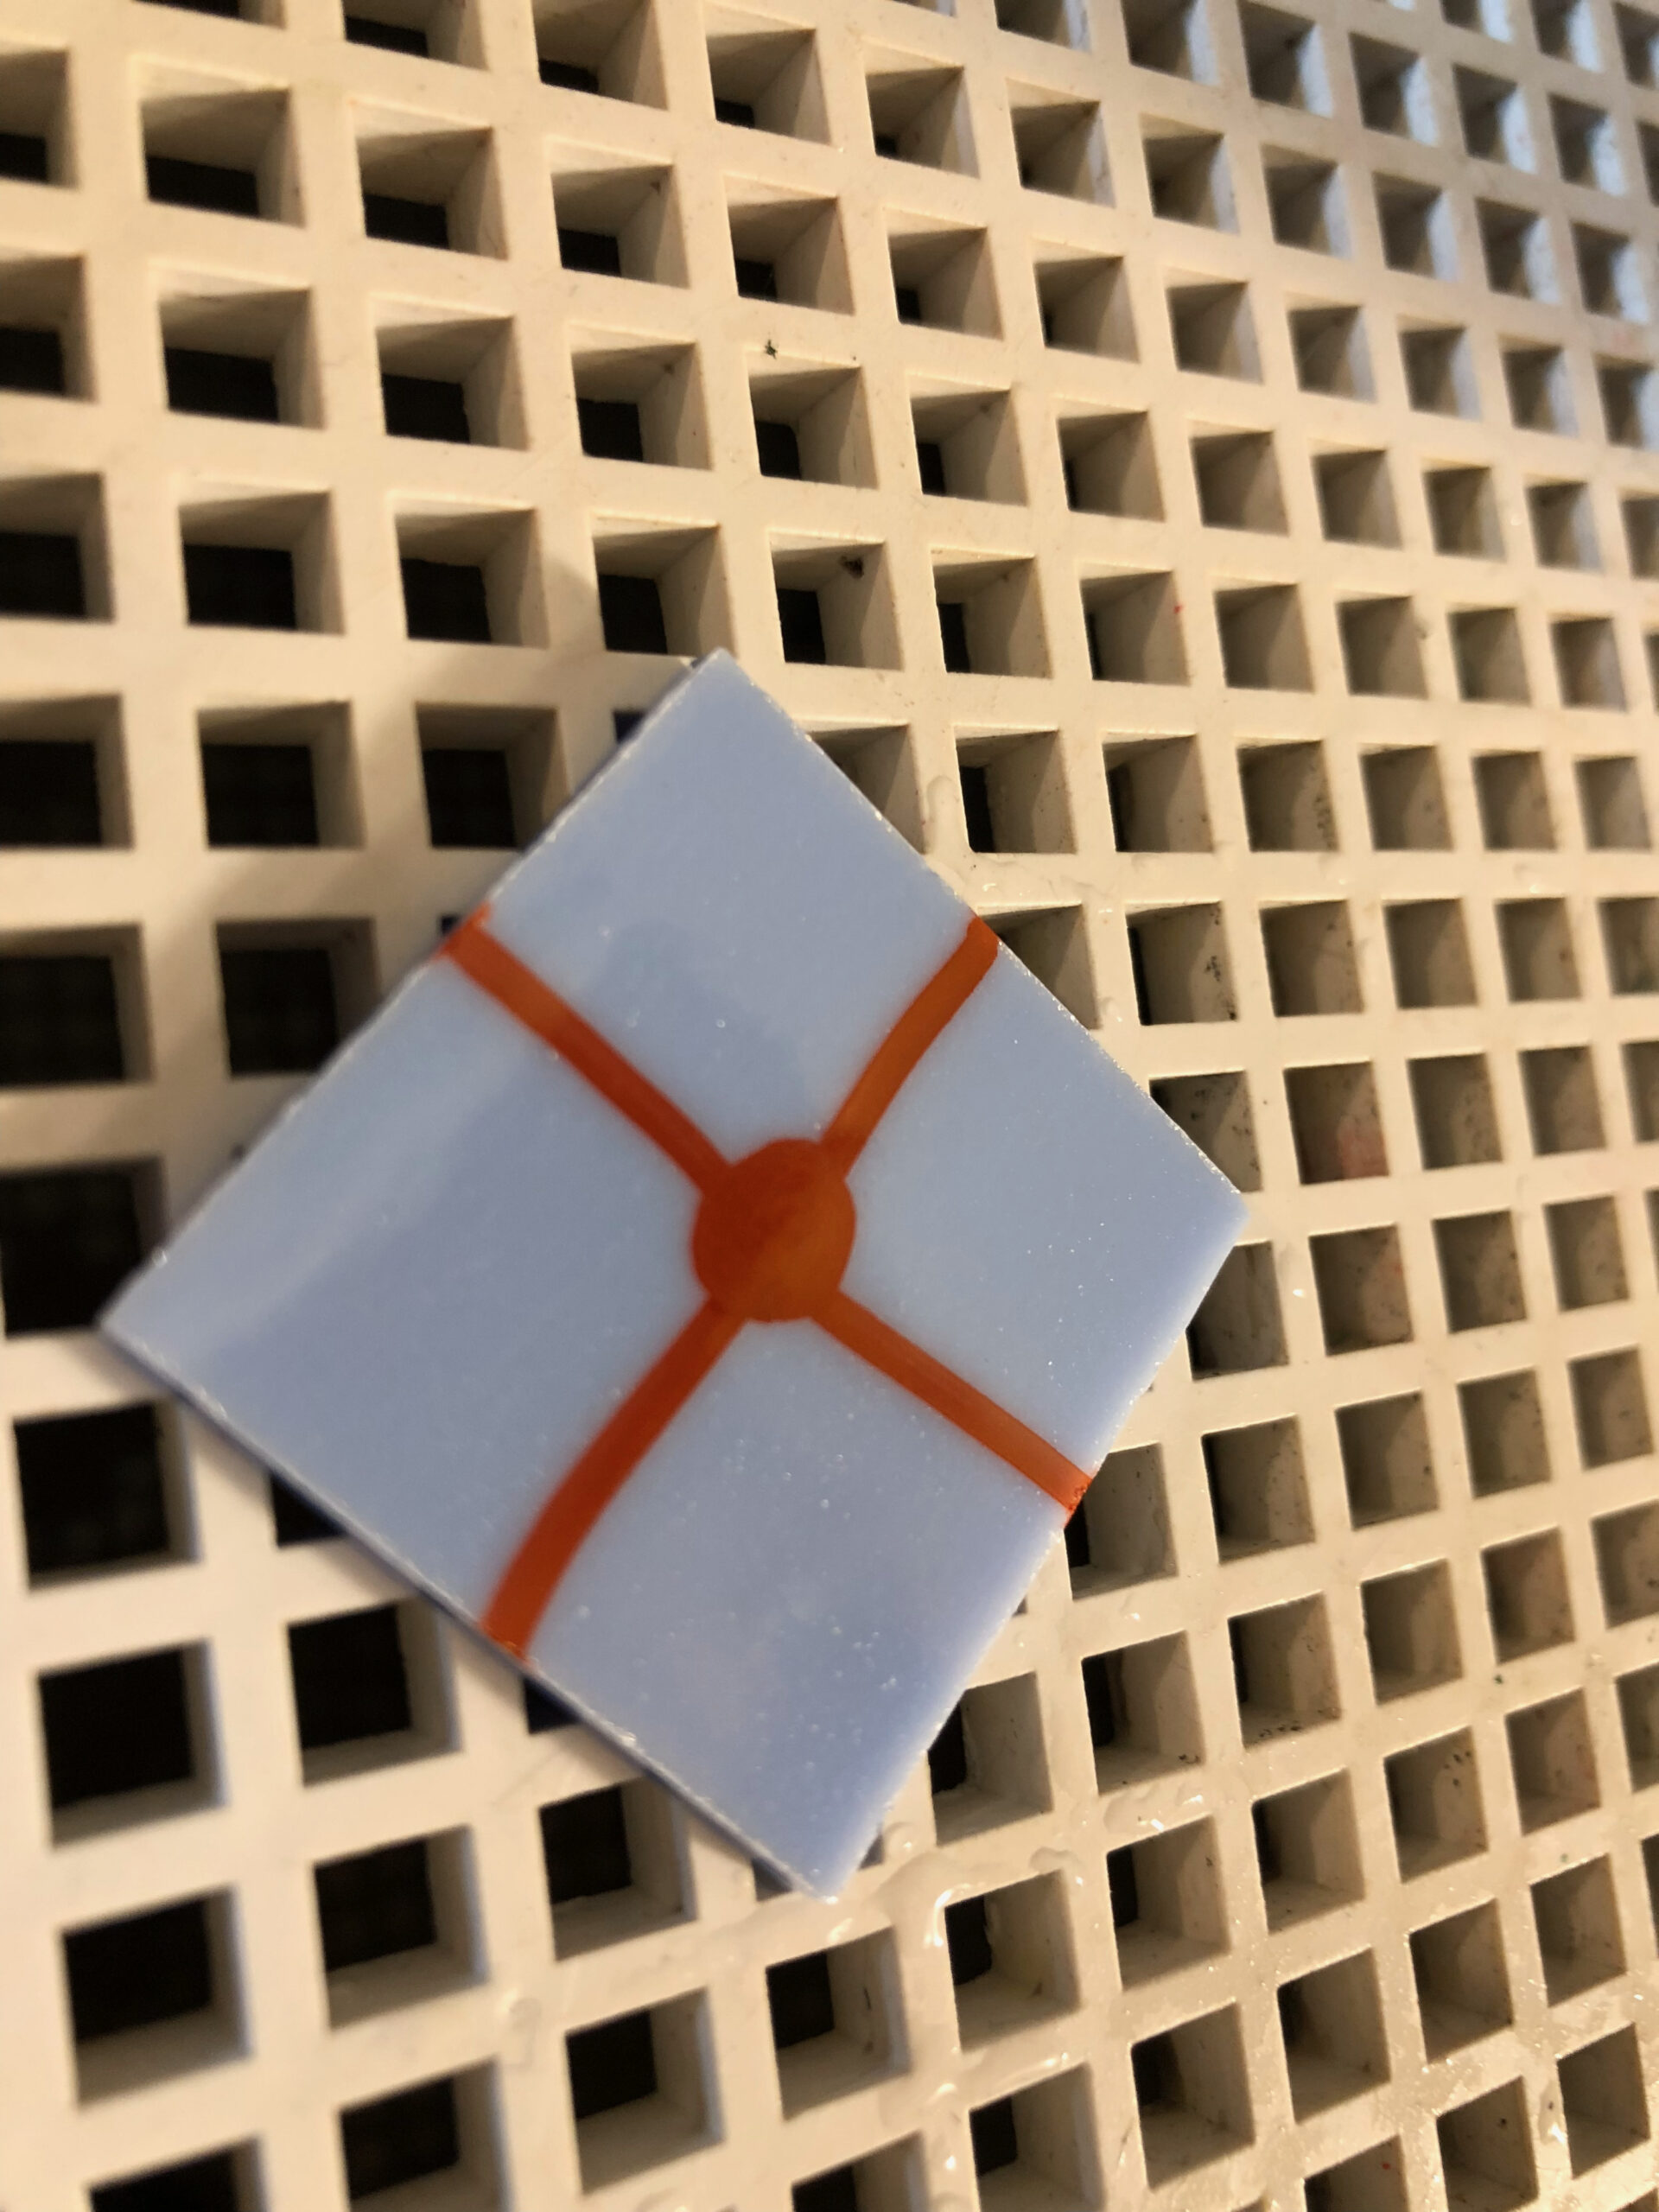
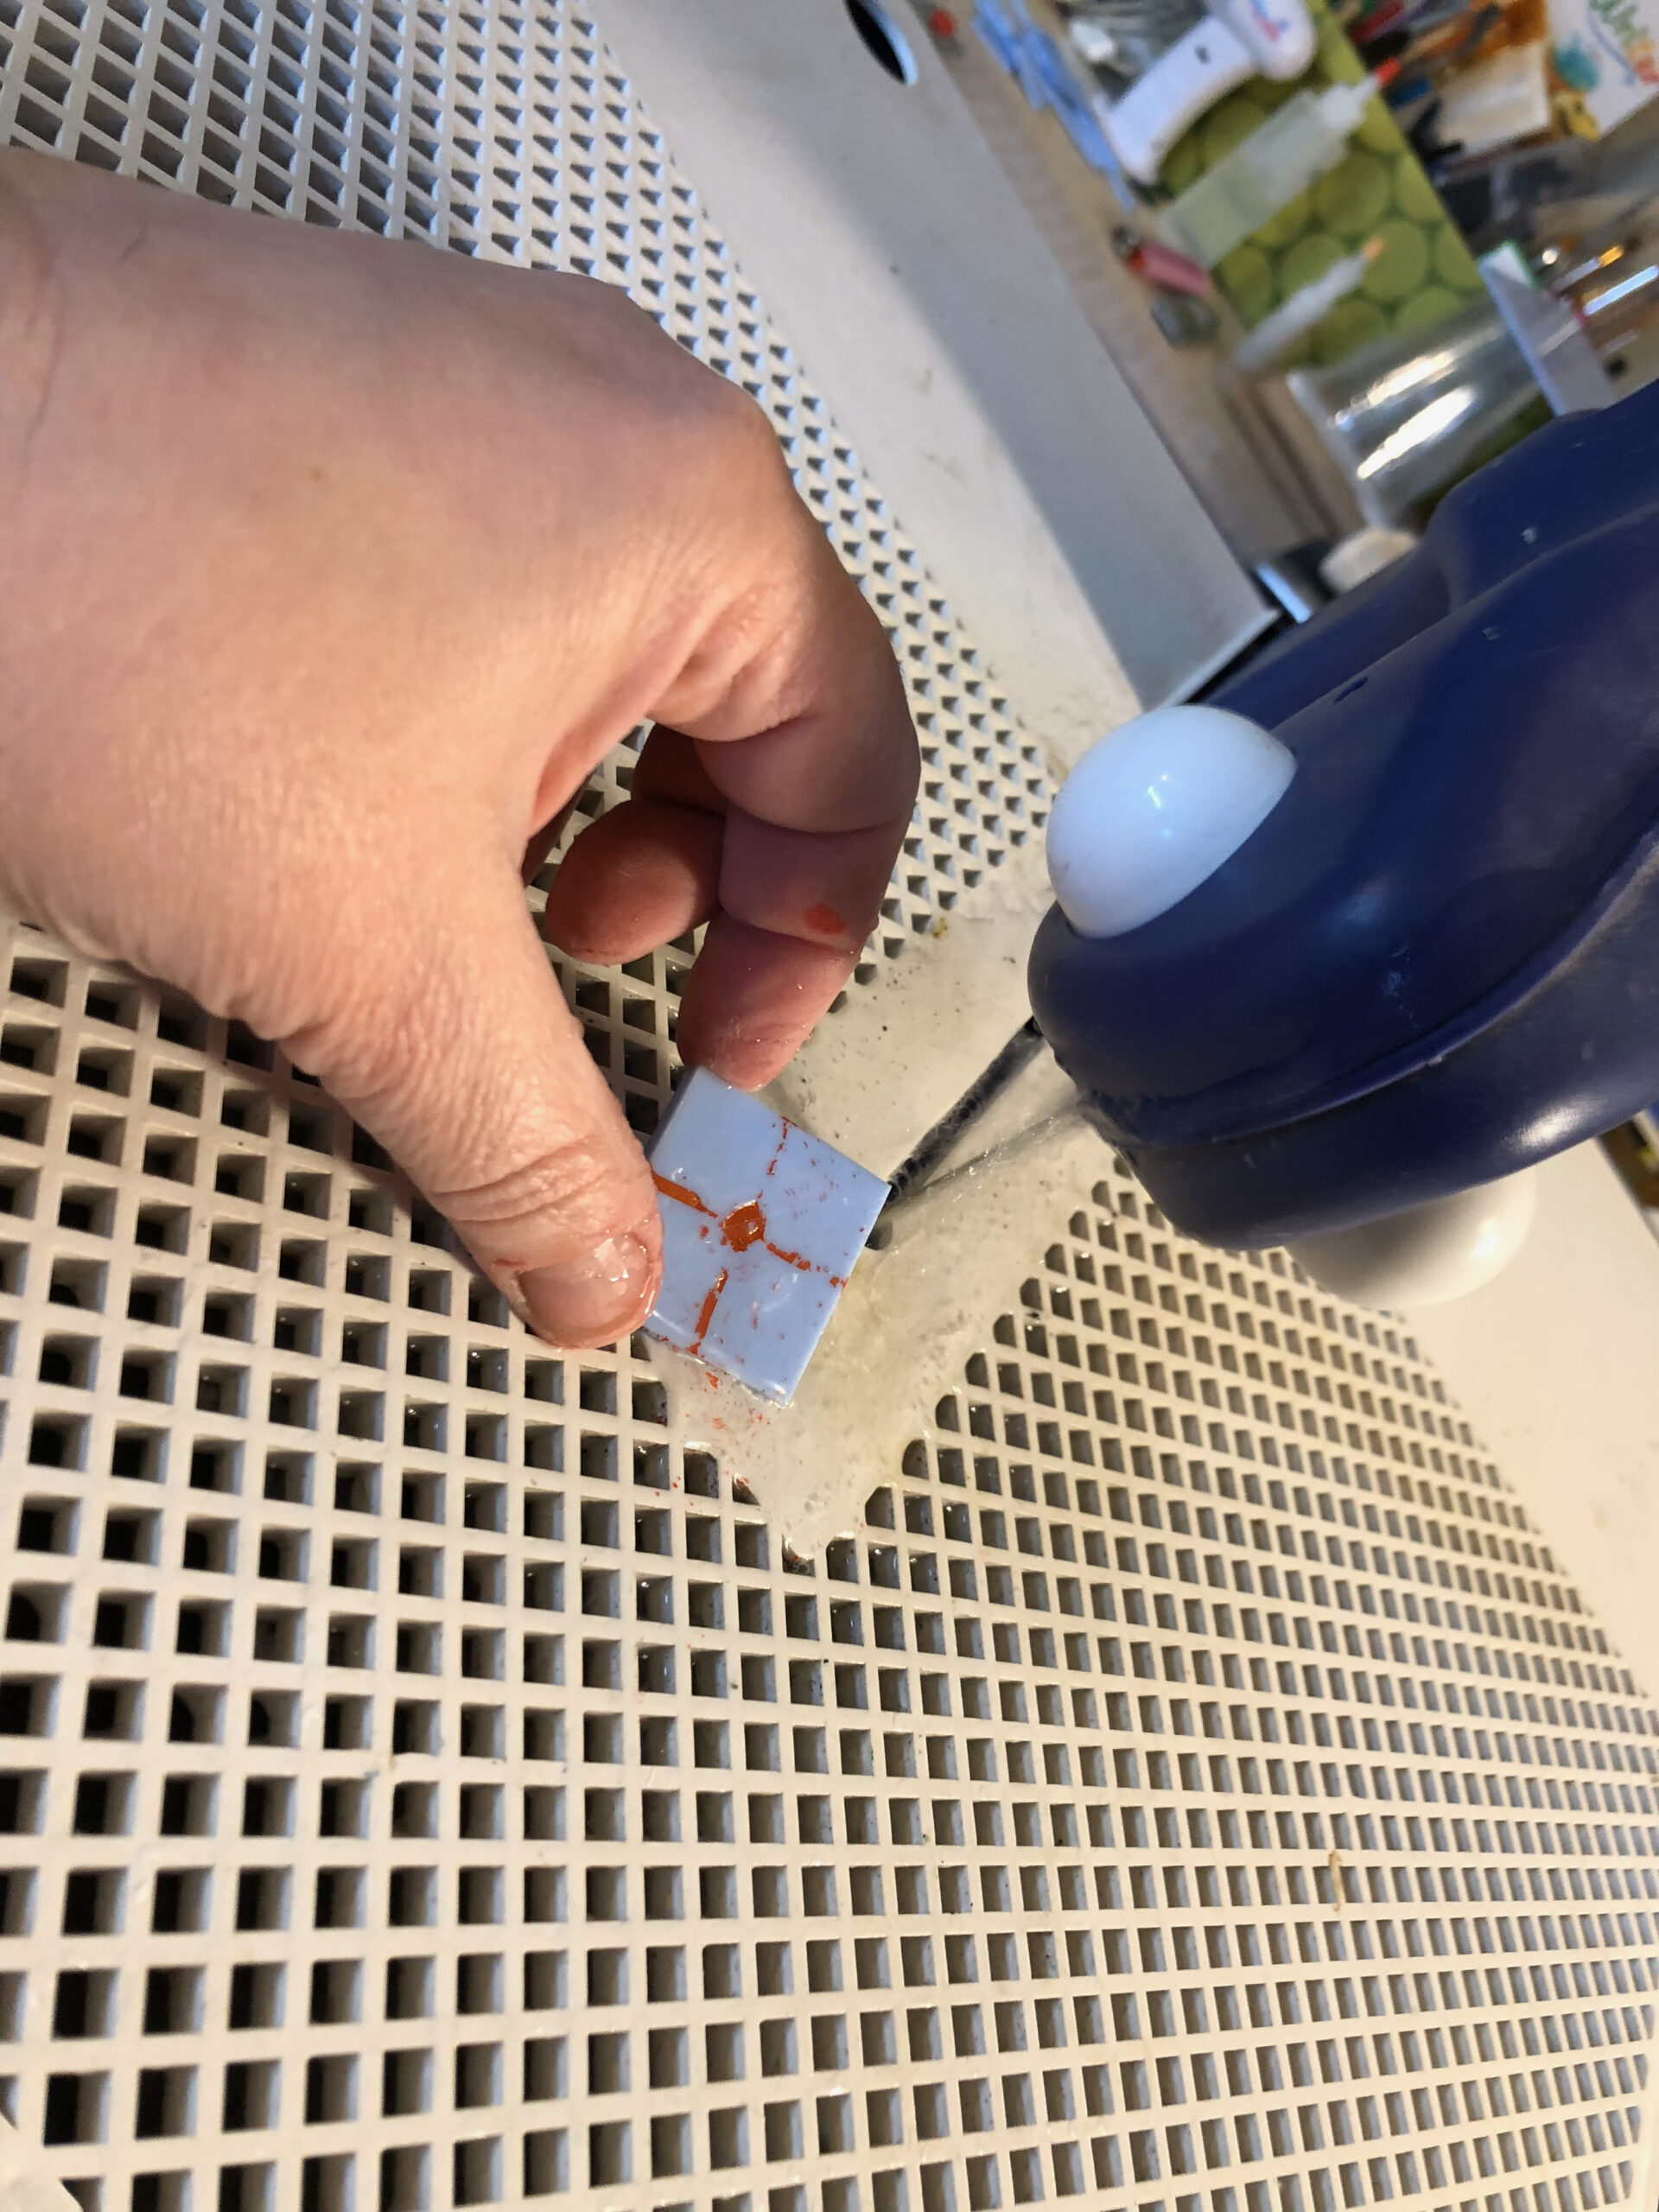

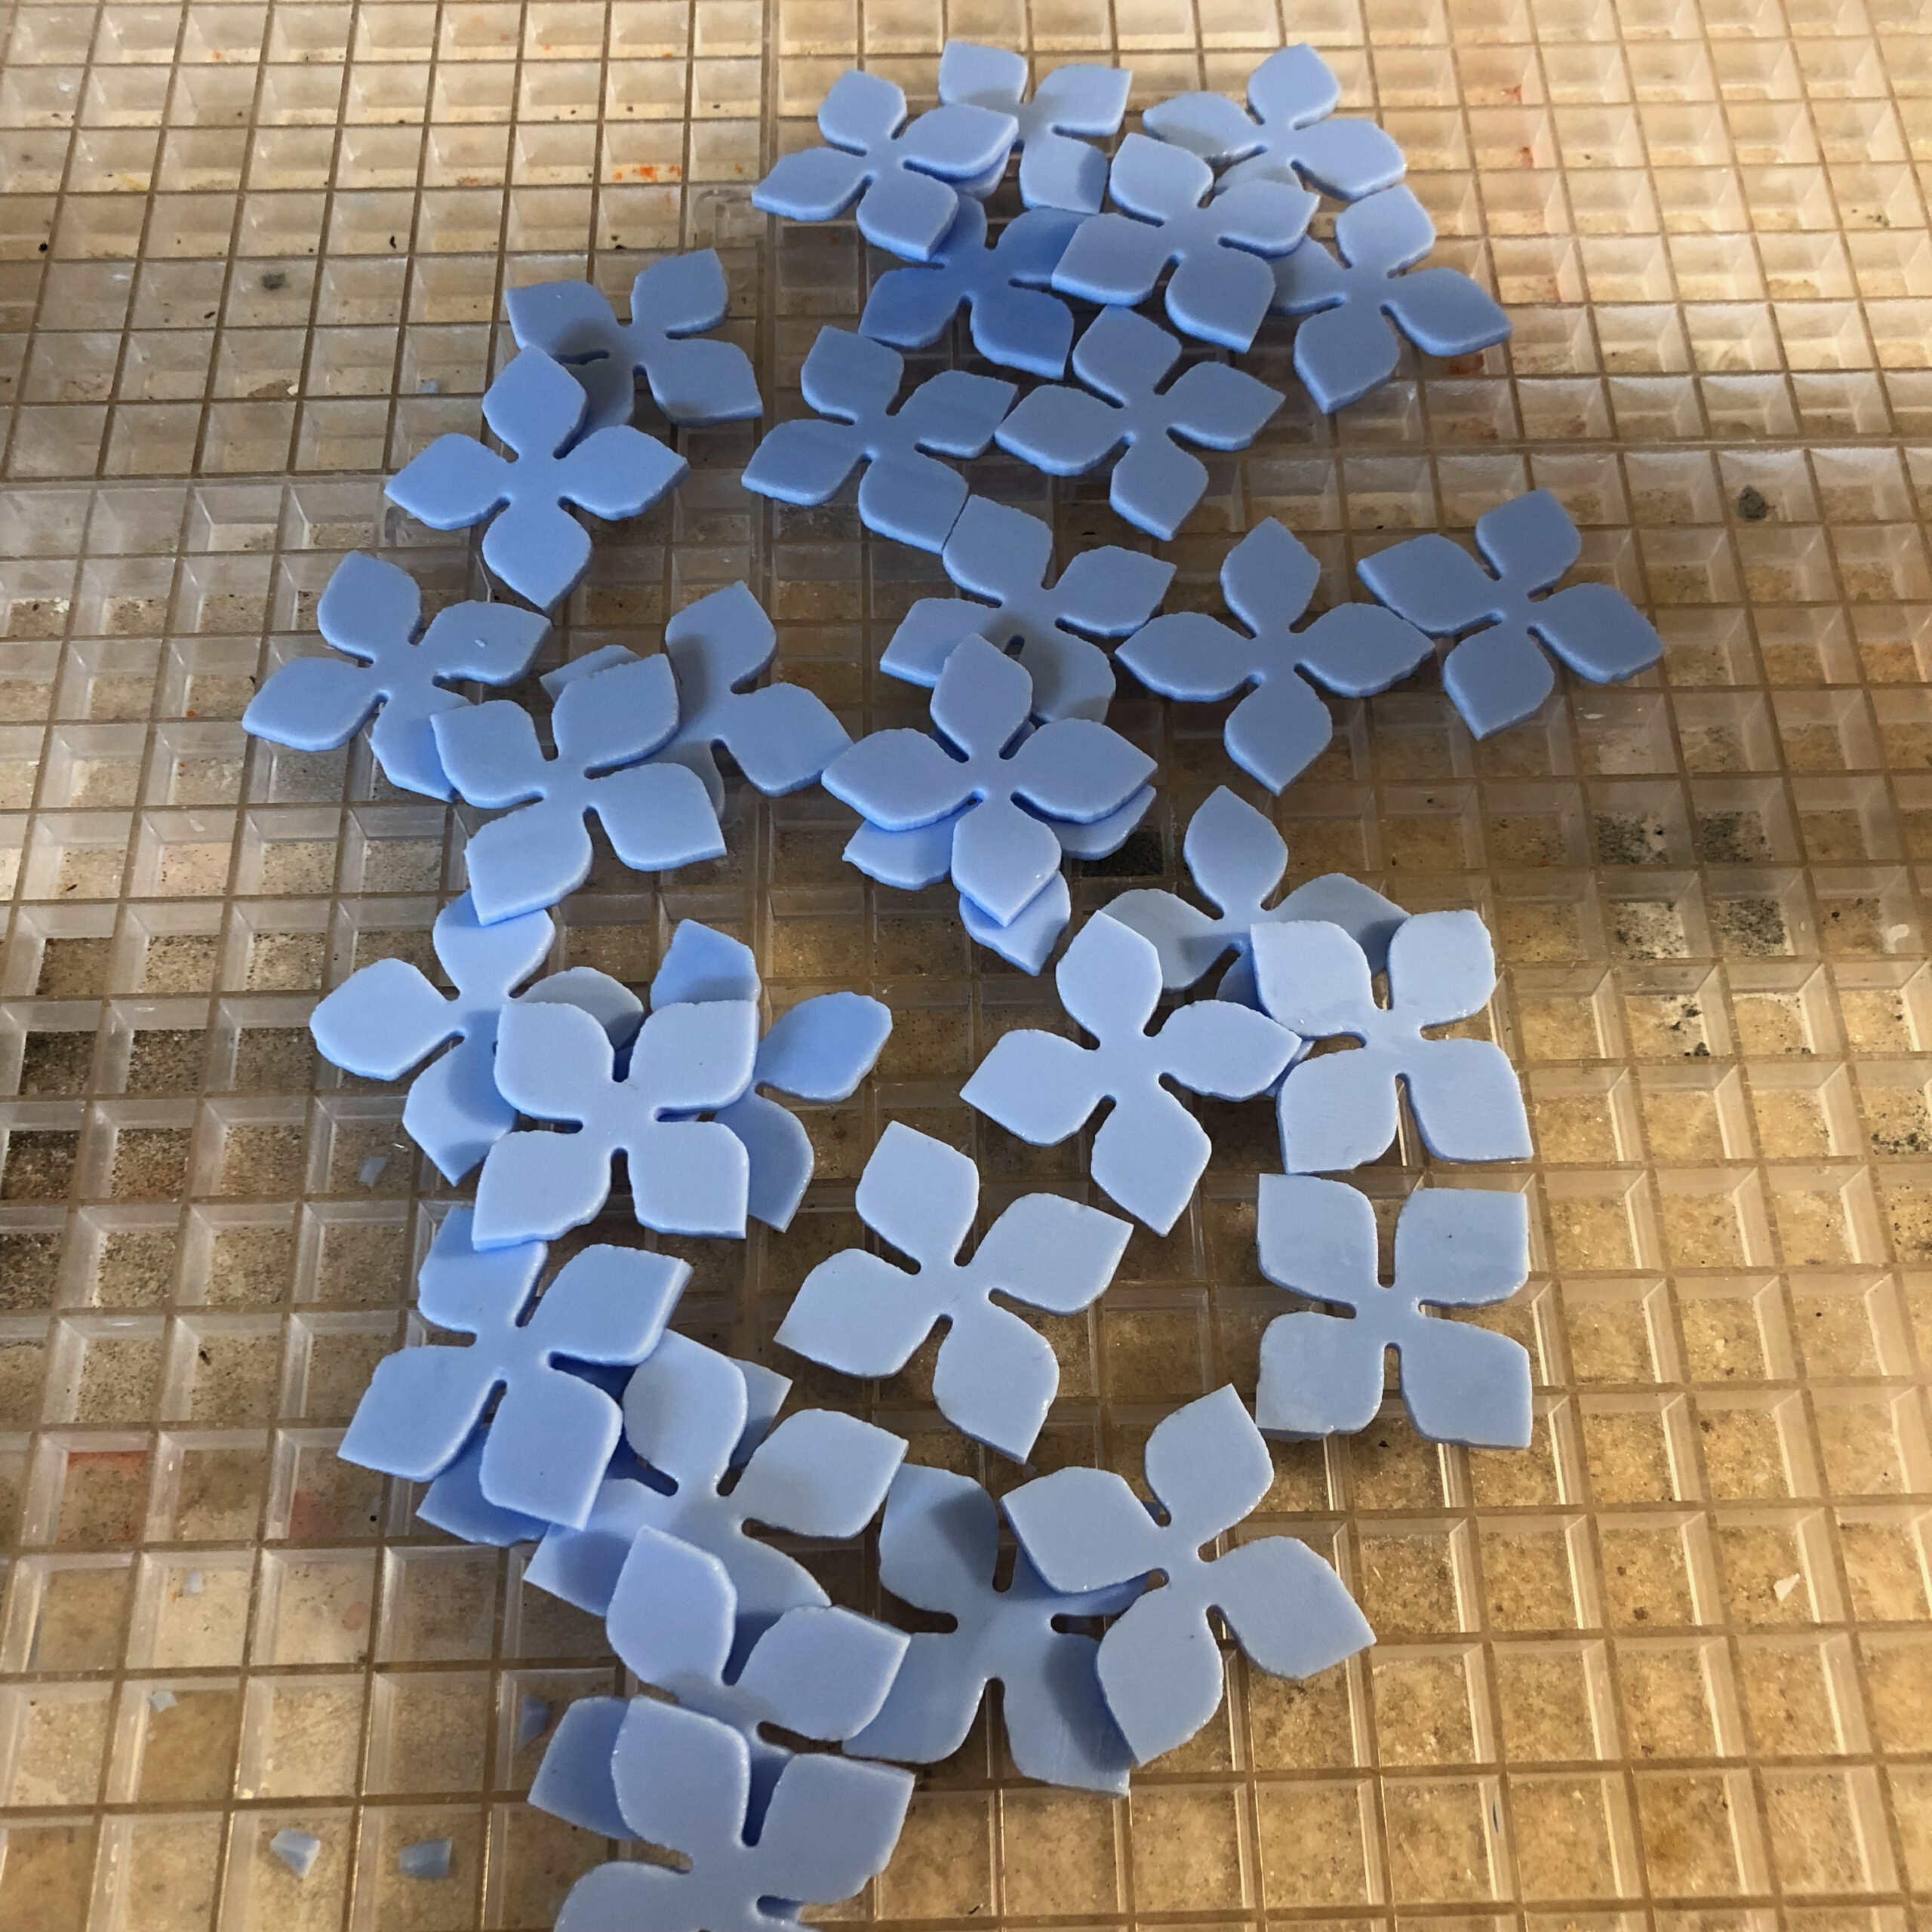
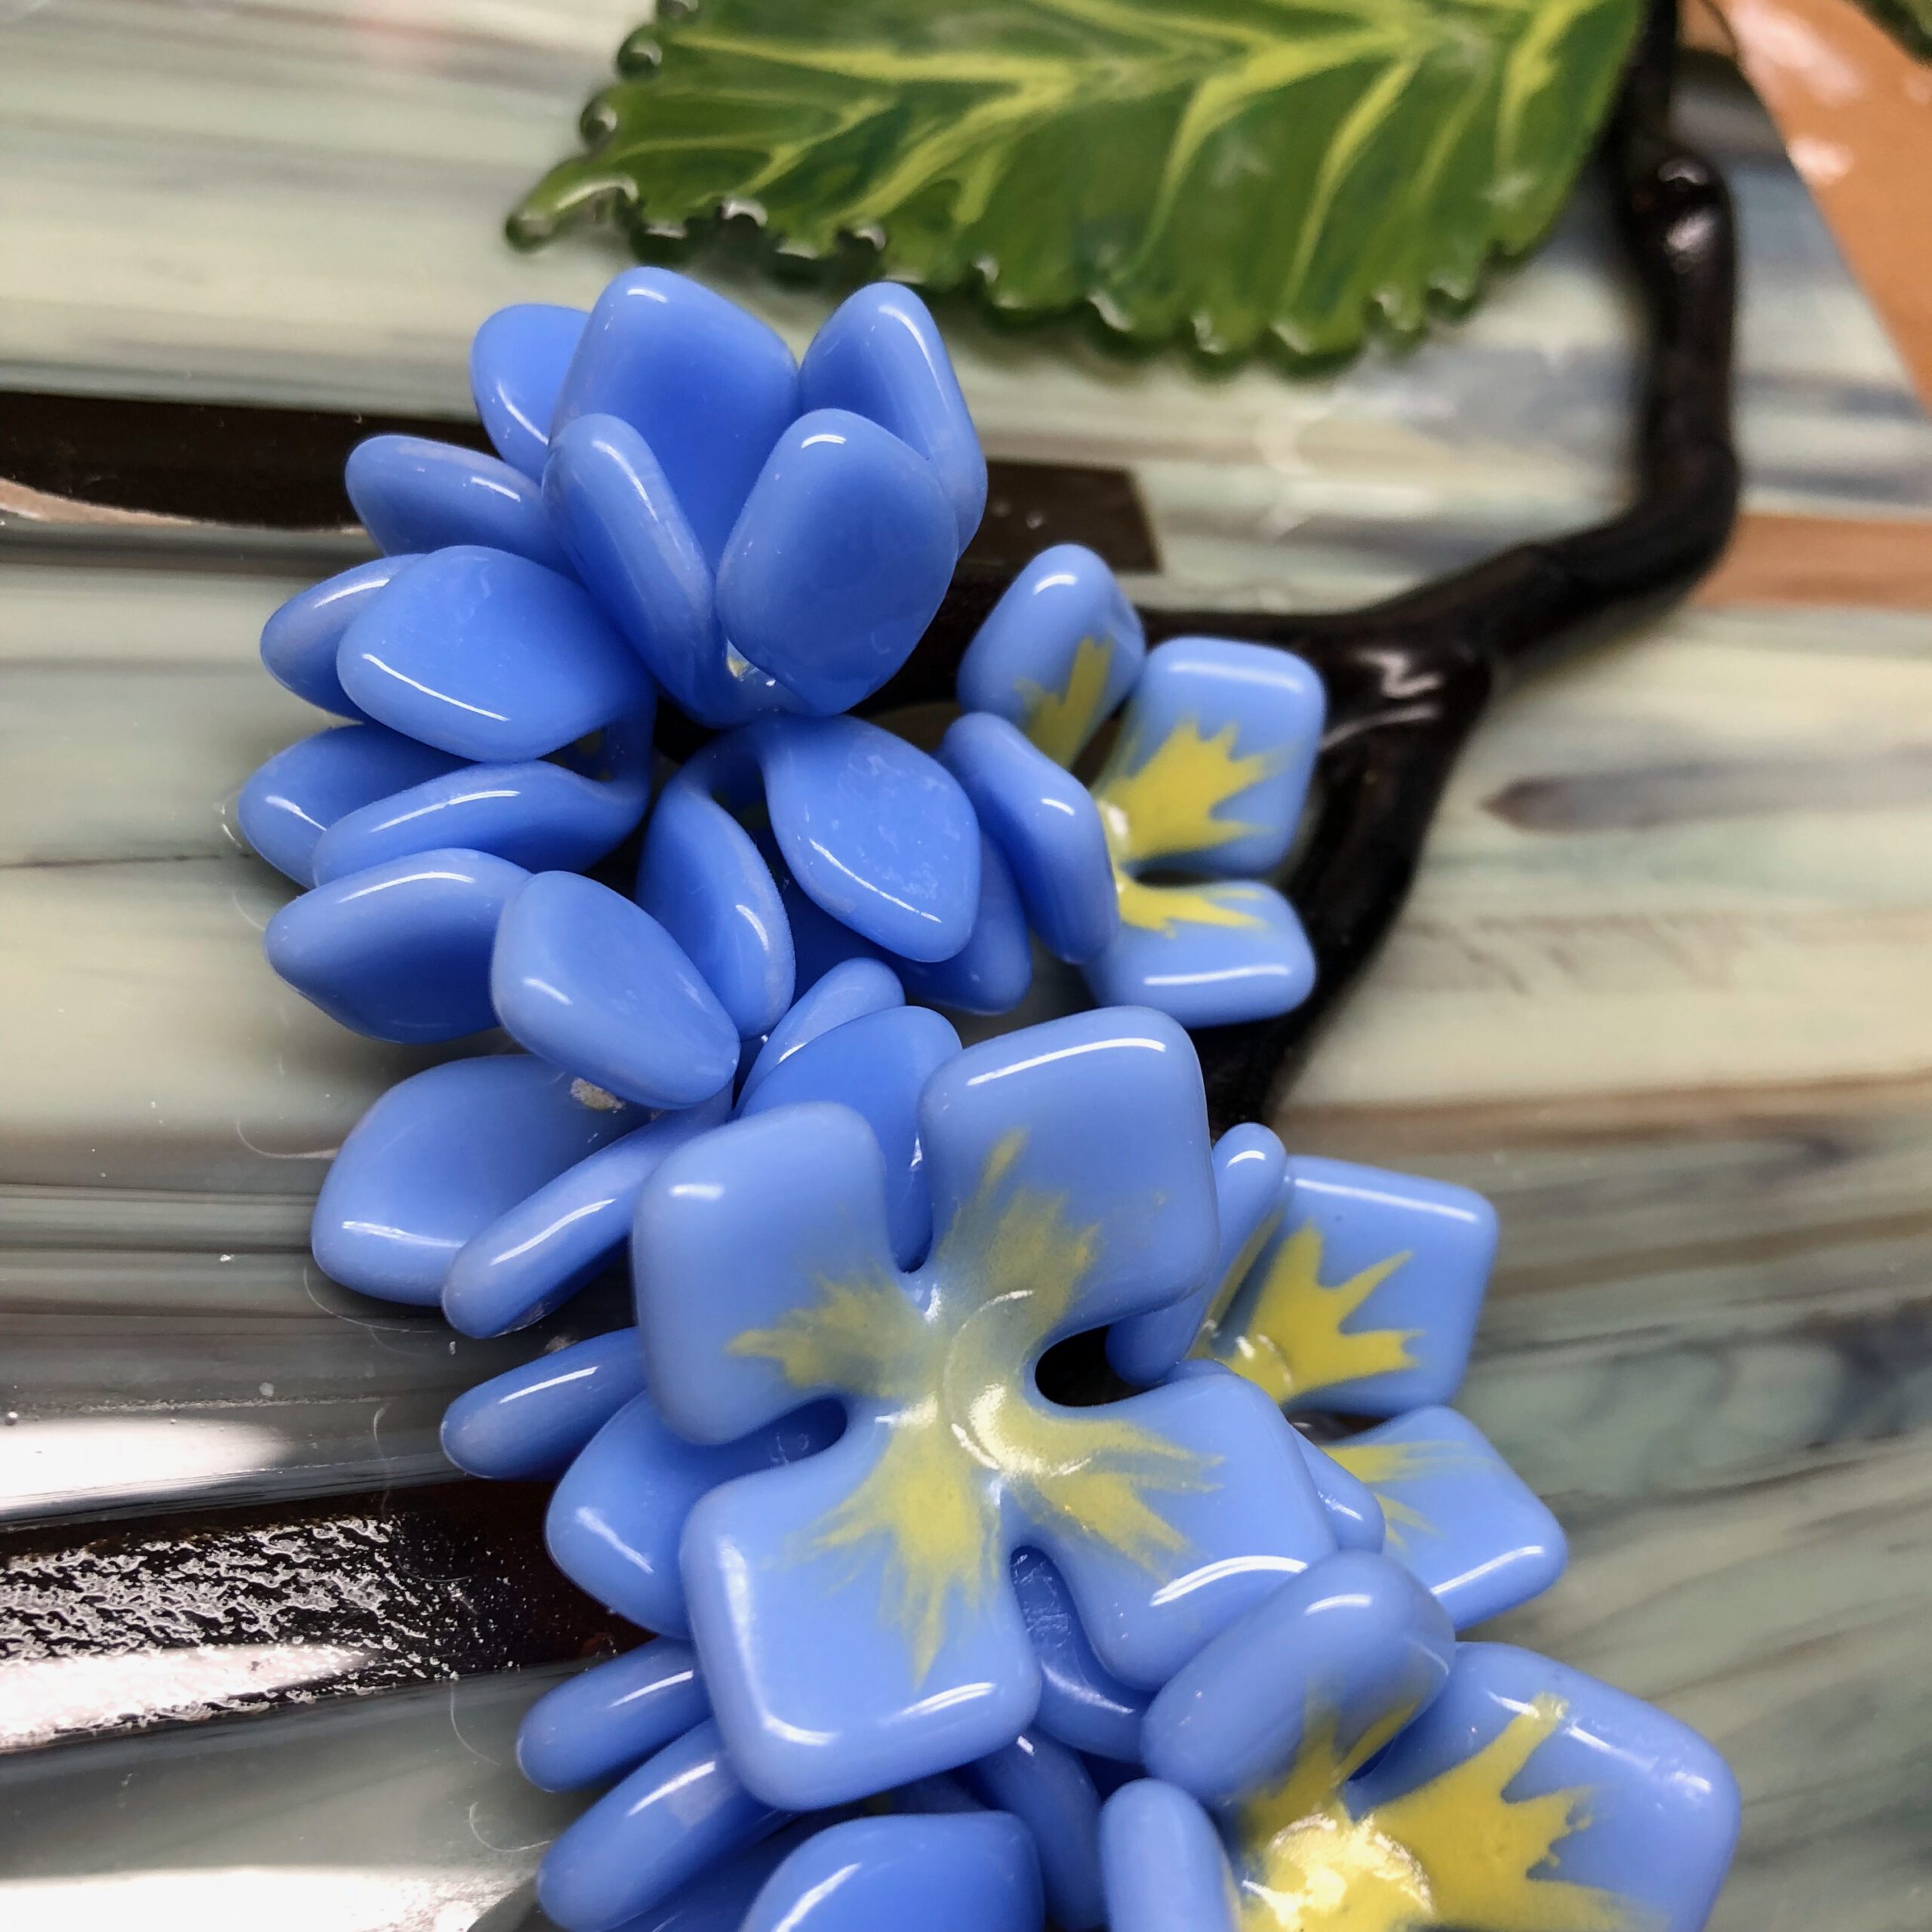
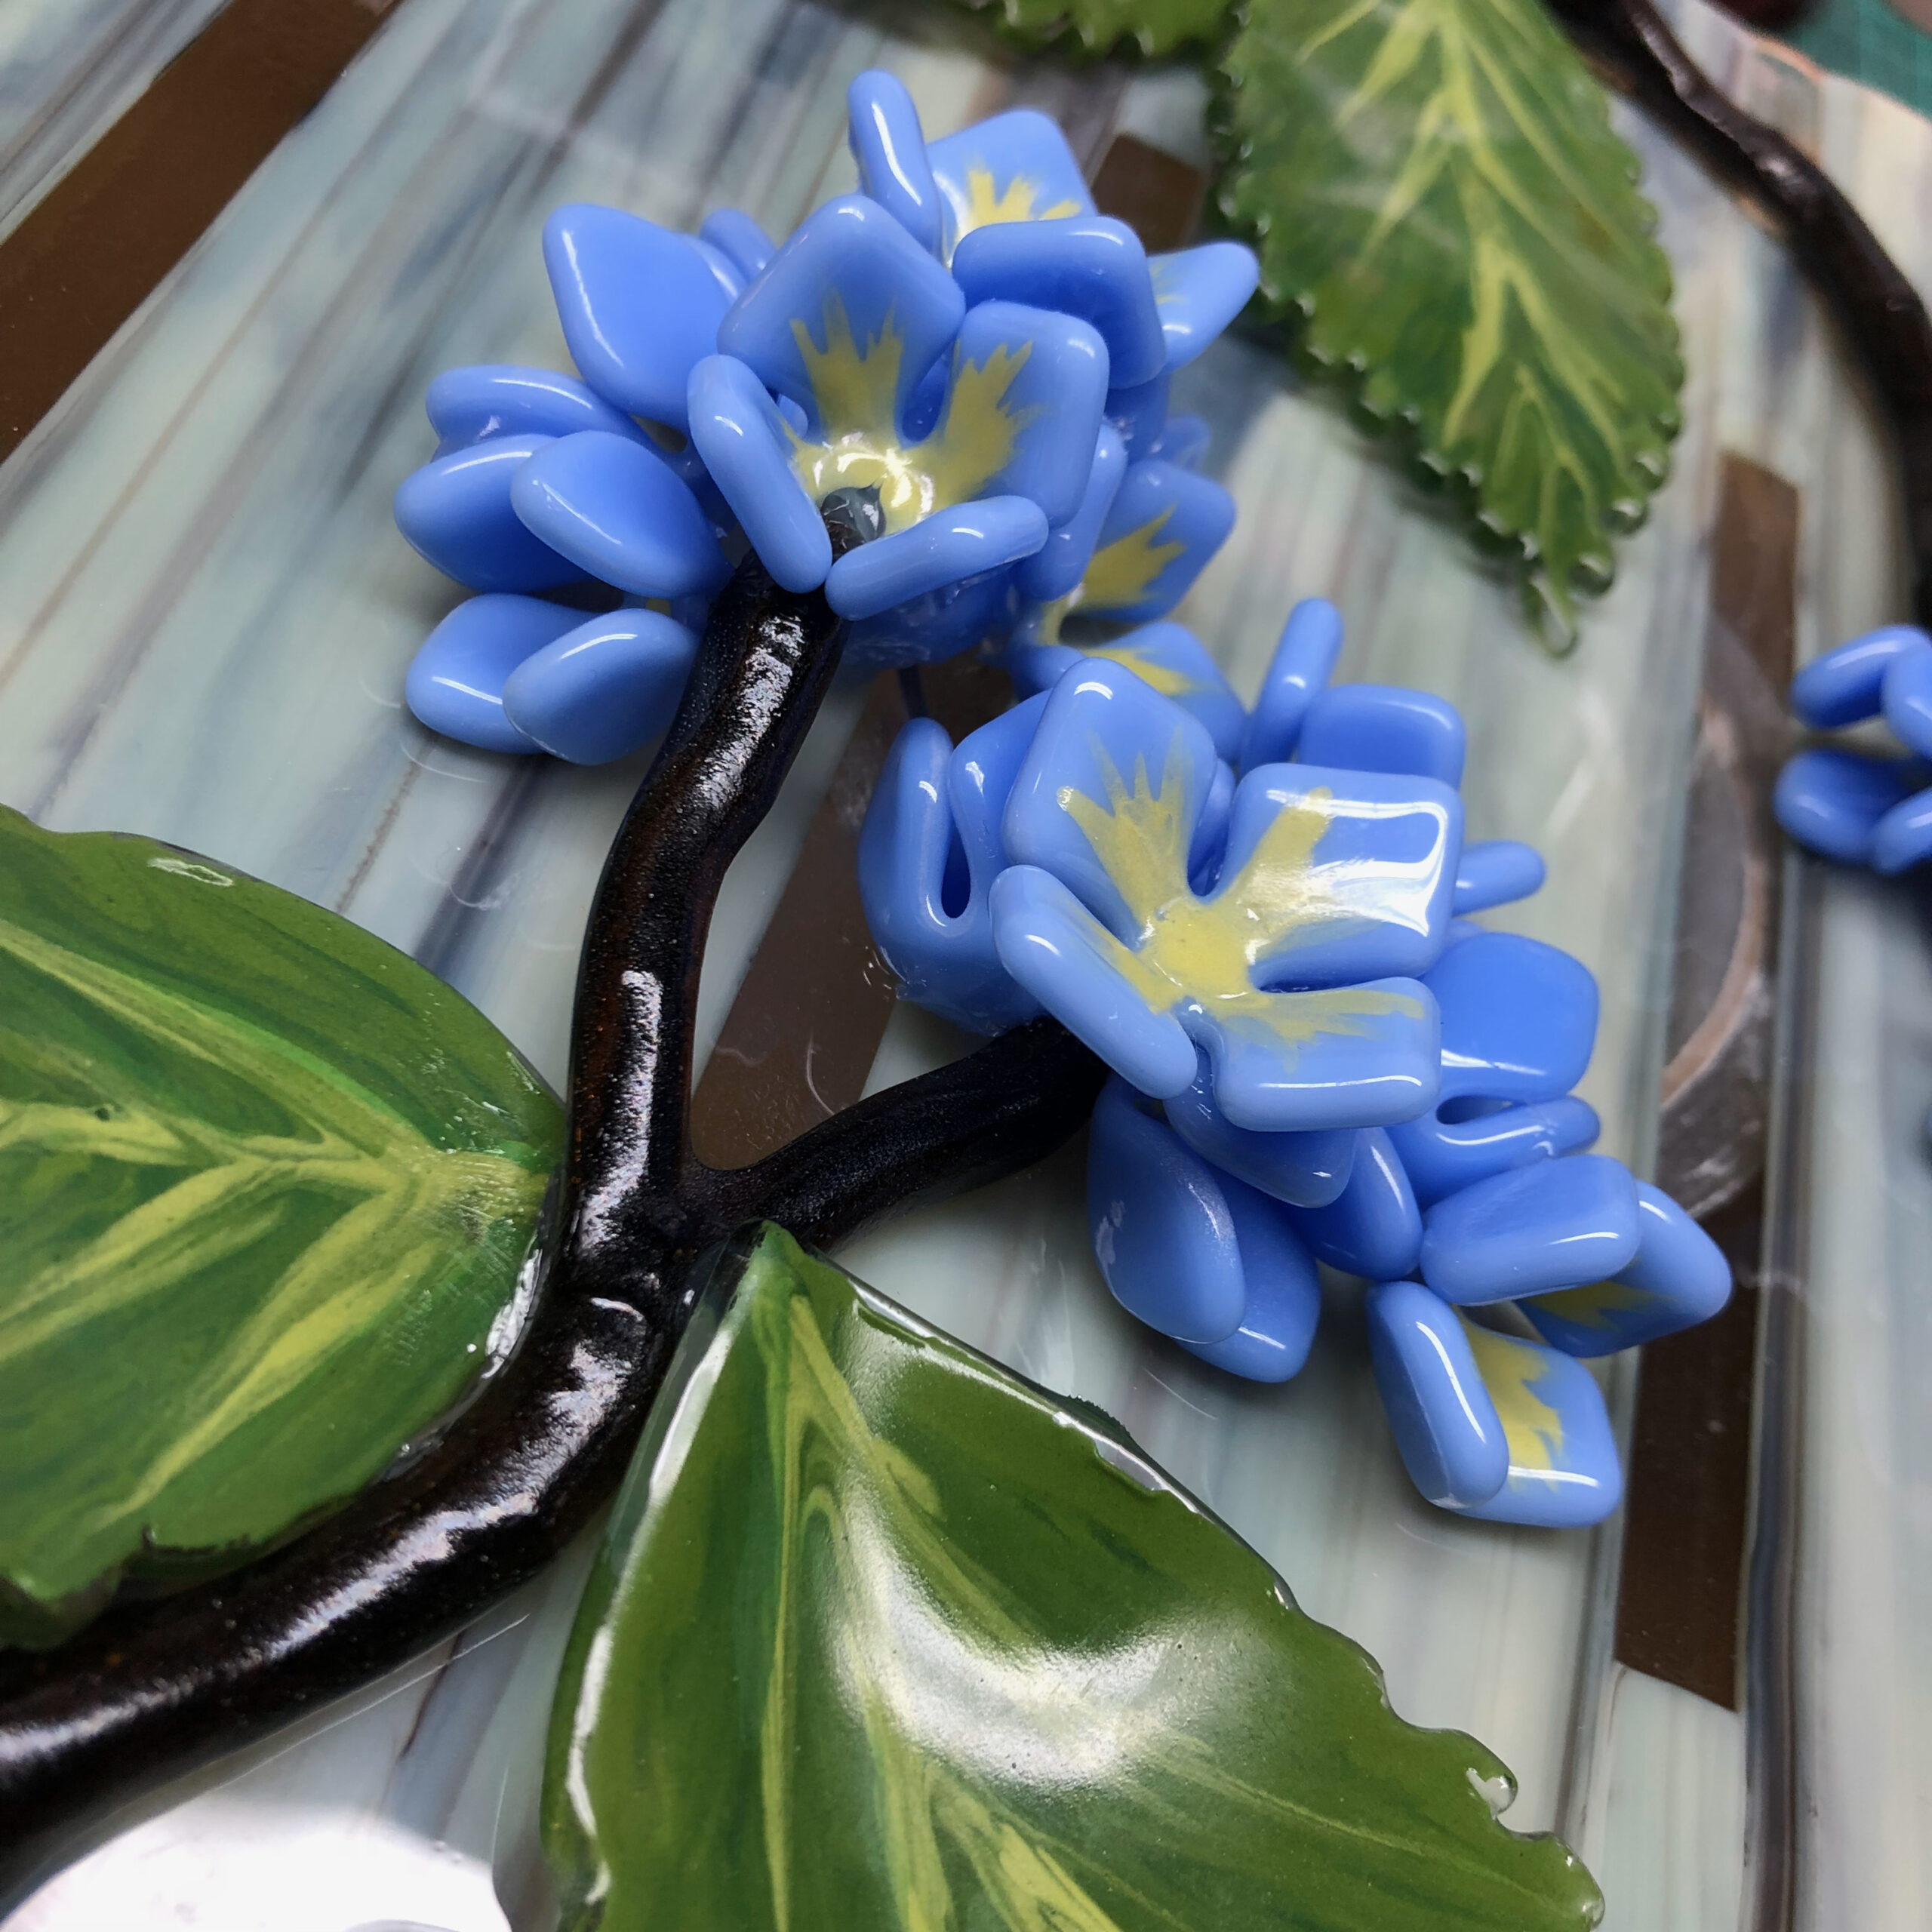
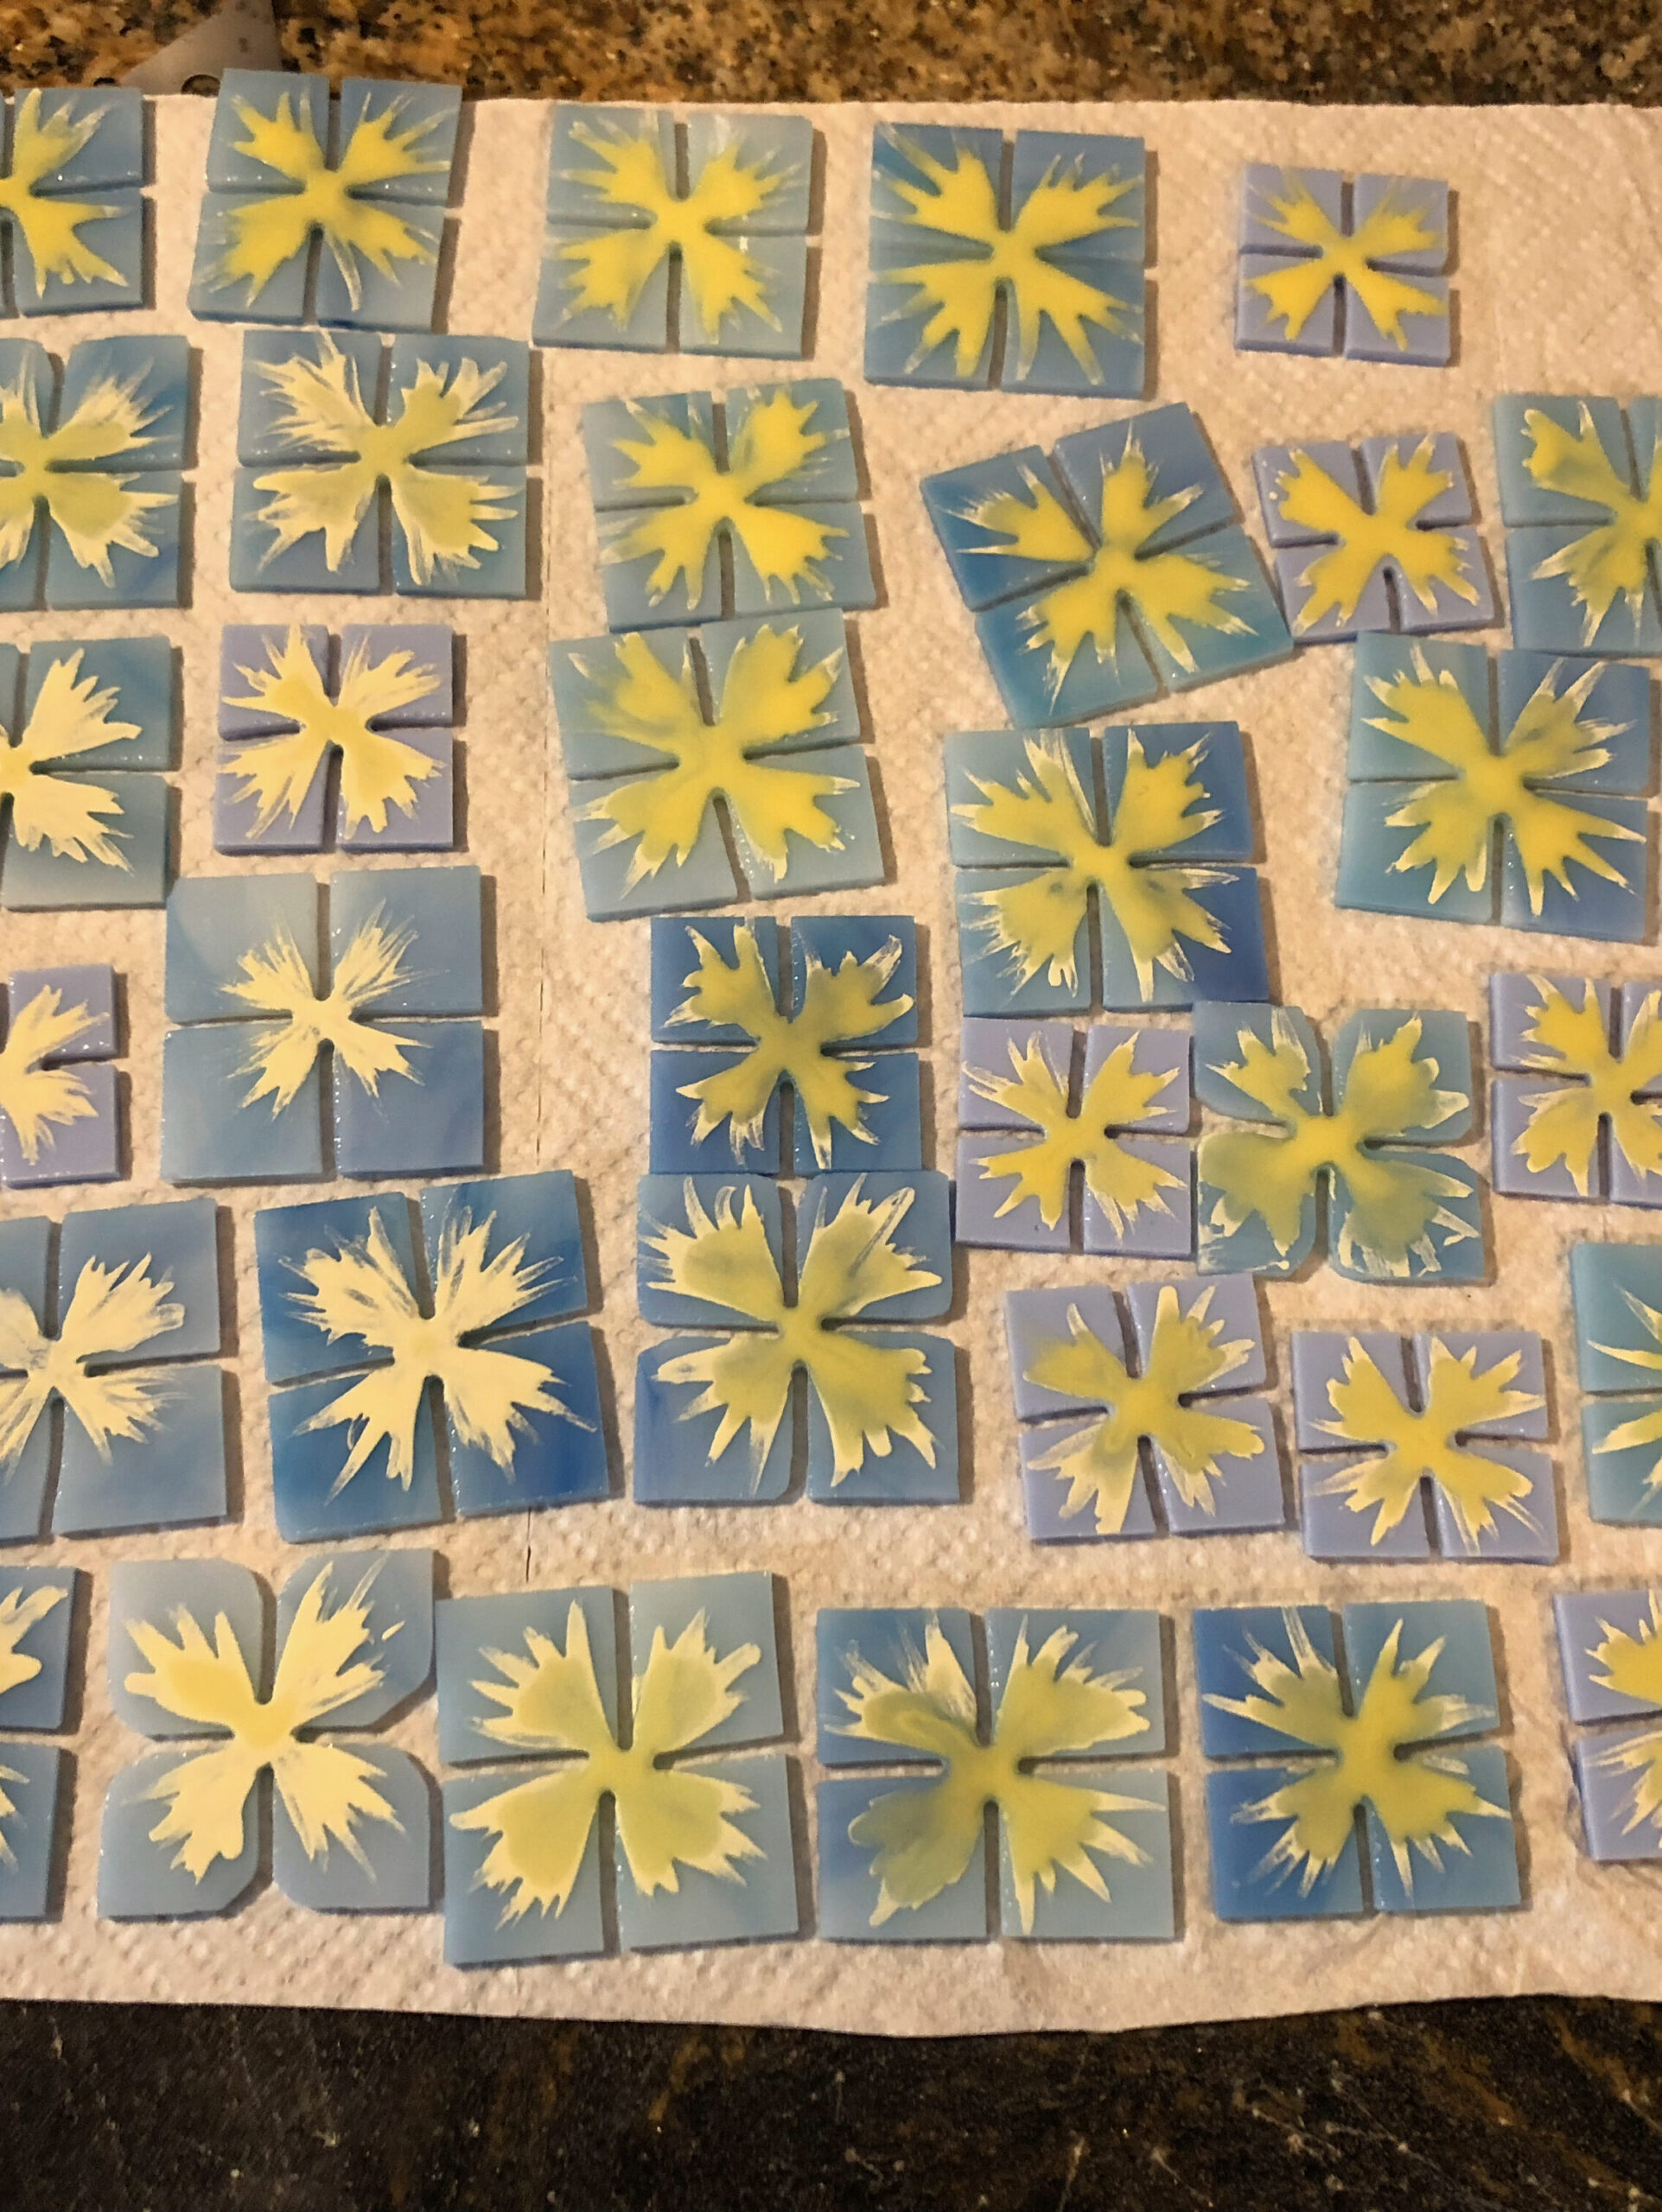
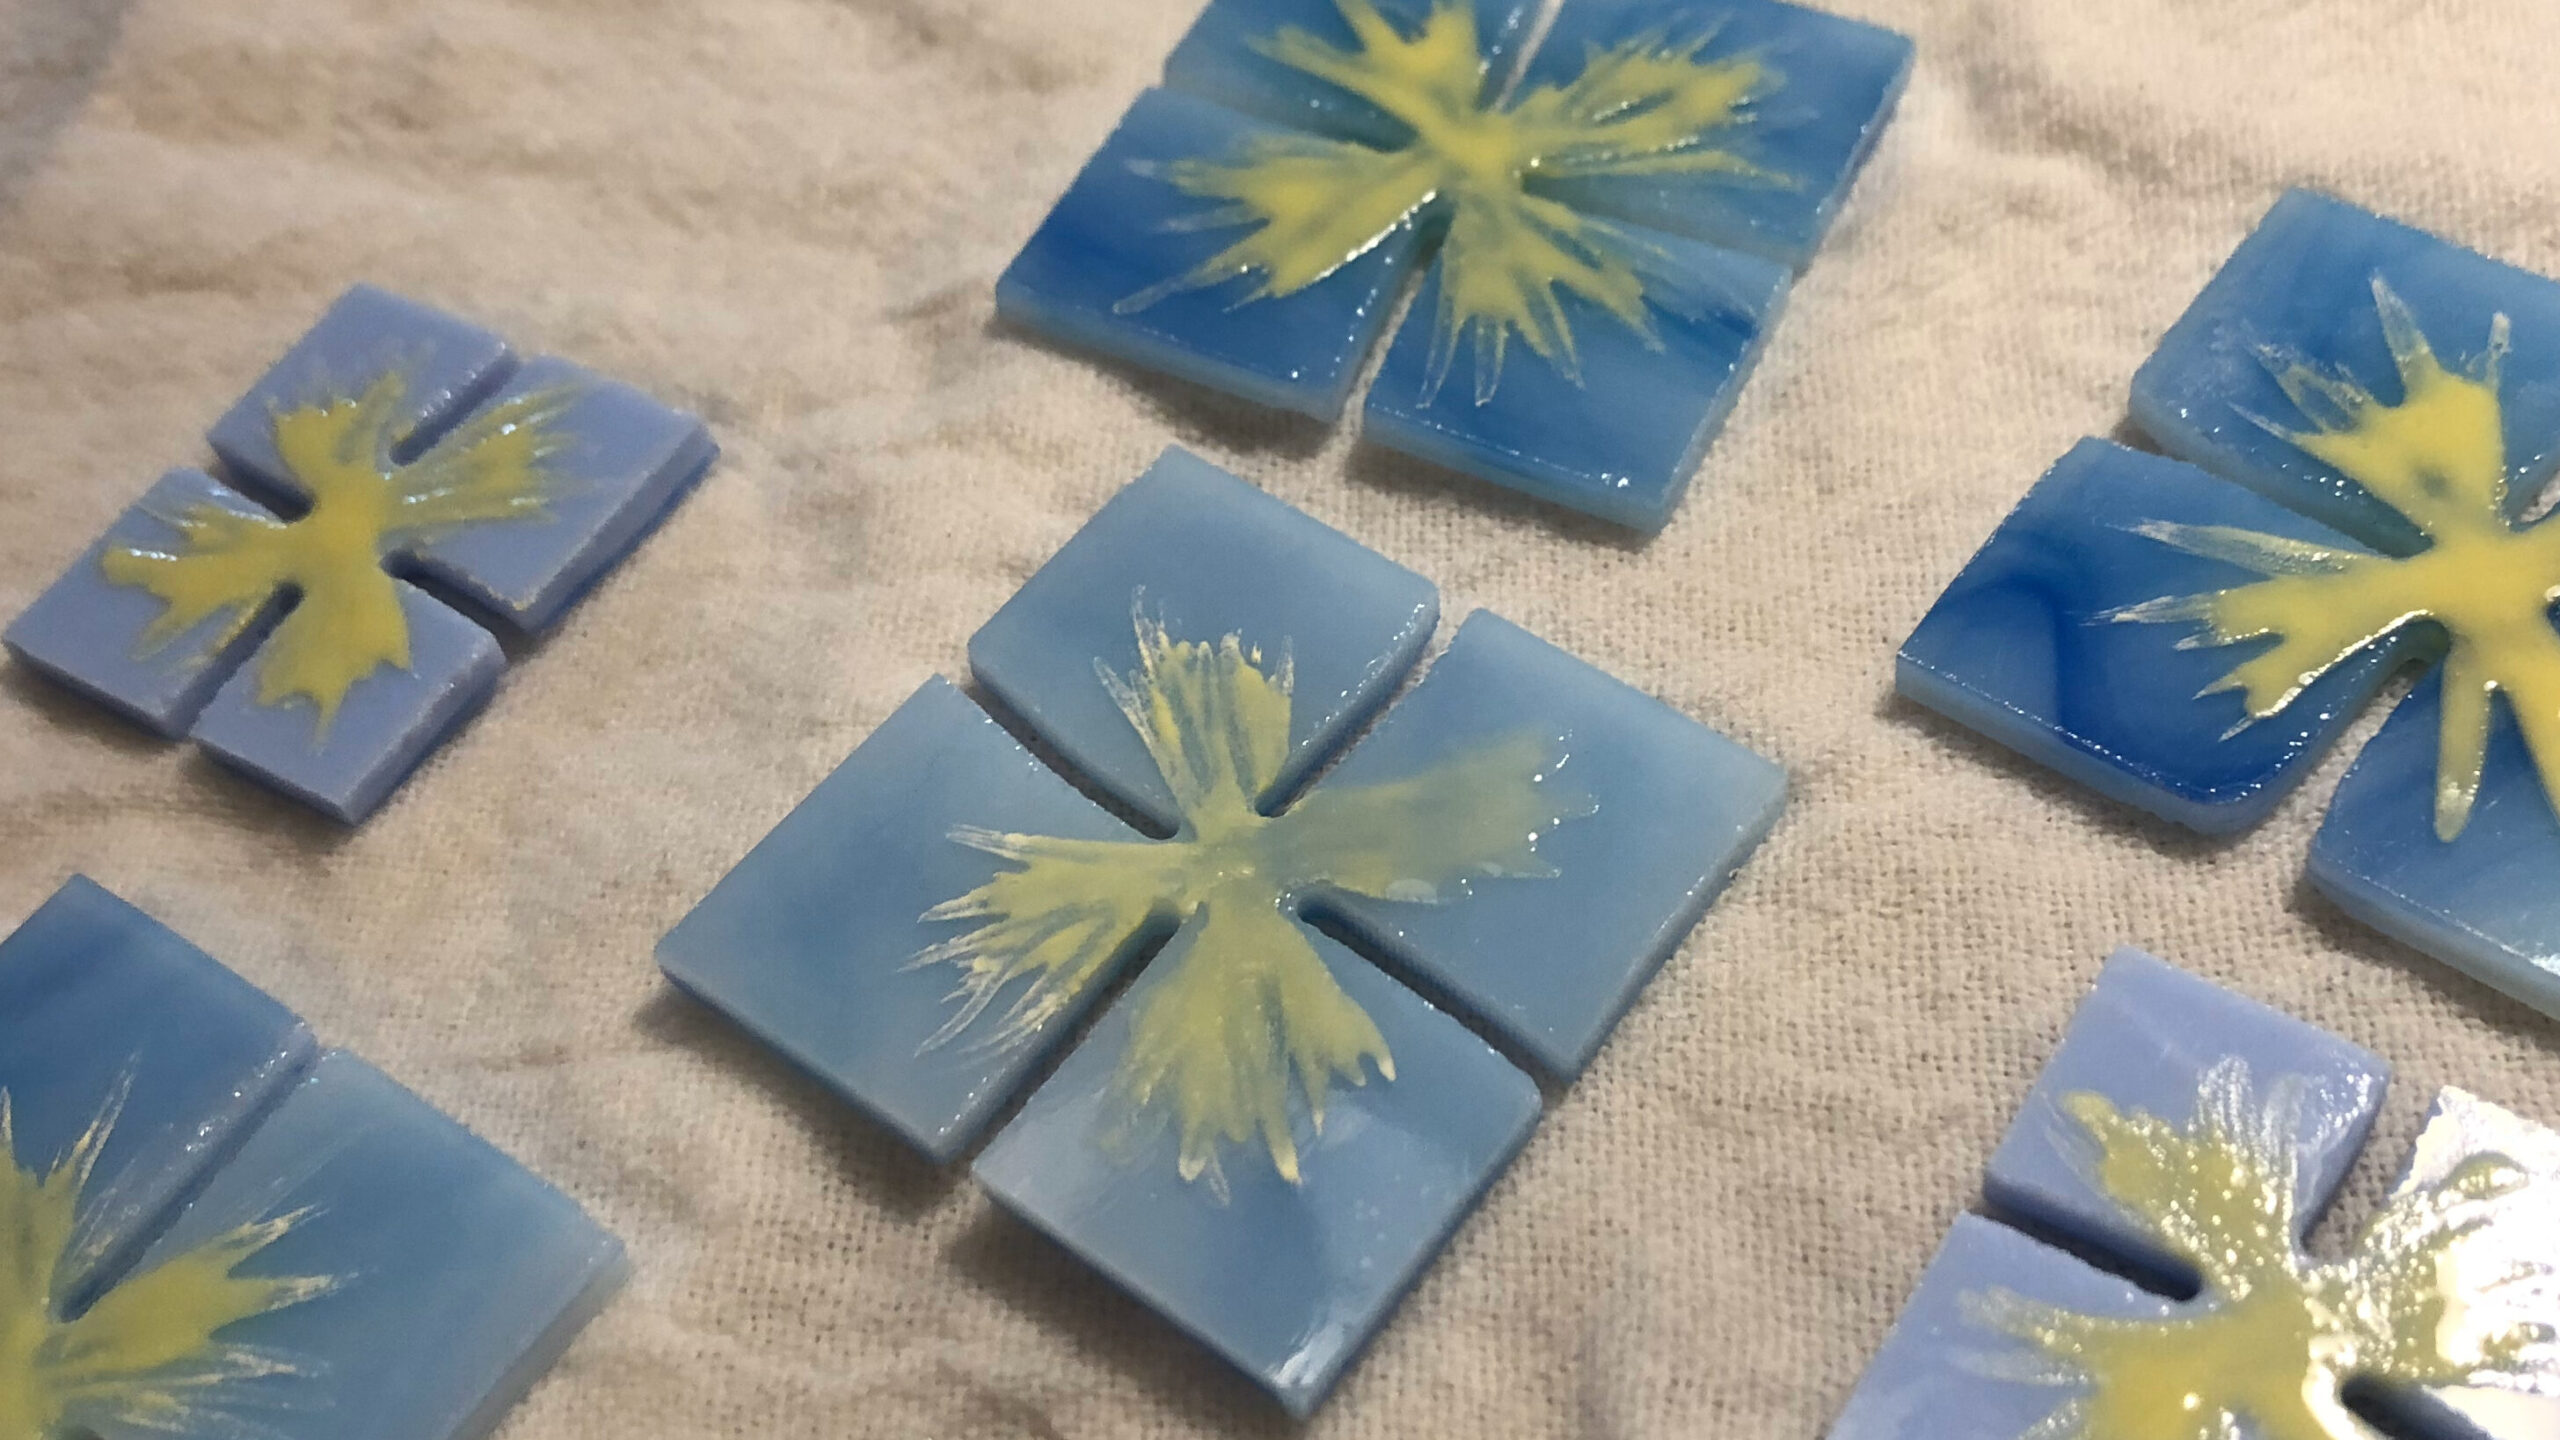
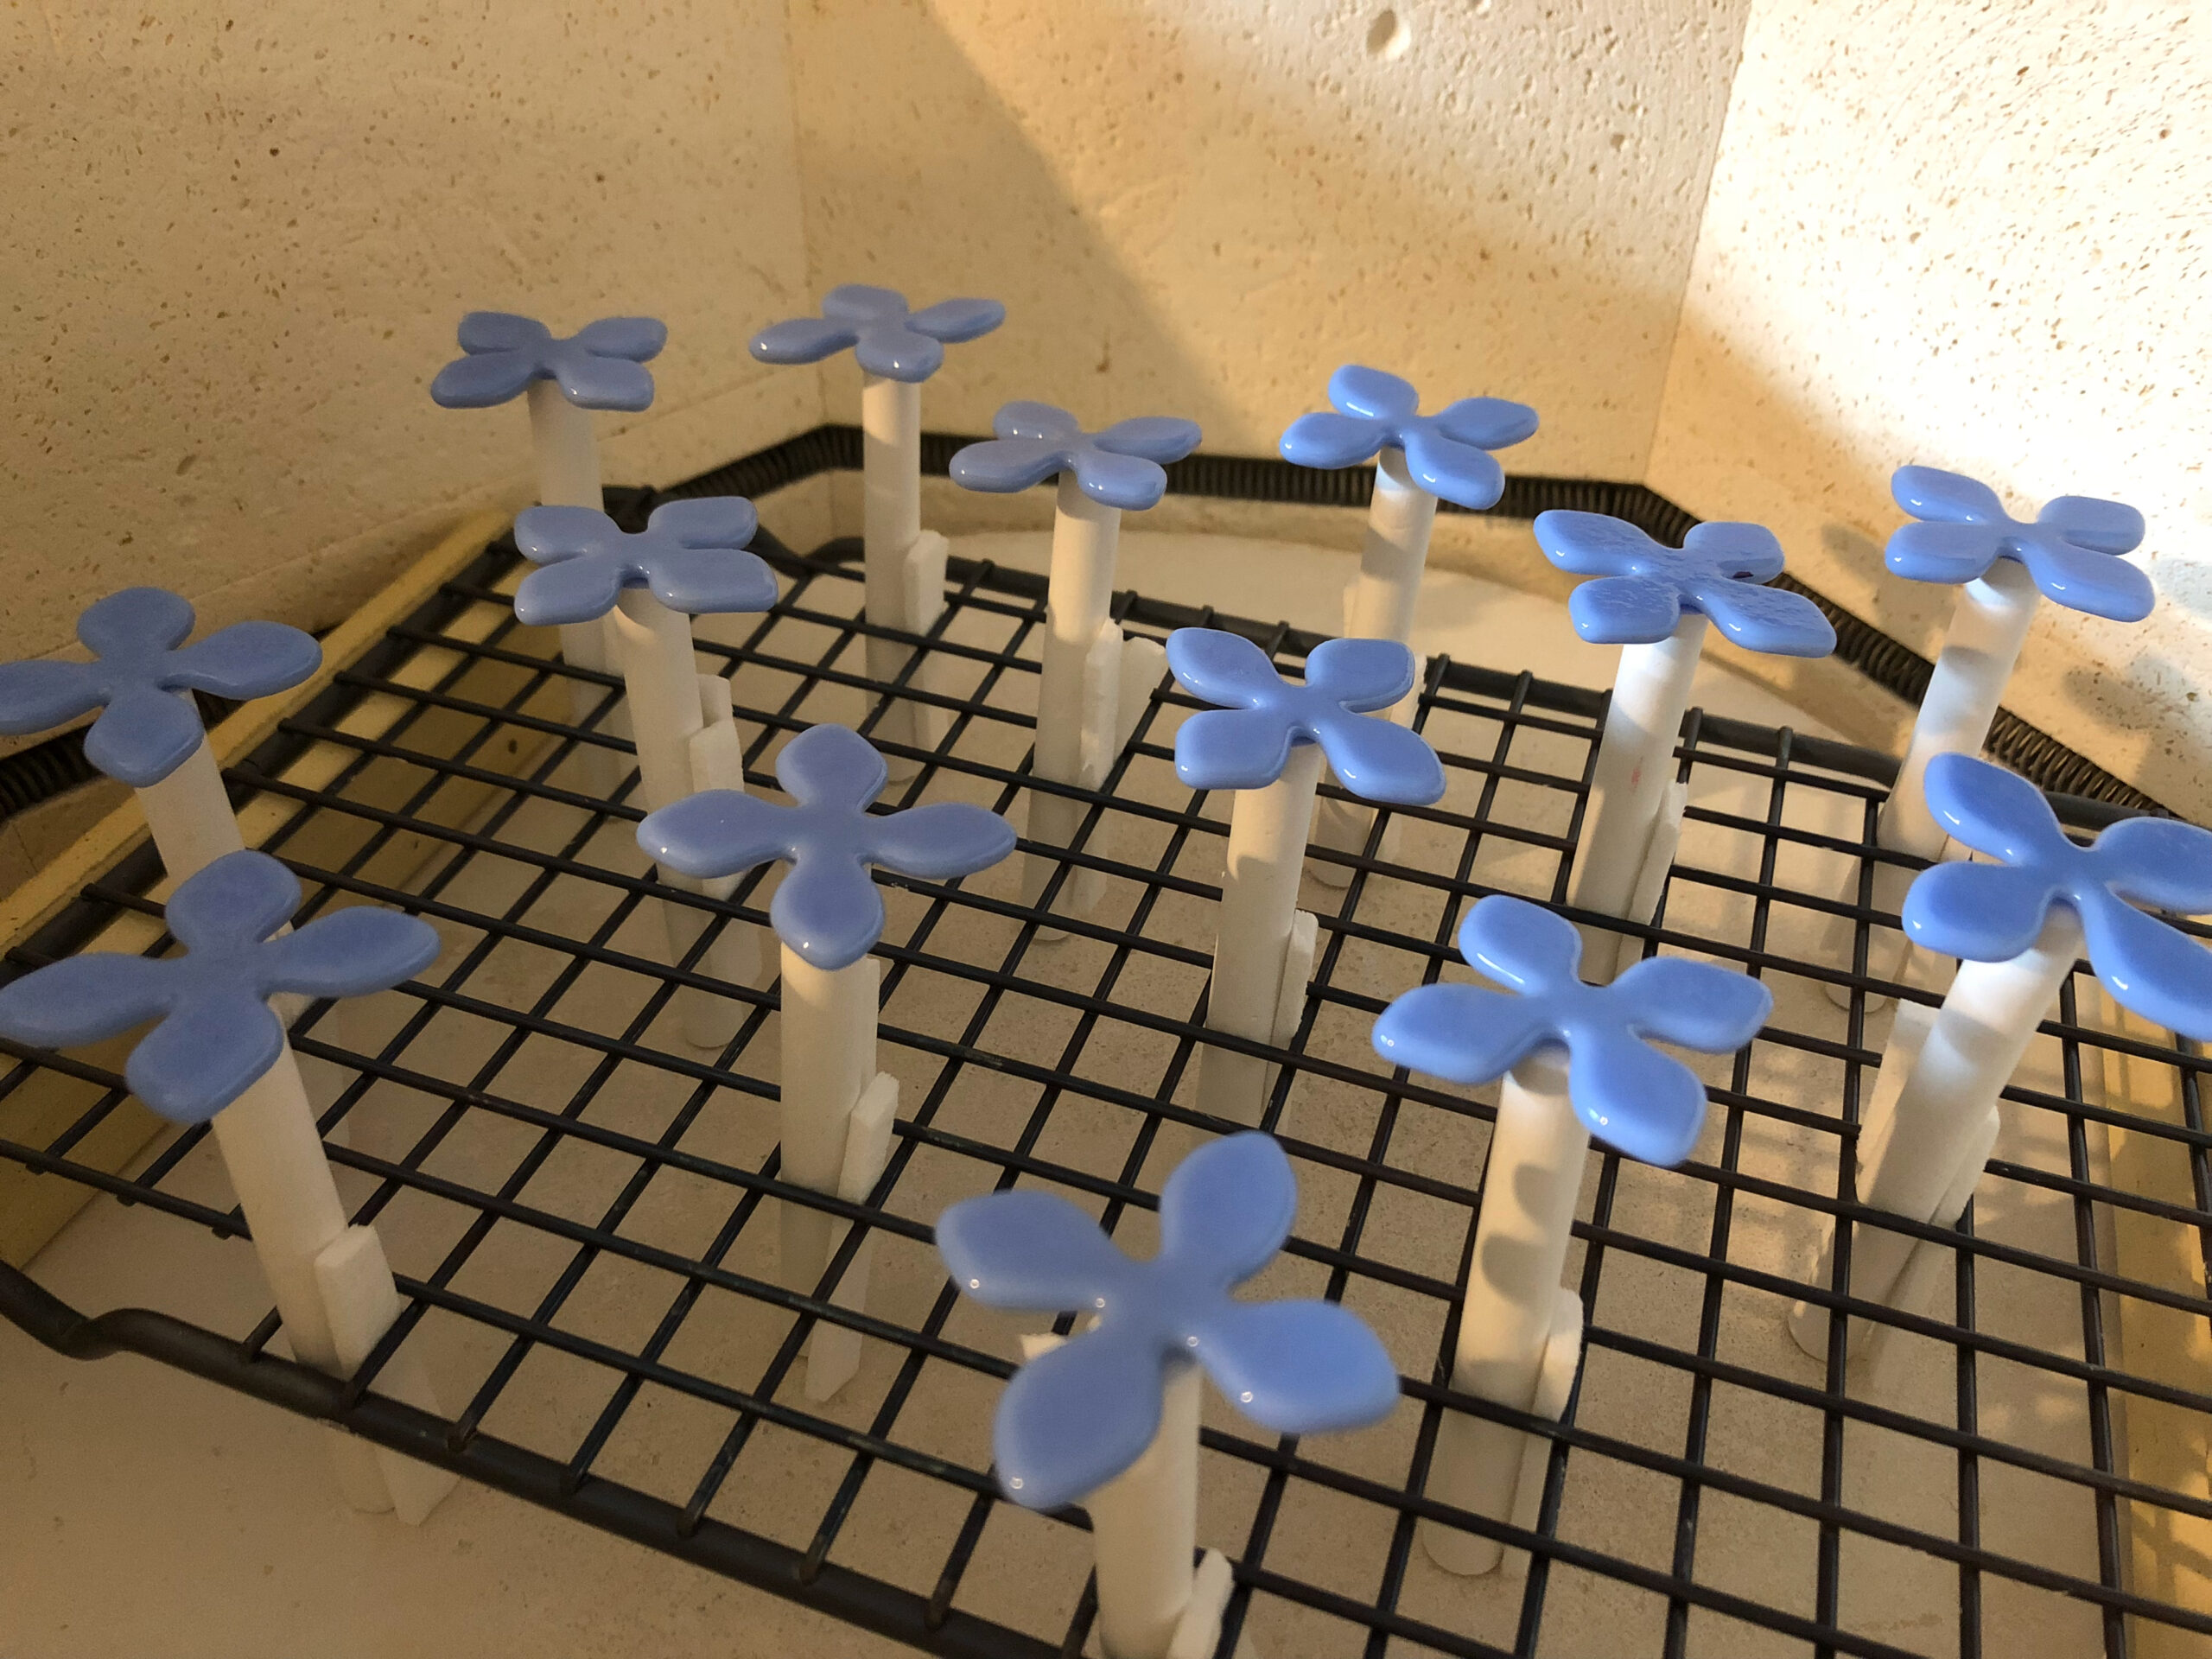
After I had several petals cut and cleaned, I mixed a bit of kiln-safe enamels (I believe I was using Colors for Earth) and made painted the squares a couple of different ways. For one batch, I dropped a small puddle of enamel into the centers and then with a wet brush I lightly flared out from the center to add the look of stamens. Some others I just dotted enamels onto the petals, I think using the tip of a stylus. I loaded these into the kiln and fired just hot enough to set the enamels (this will vary by manufacturer) and soften the edges of the petals. I had to experiment with a couple of firing schedules to not over-fuse (some of these like the ones in the photo with the dot centers were a little too fused.)
Setting up the drape firing – using chalk
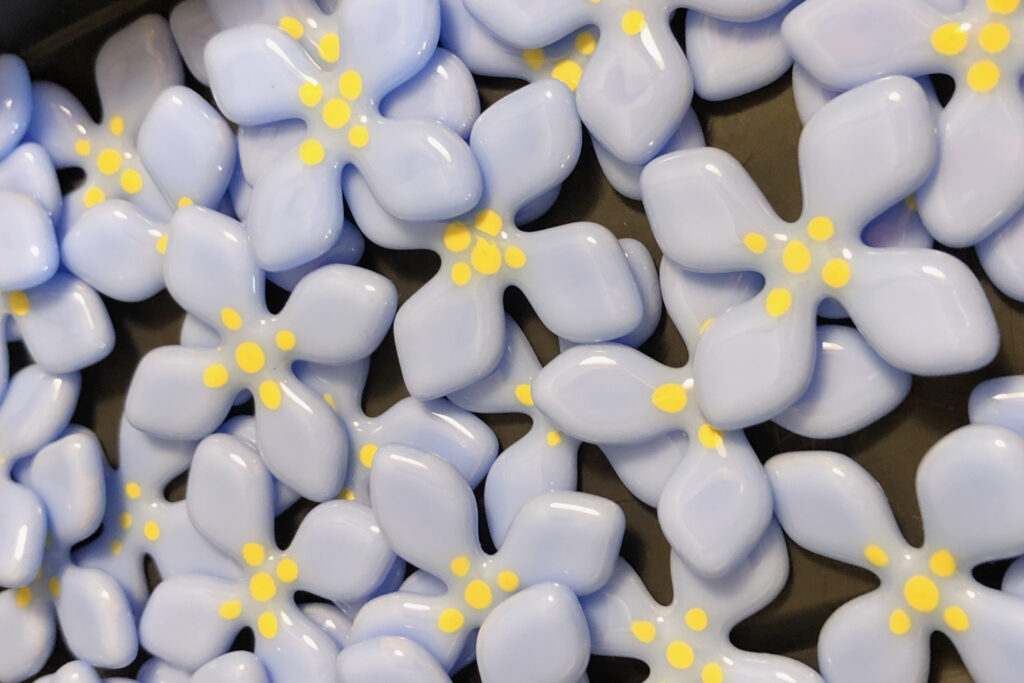
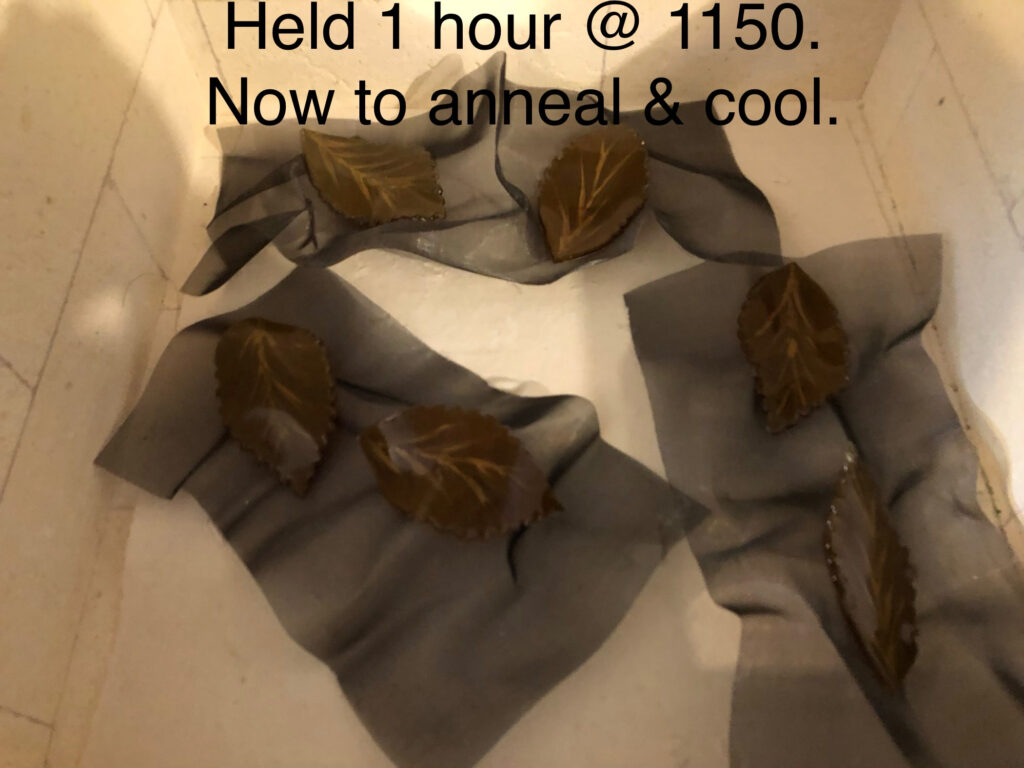
Yes, here is another great use of chalk in the kiln! I used a grid-style stainless steel cooling rack and stood pieces of chalk in the spaces, far enough apart to allow for the set up of the glass pieces. These were just regular chalkboard sized chalk sticks. If needed I tucked pieces of 1/8″ ceramic fiber strips to steady the chalk. I had 1mm fiber down on the kiln floor in case any fell off the chalk and drooled down between grid spaces or over an edge. This step also took a couple of tries to get right, you can see the ones fused in the photo below still in the kiln were left at the top temp a wee-bit too long! But I was able to use some of these as I wanted some petals more open than others for a more organic look.
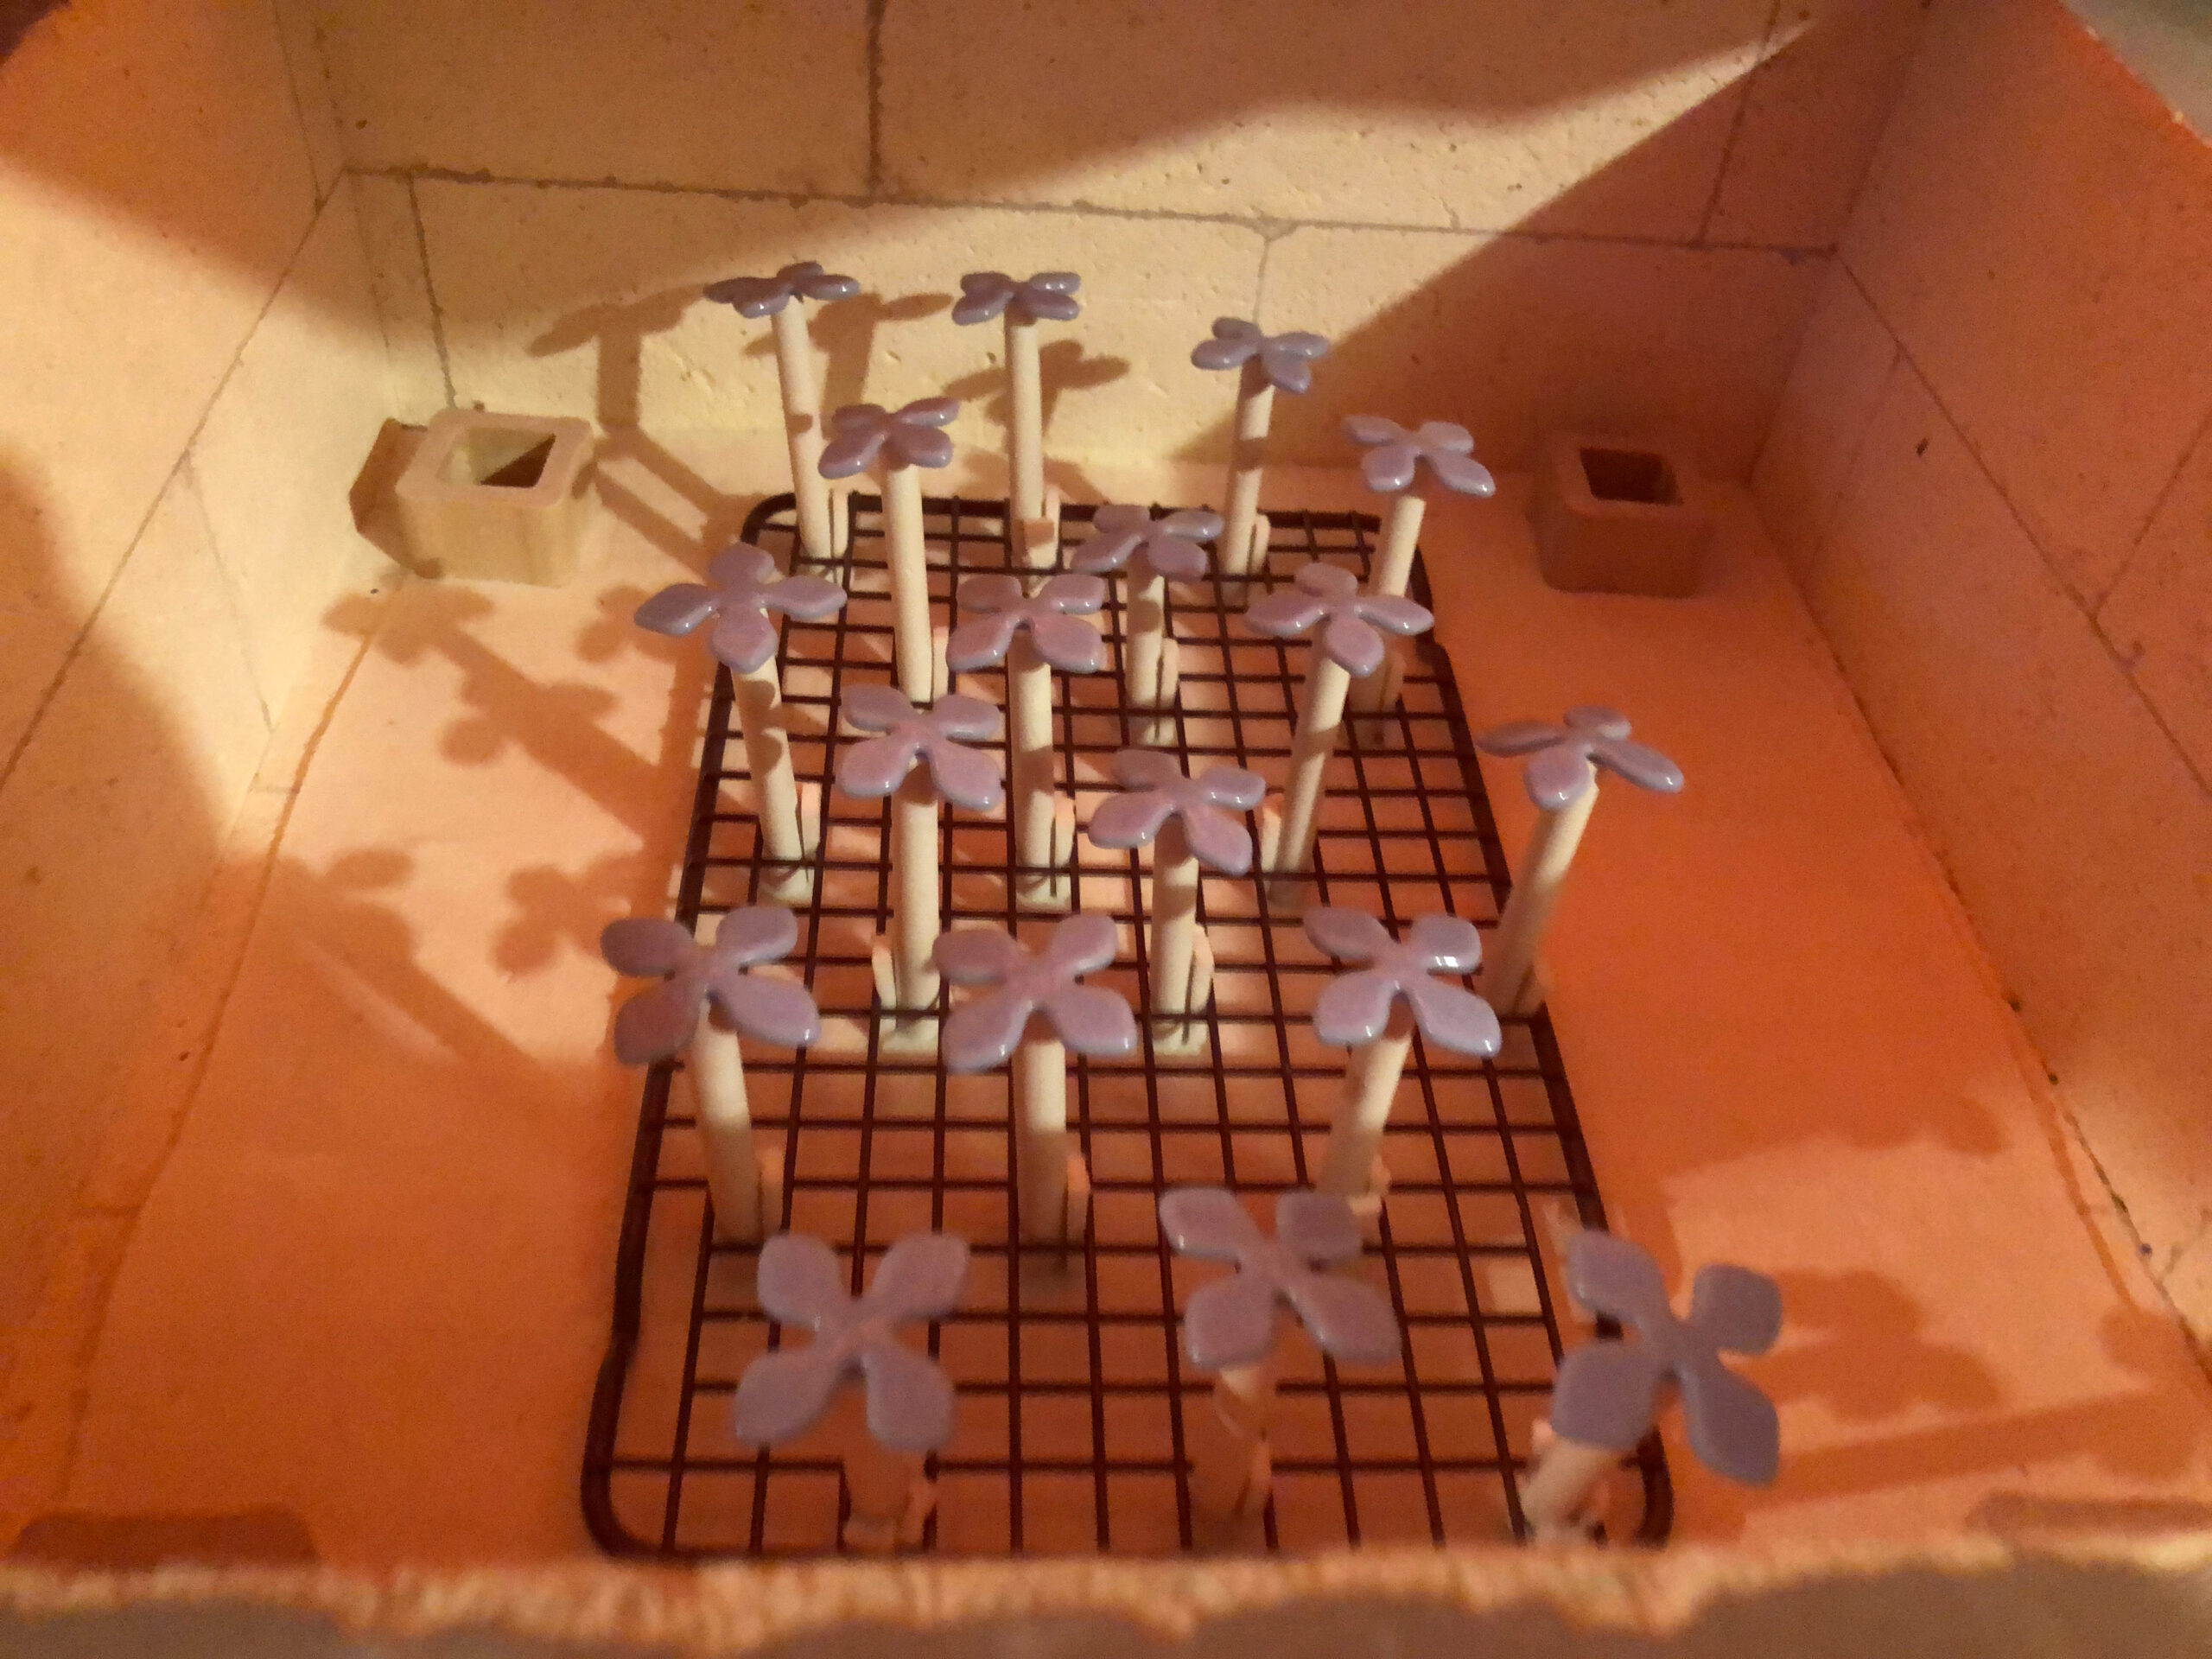
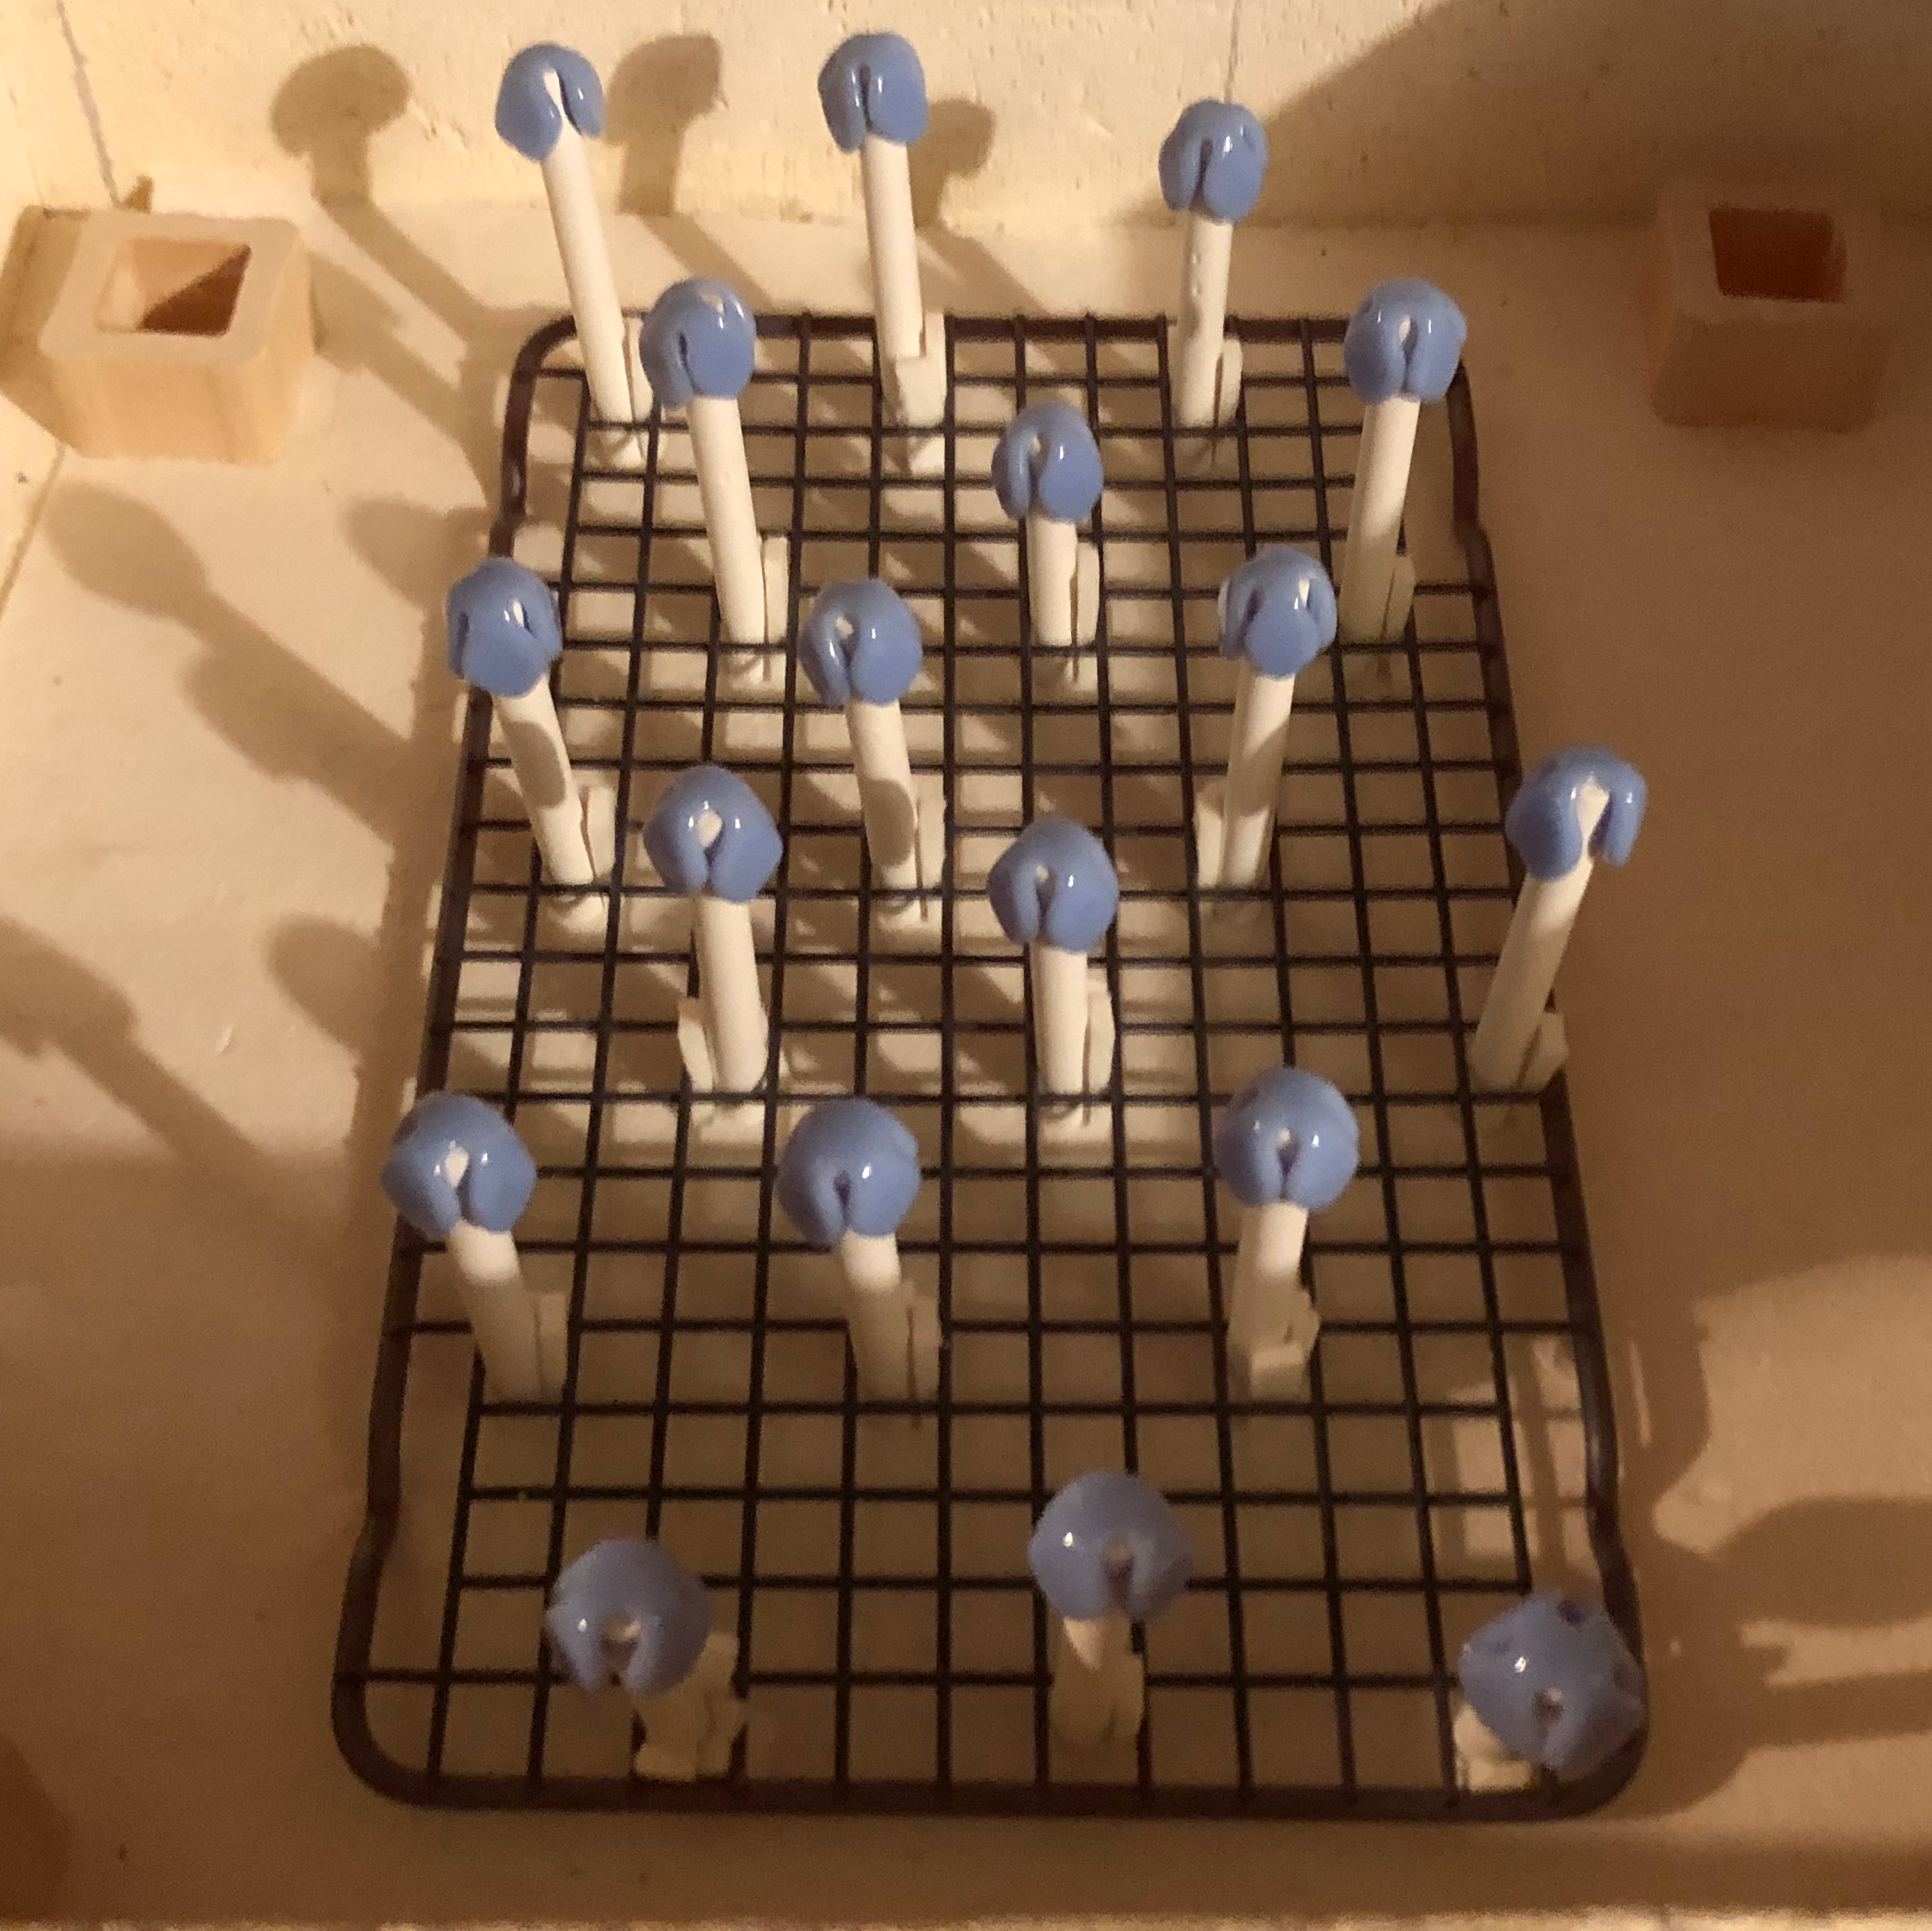
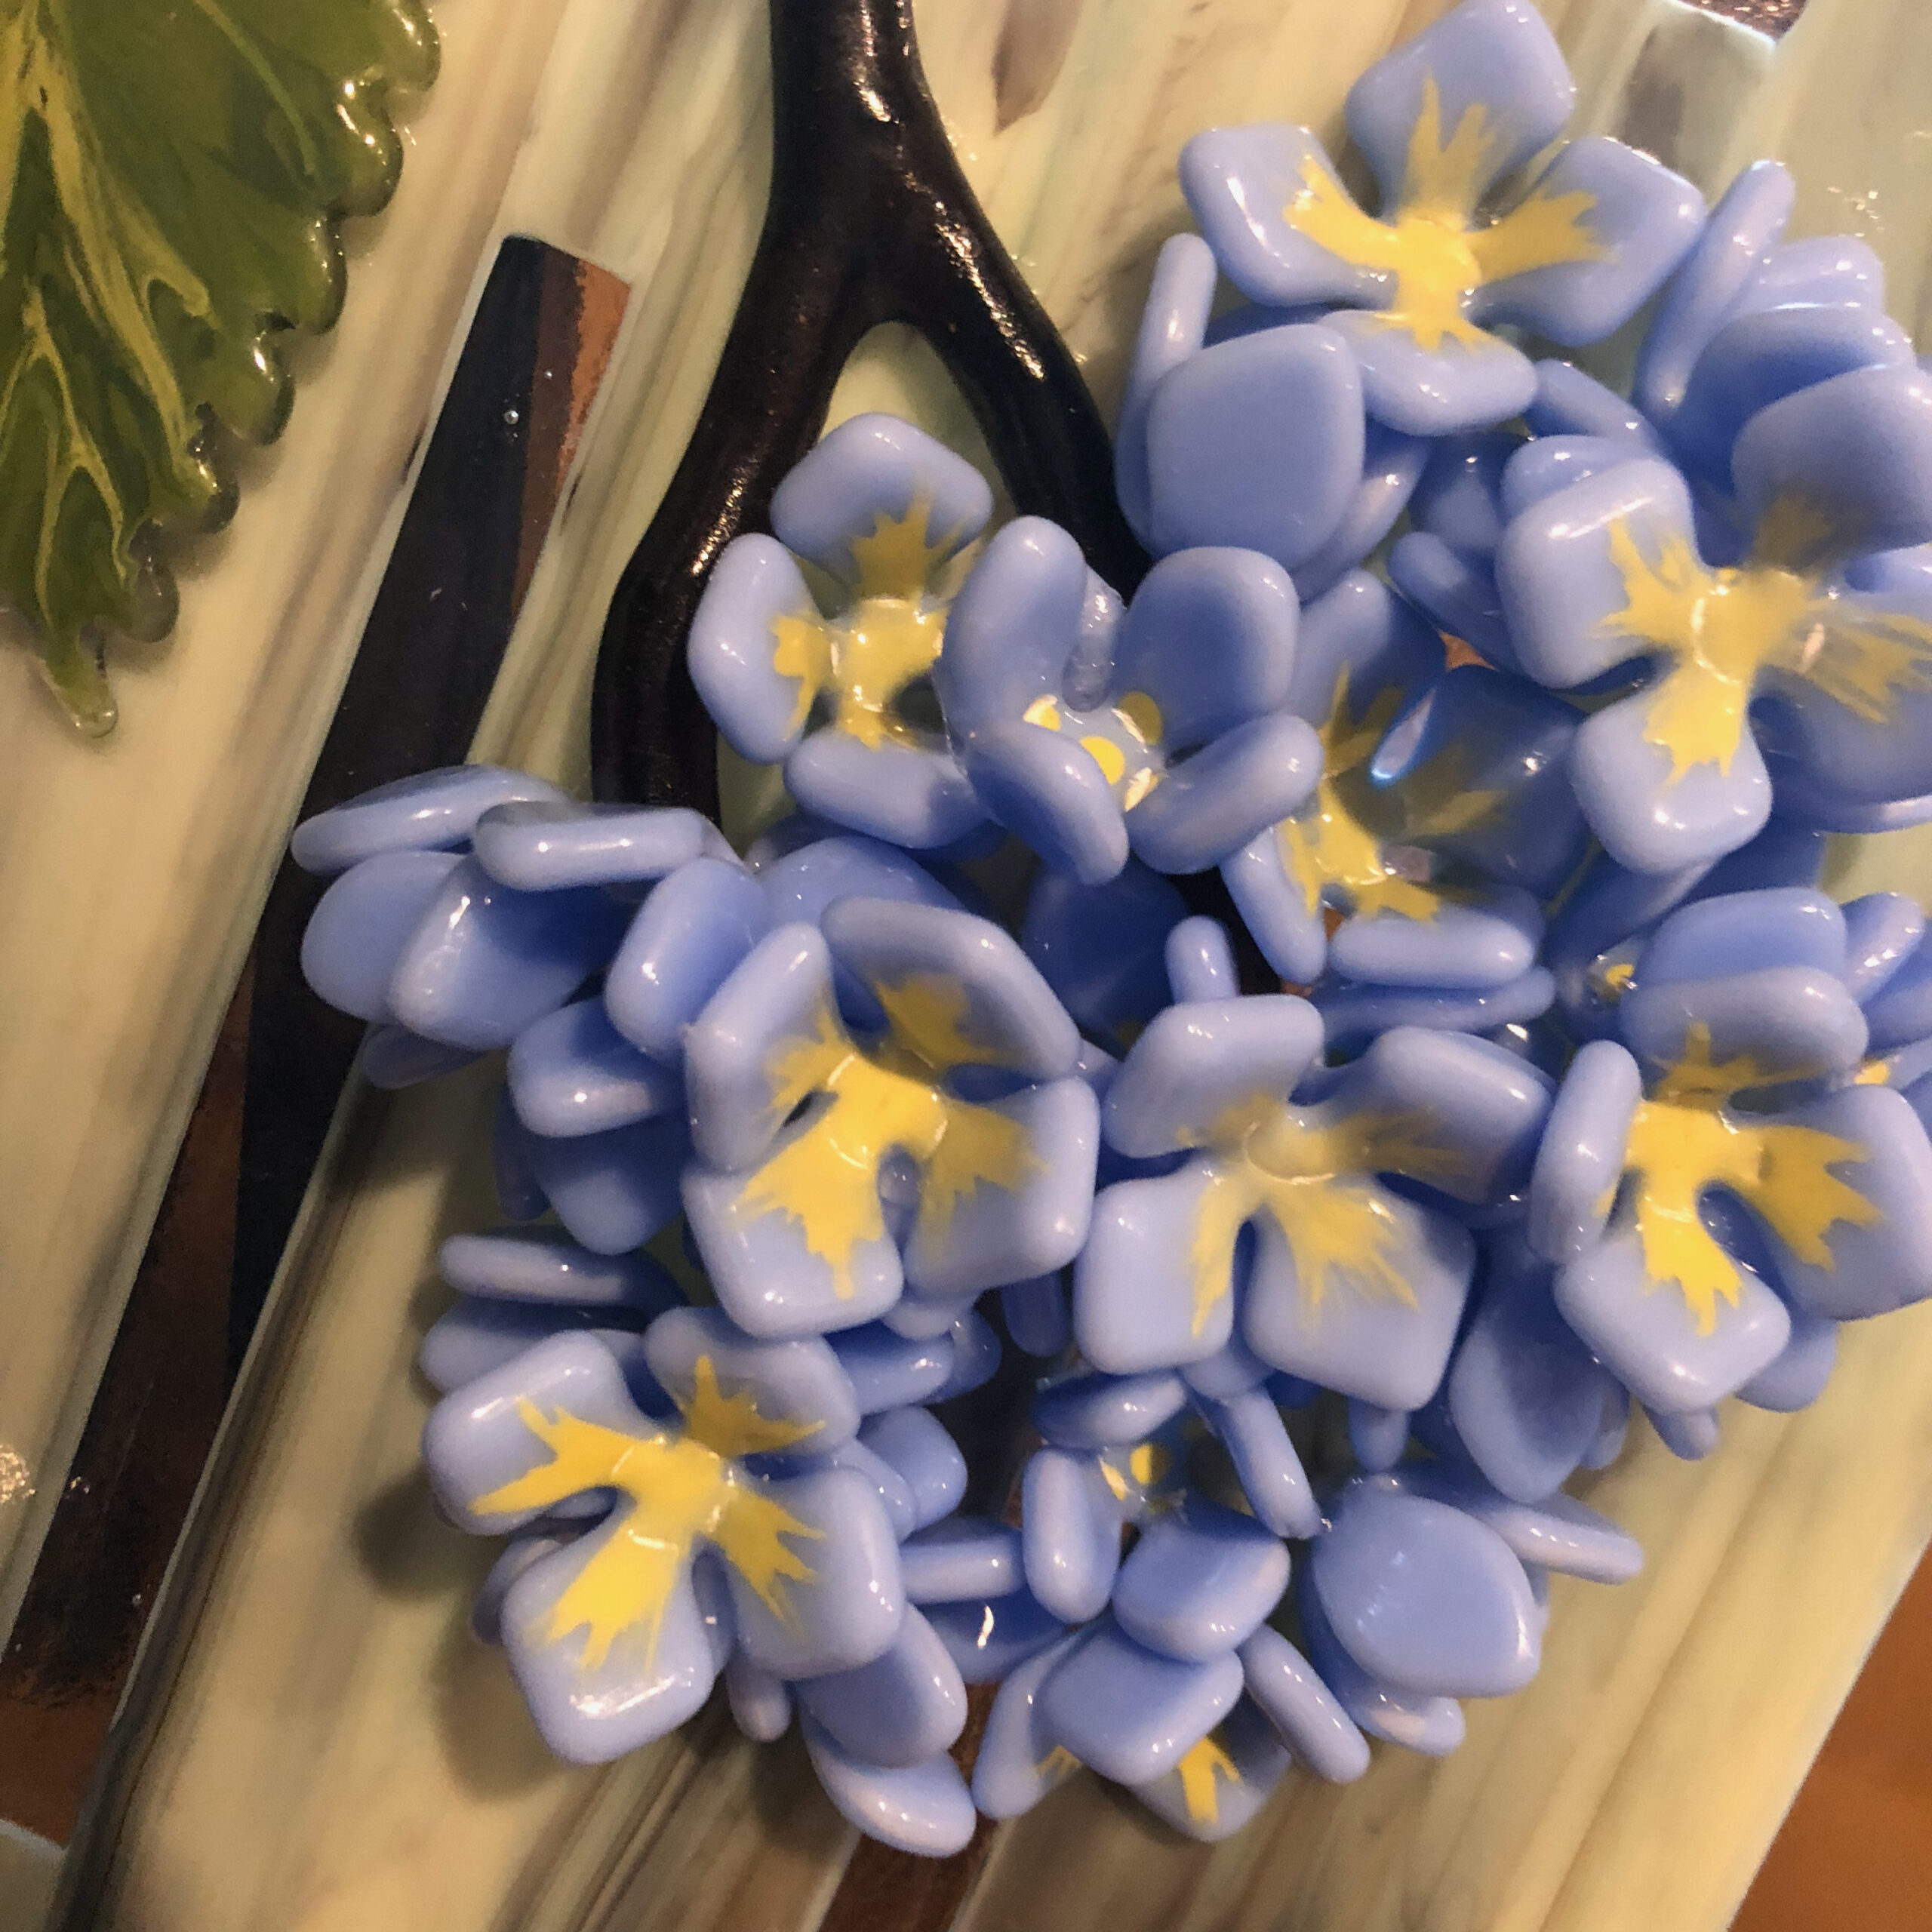
These petals were more of the final draped appearance I was going for. The key with doing something like this is to be nearby your kiln once it starts to get in the 1100 F range, and check every few minutes. Every kiln and every glass will be a bit different as to how hot you’ll need to go or how long you’ll need to hold at the top temp. Once you see they are where you want skip your firing ahead to the next segment (bringing them down to anneal.)
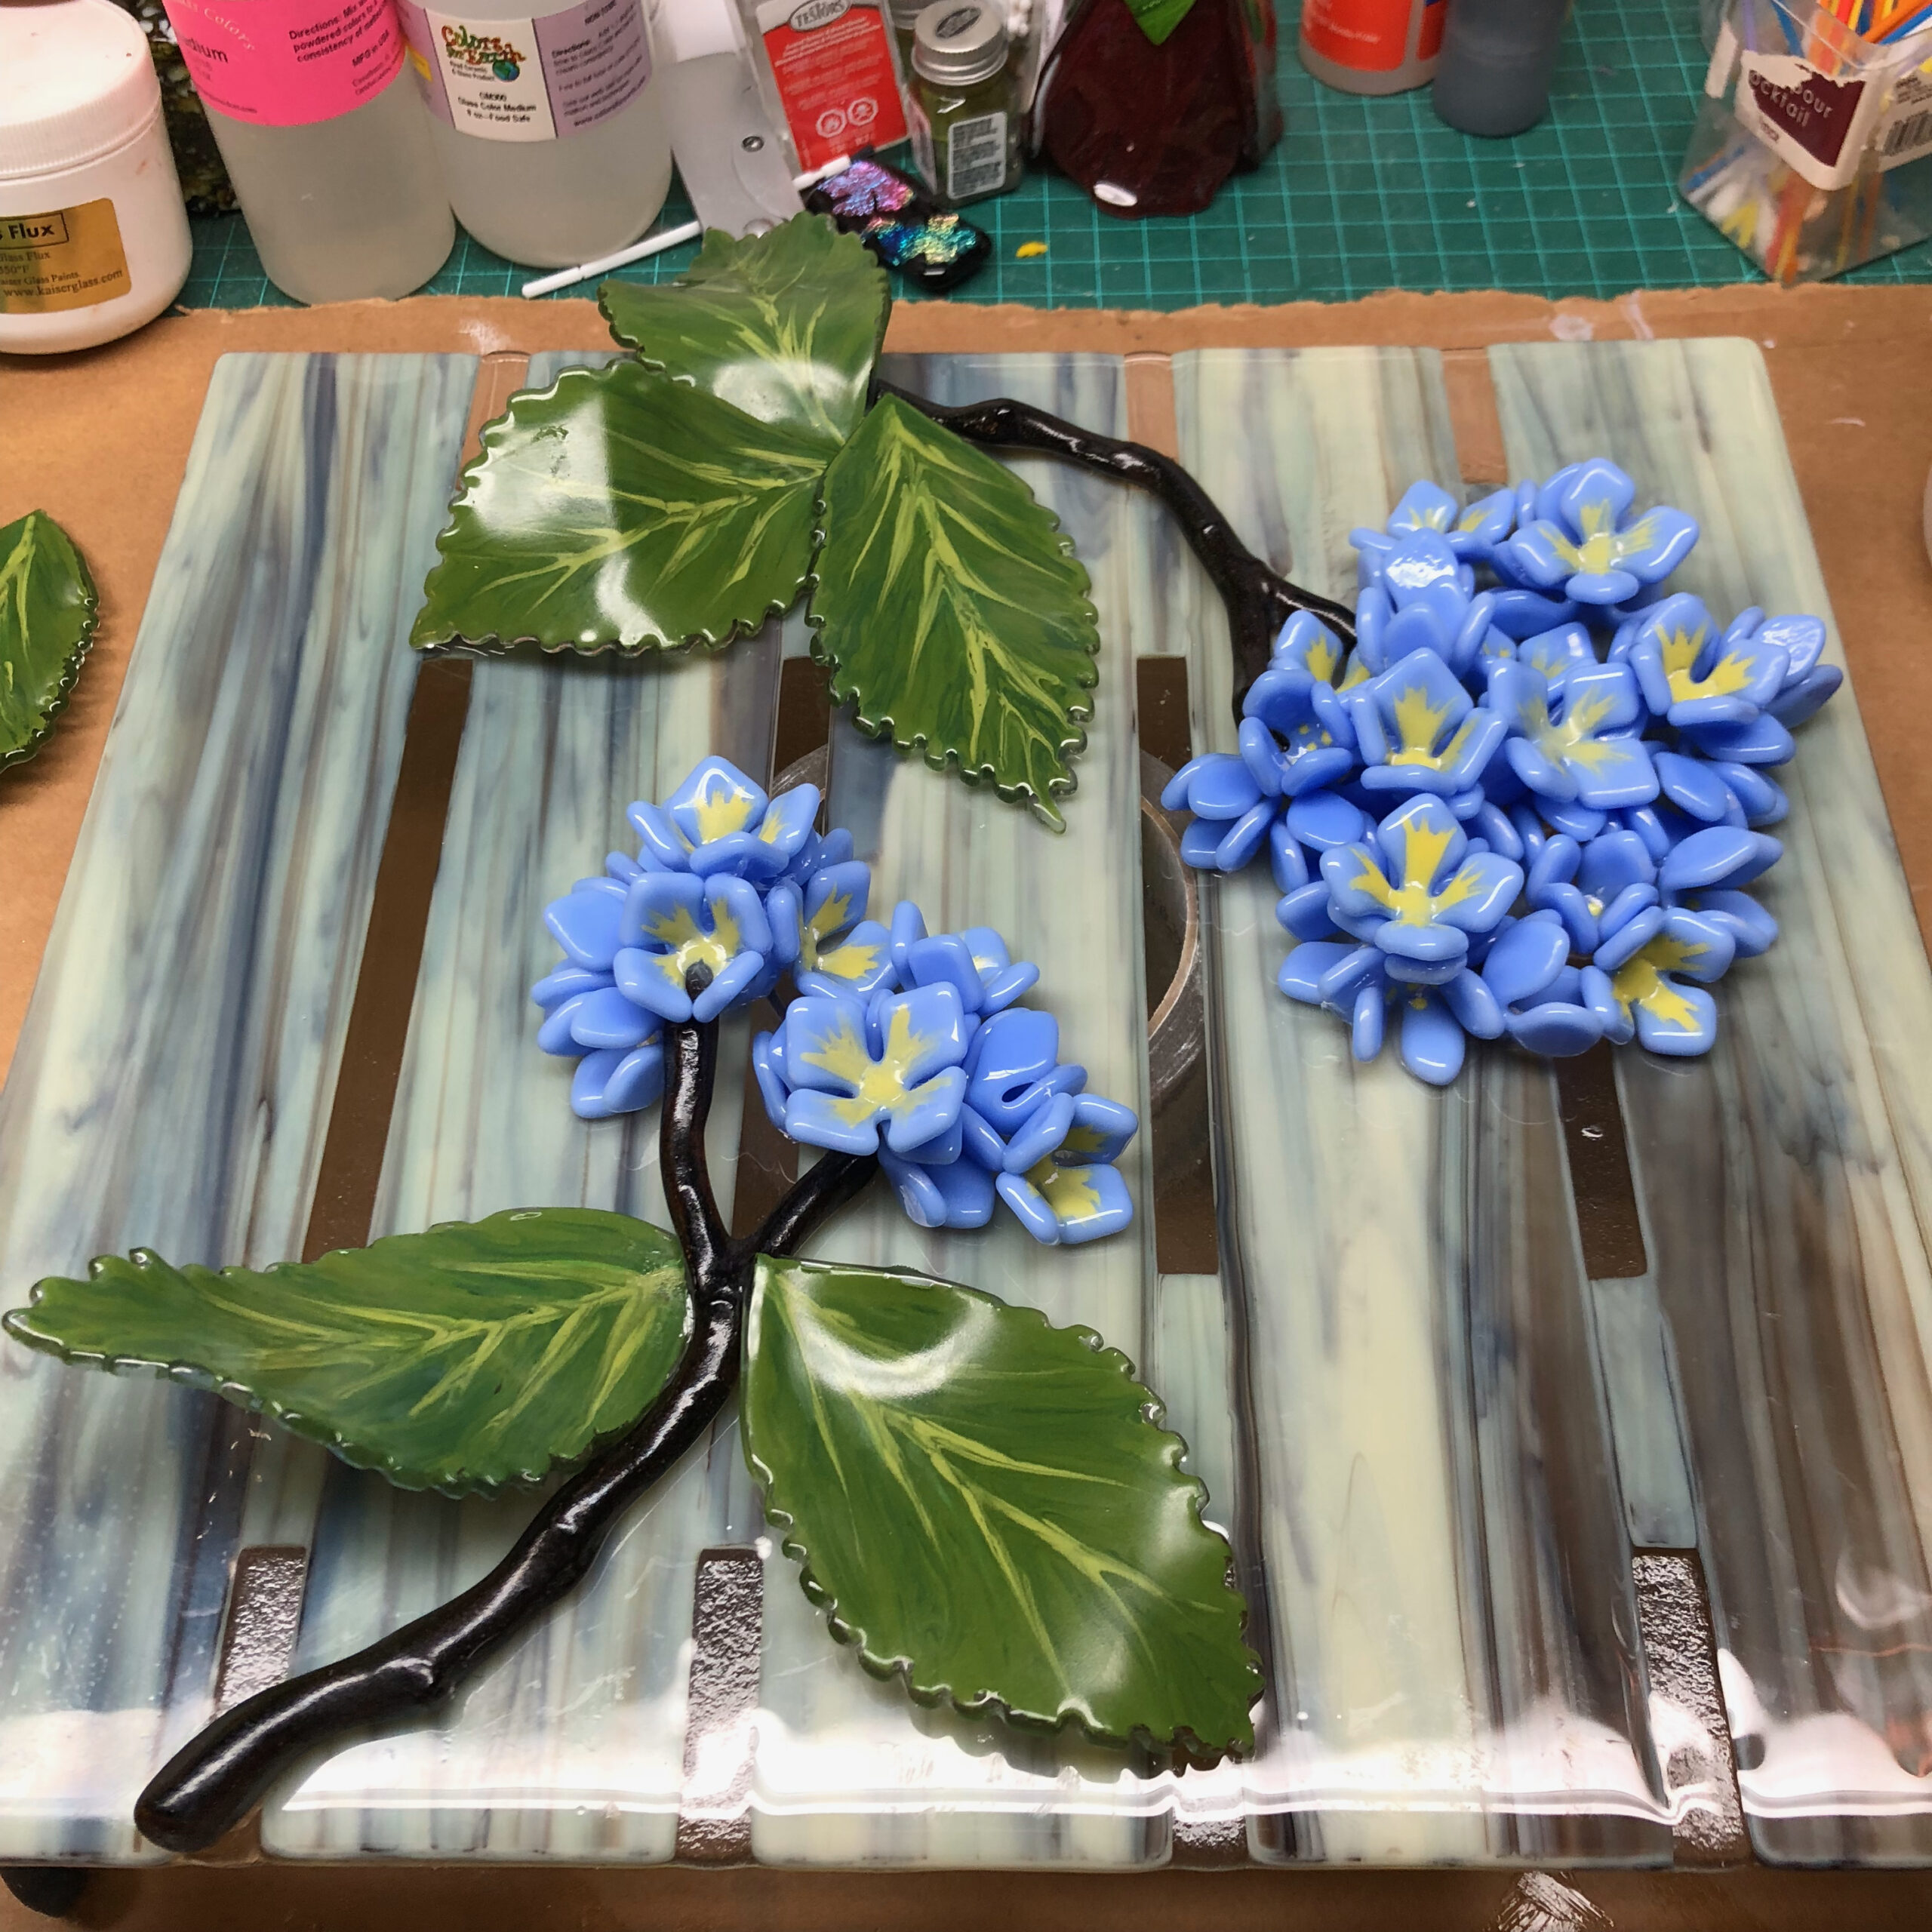
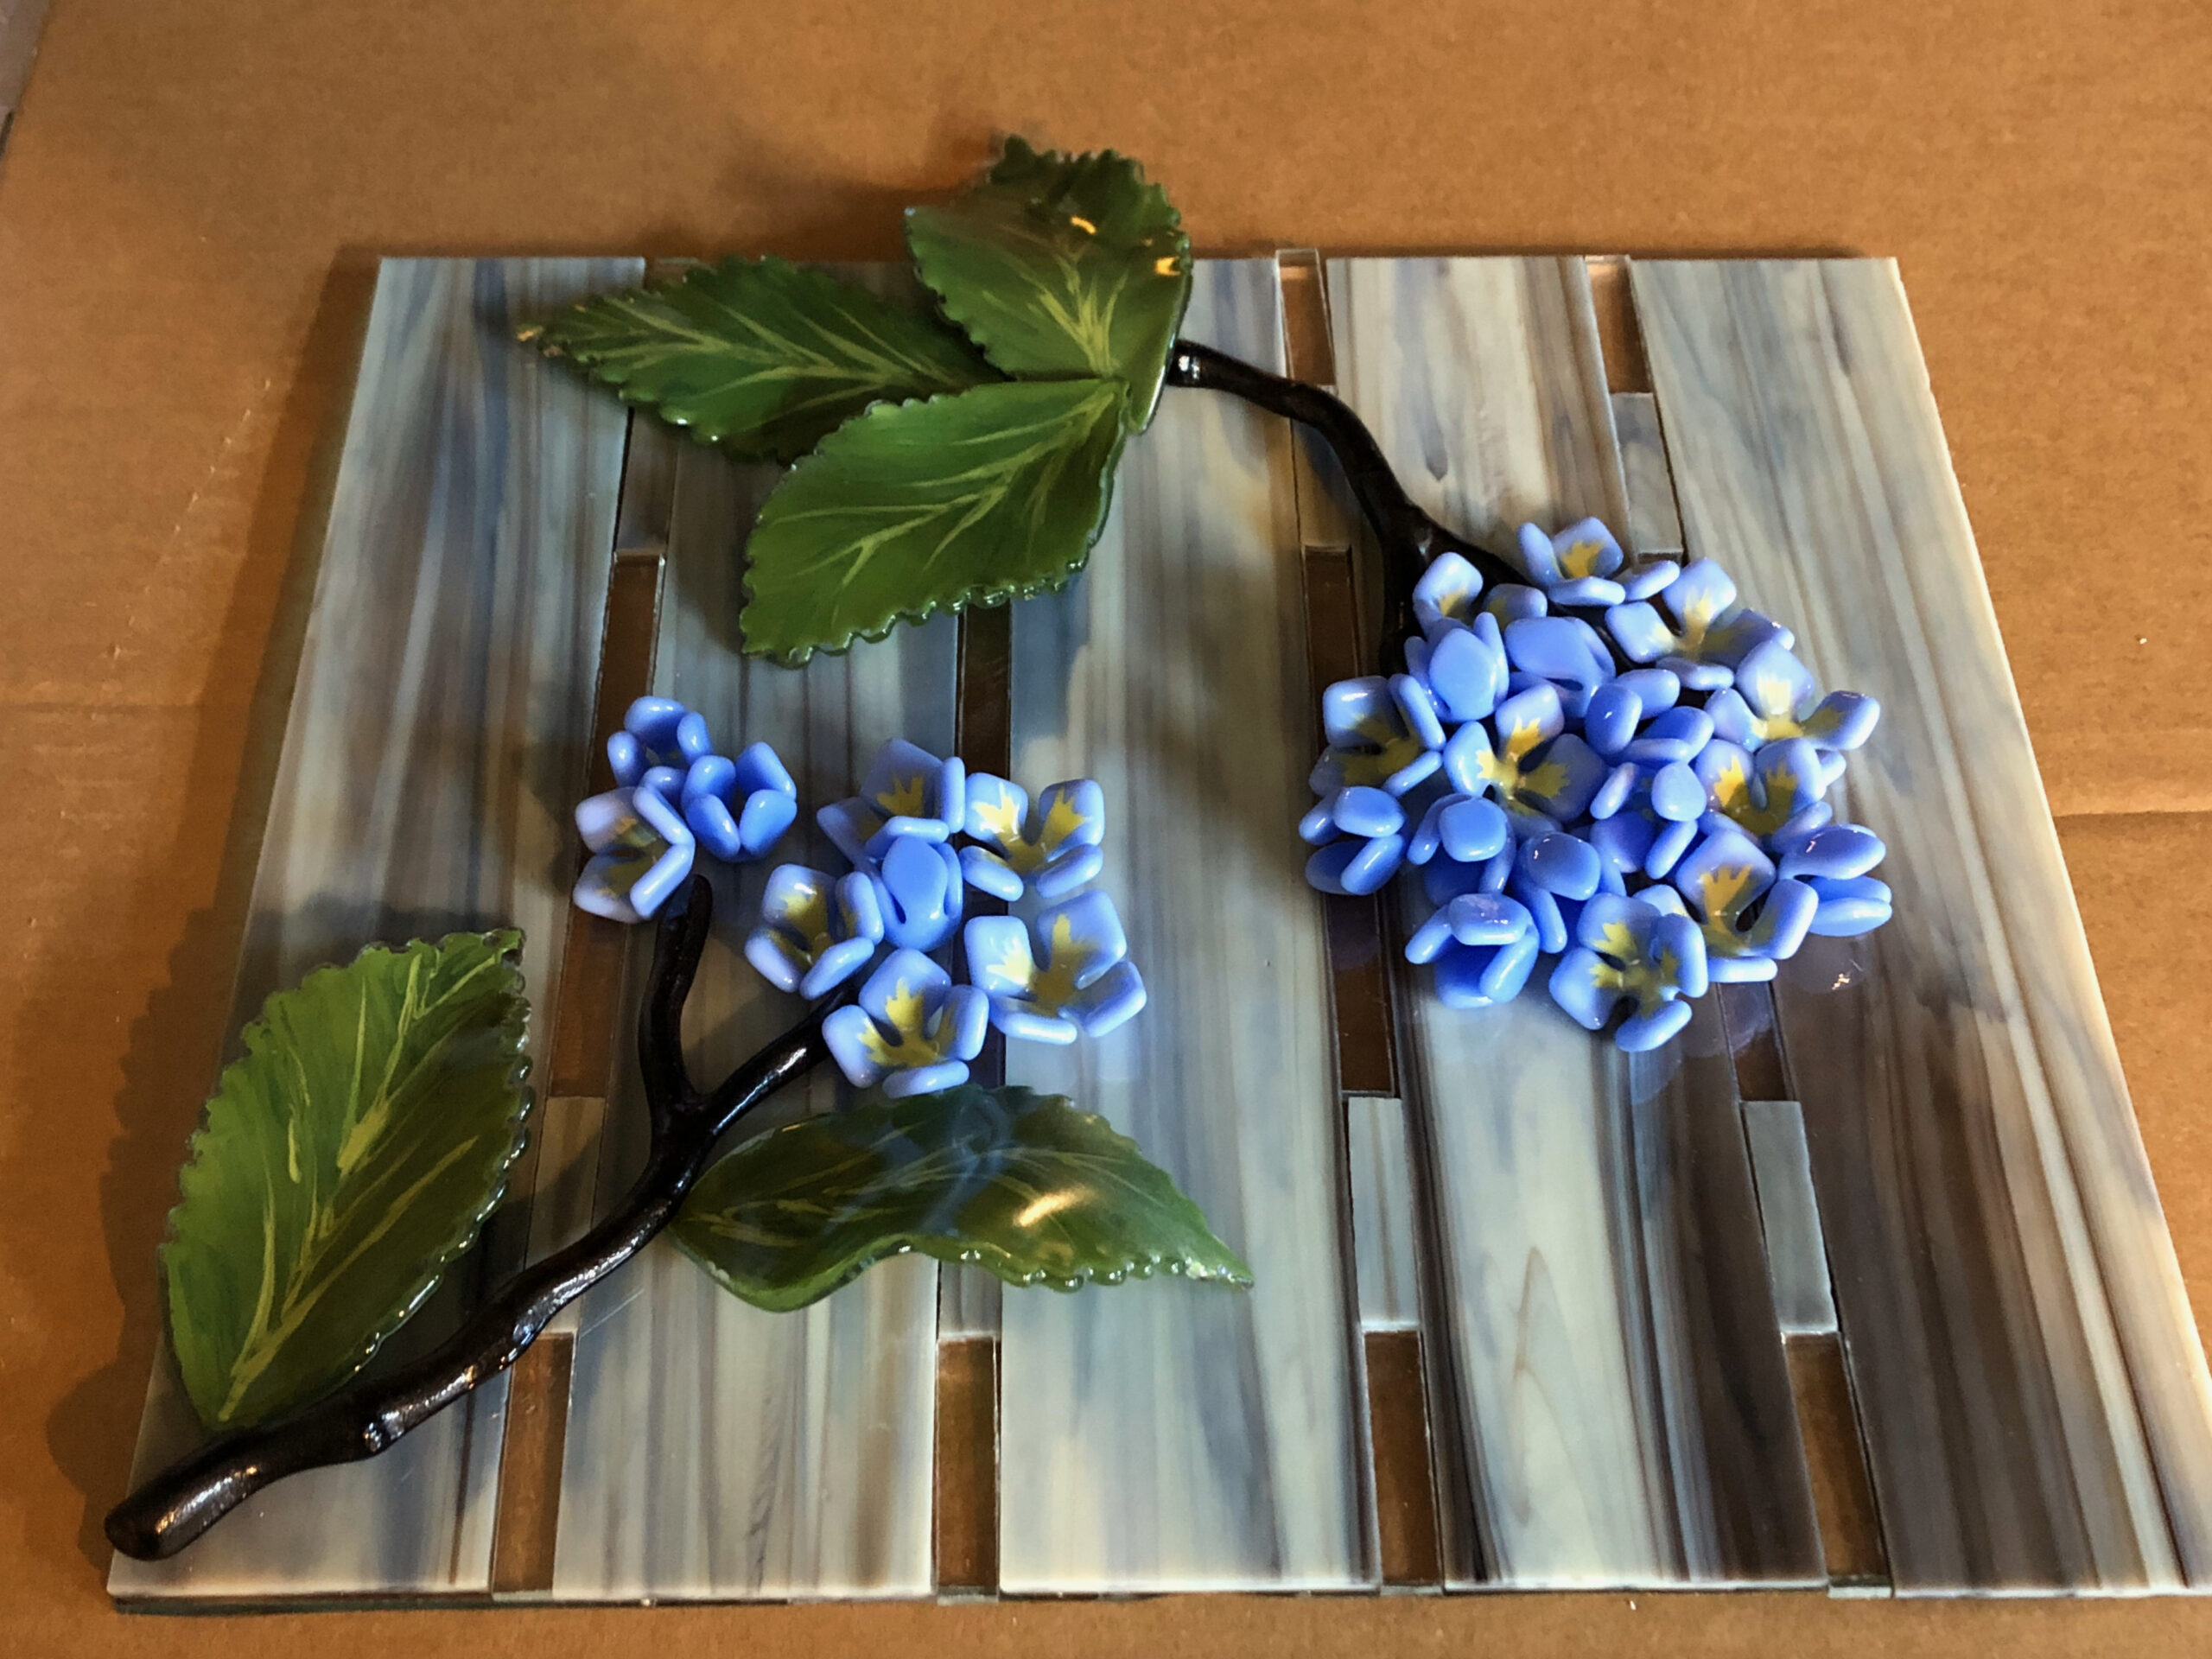
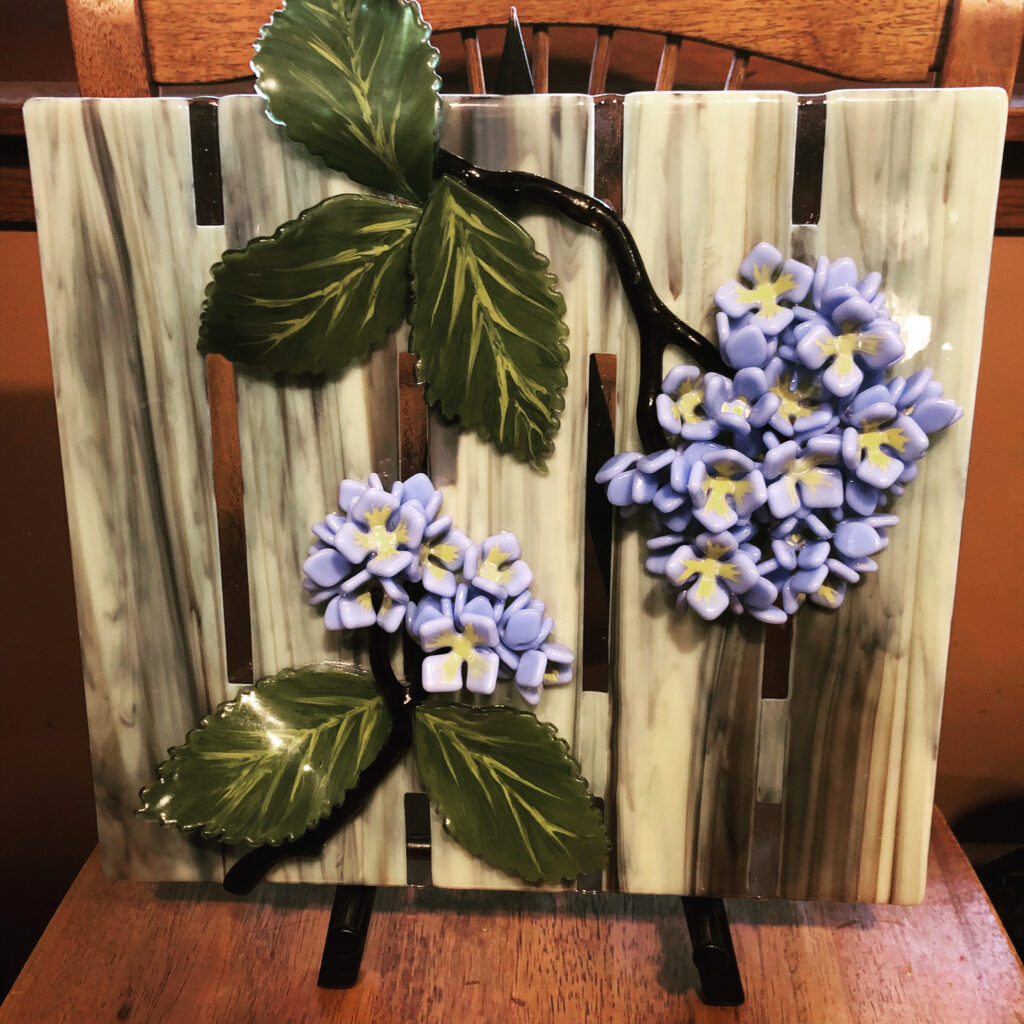
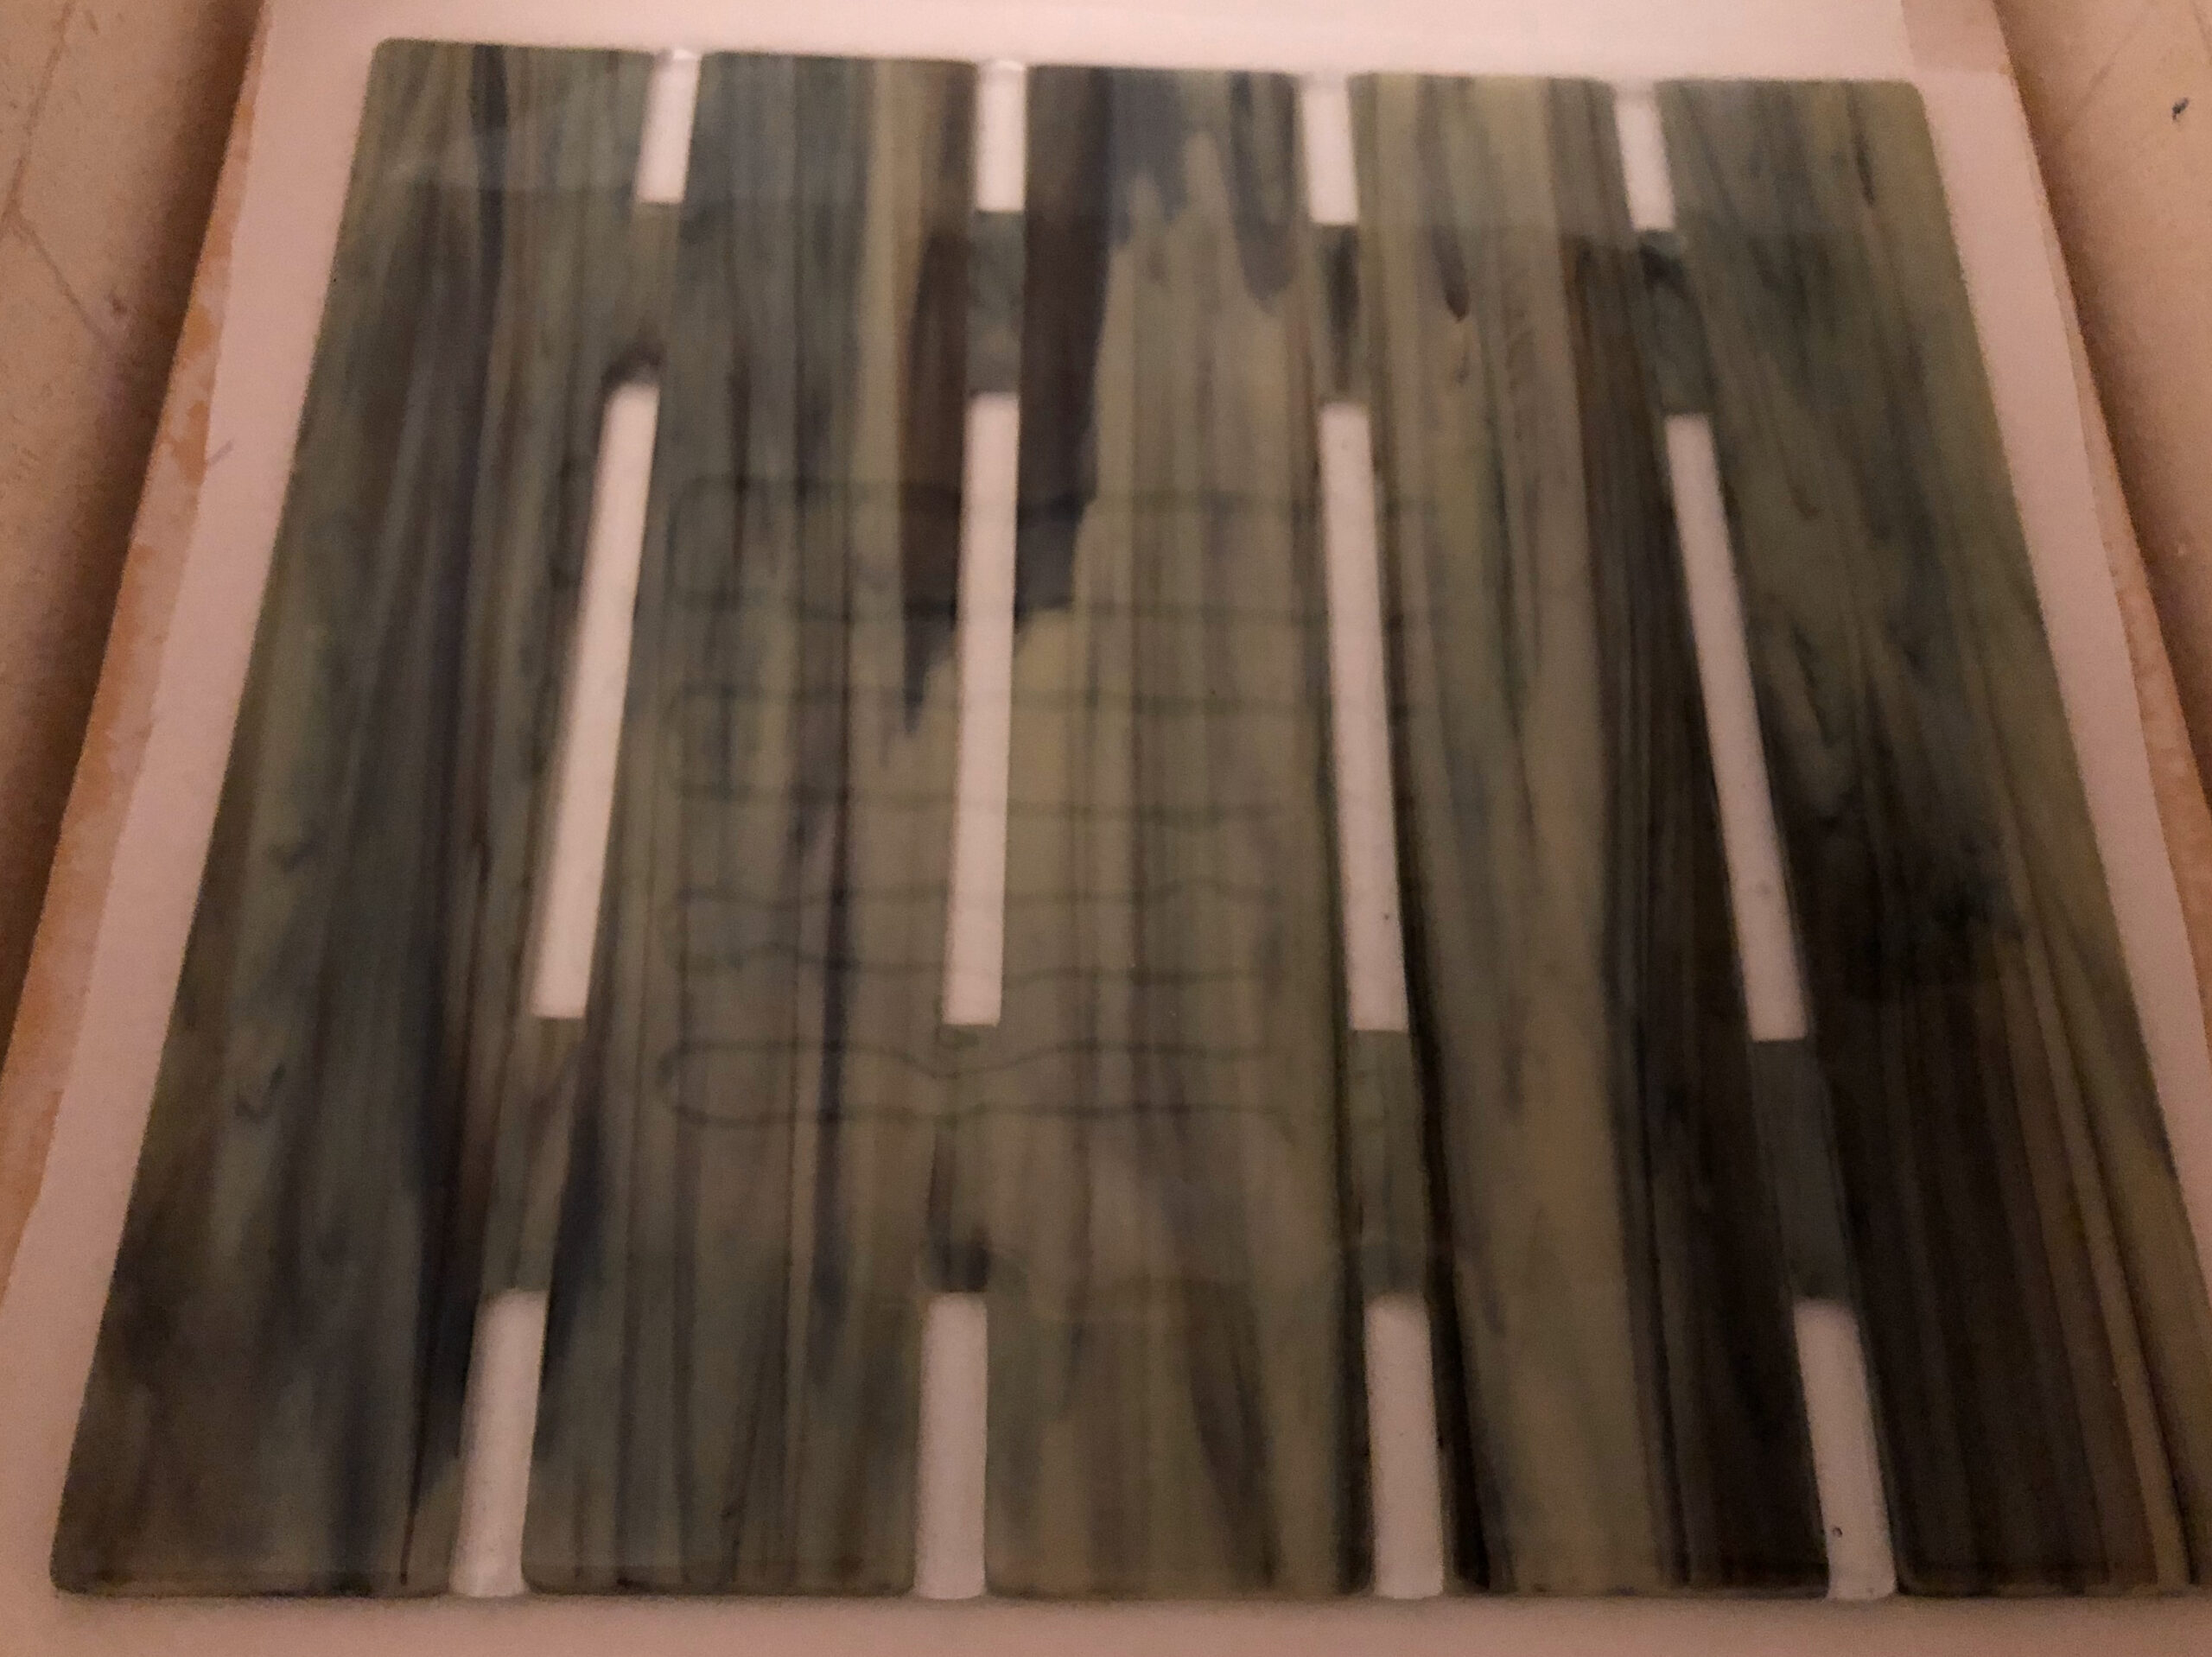
In preparation for the design I had in mind, I created a fence base using some streaky glass I had that reminded me of a wooden fence, either fading or whitewashed. I cut strips of the fence color as well as pieces of clear to line up as the base layer. It turned out just as I had envisioned and I knew I was soon going to be assembling flowers. But I had to think about leaves first.
Creating the fence base & leaves
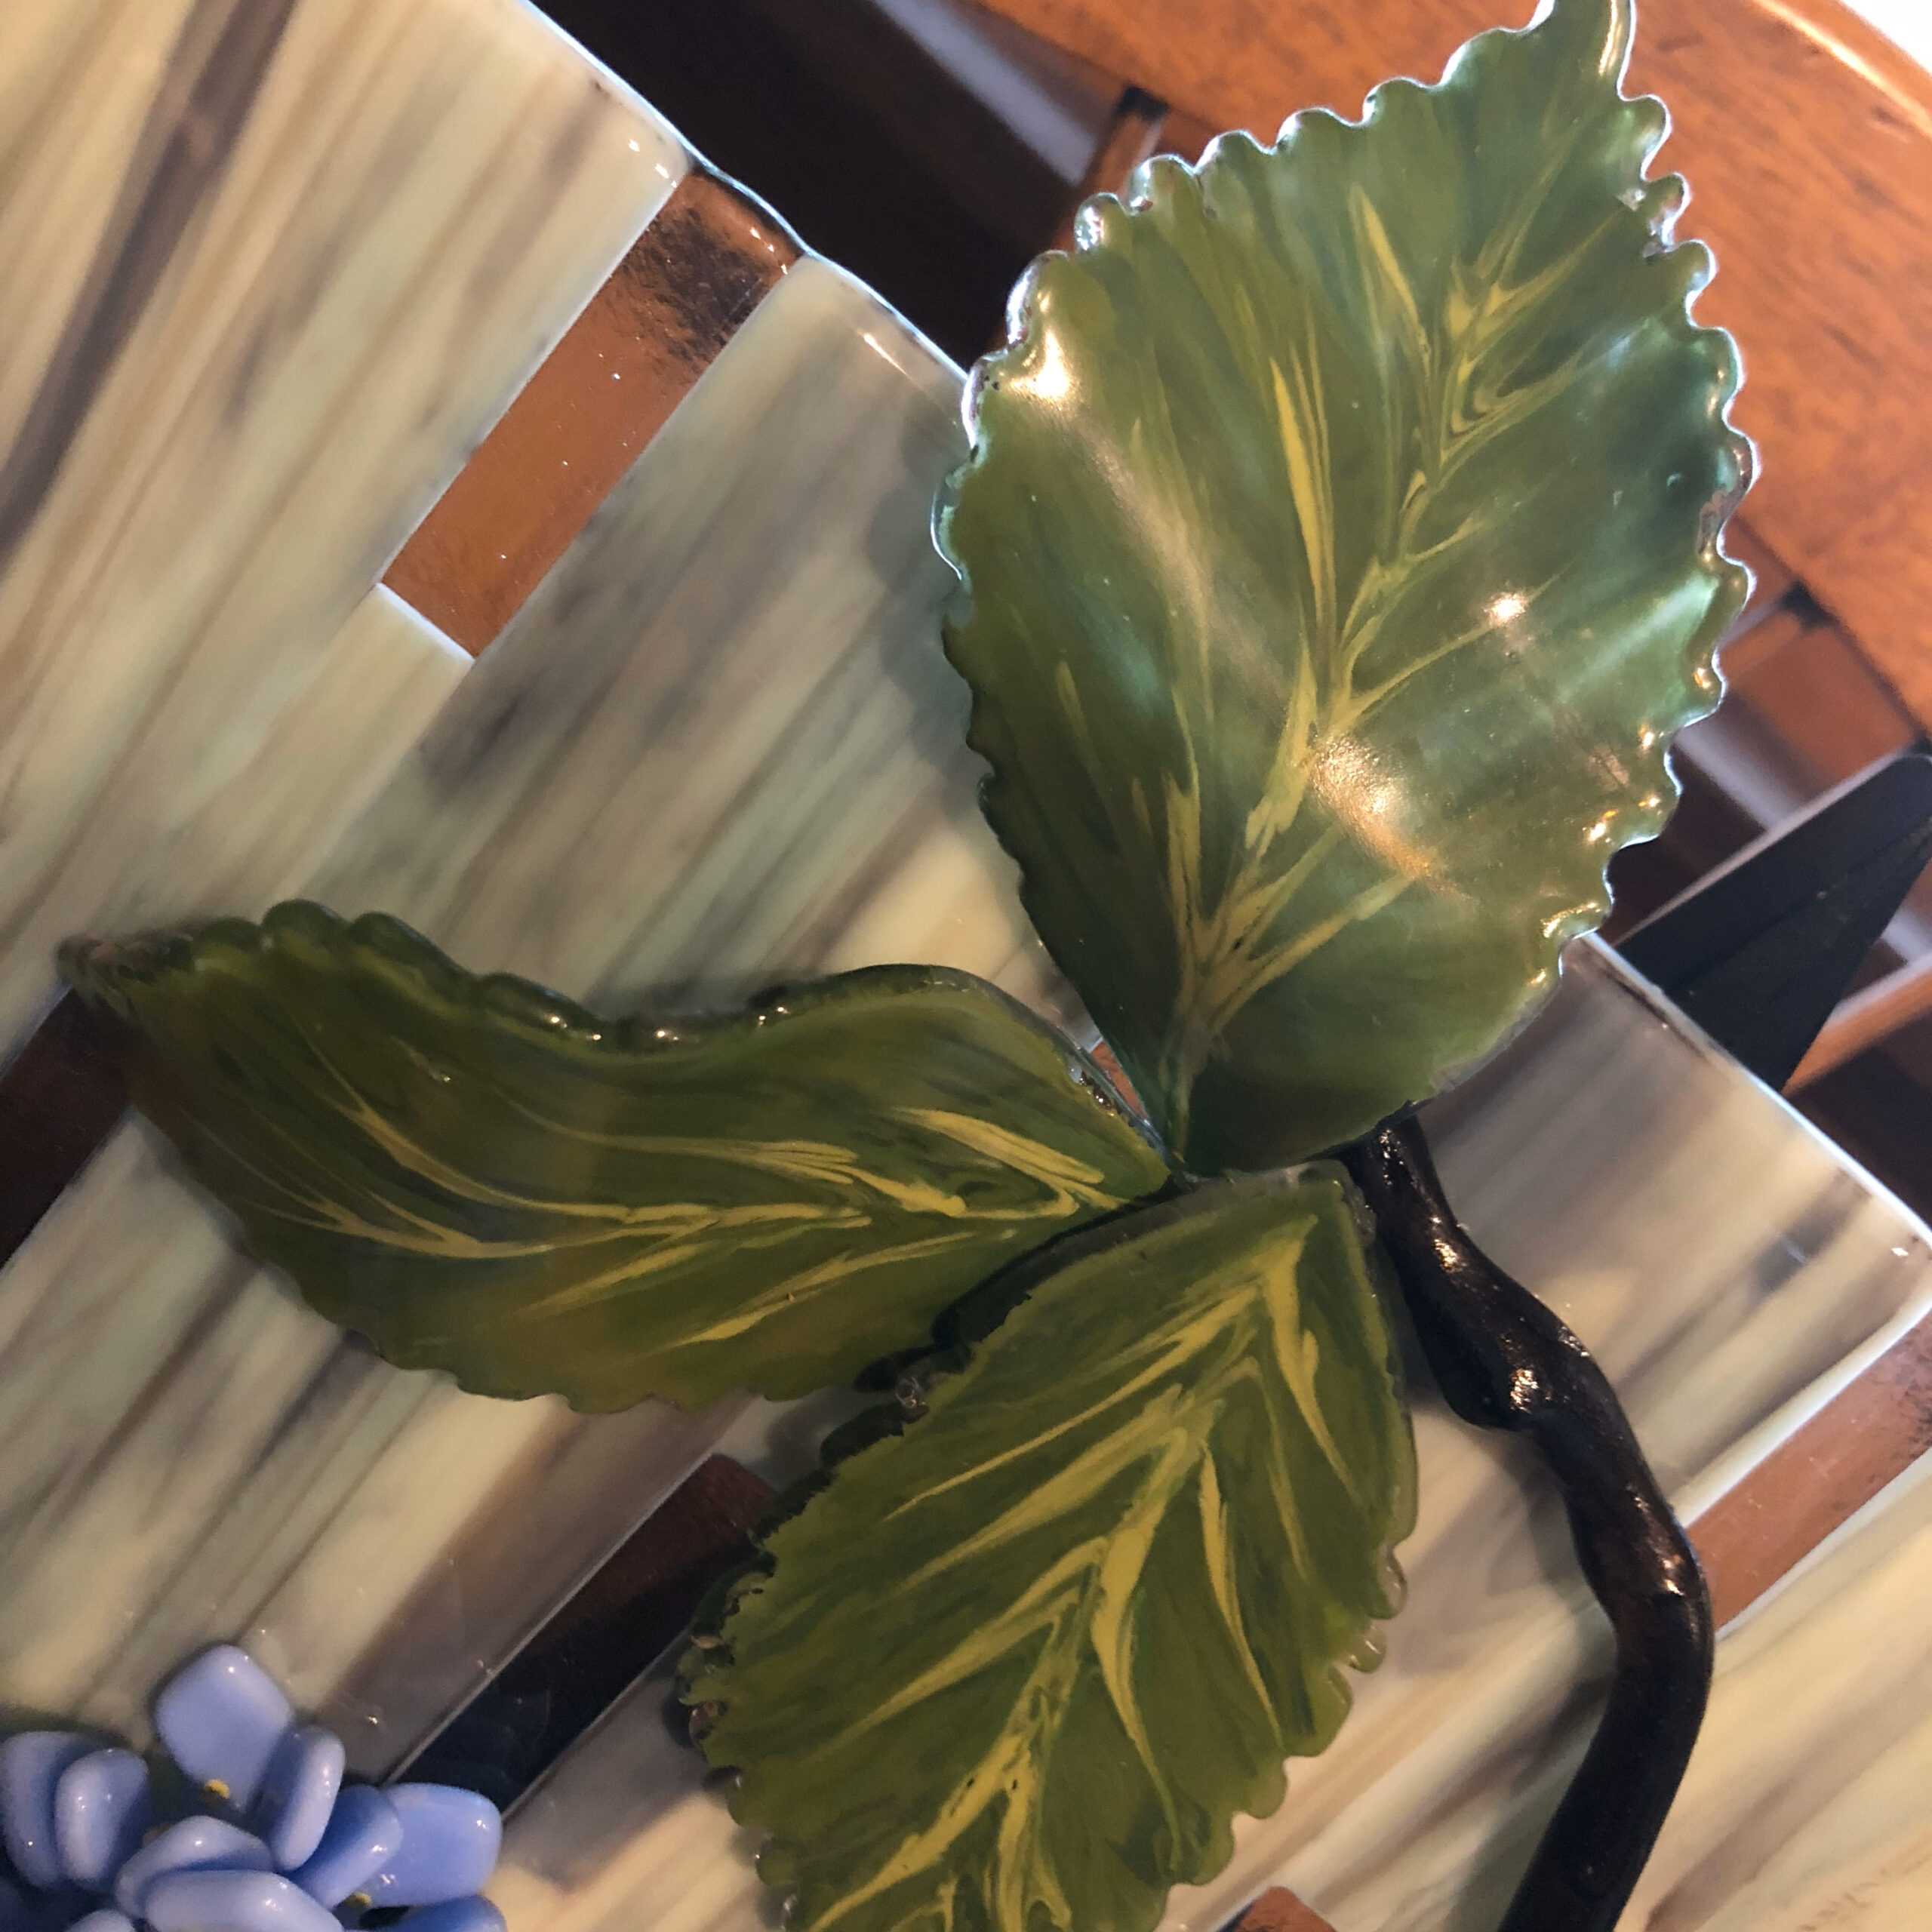
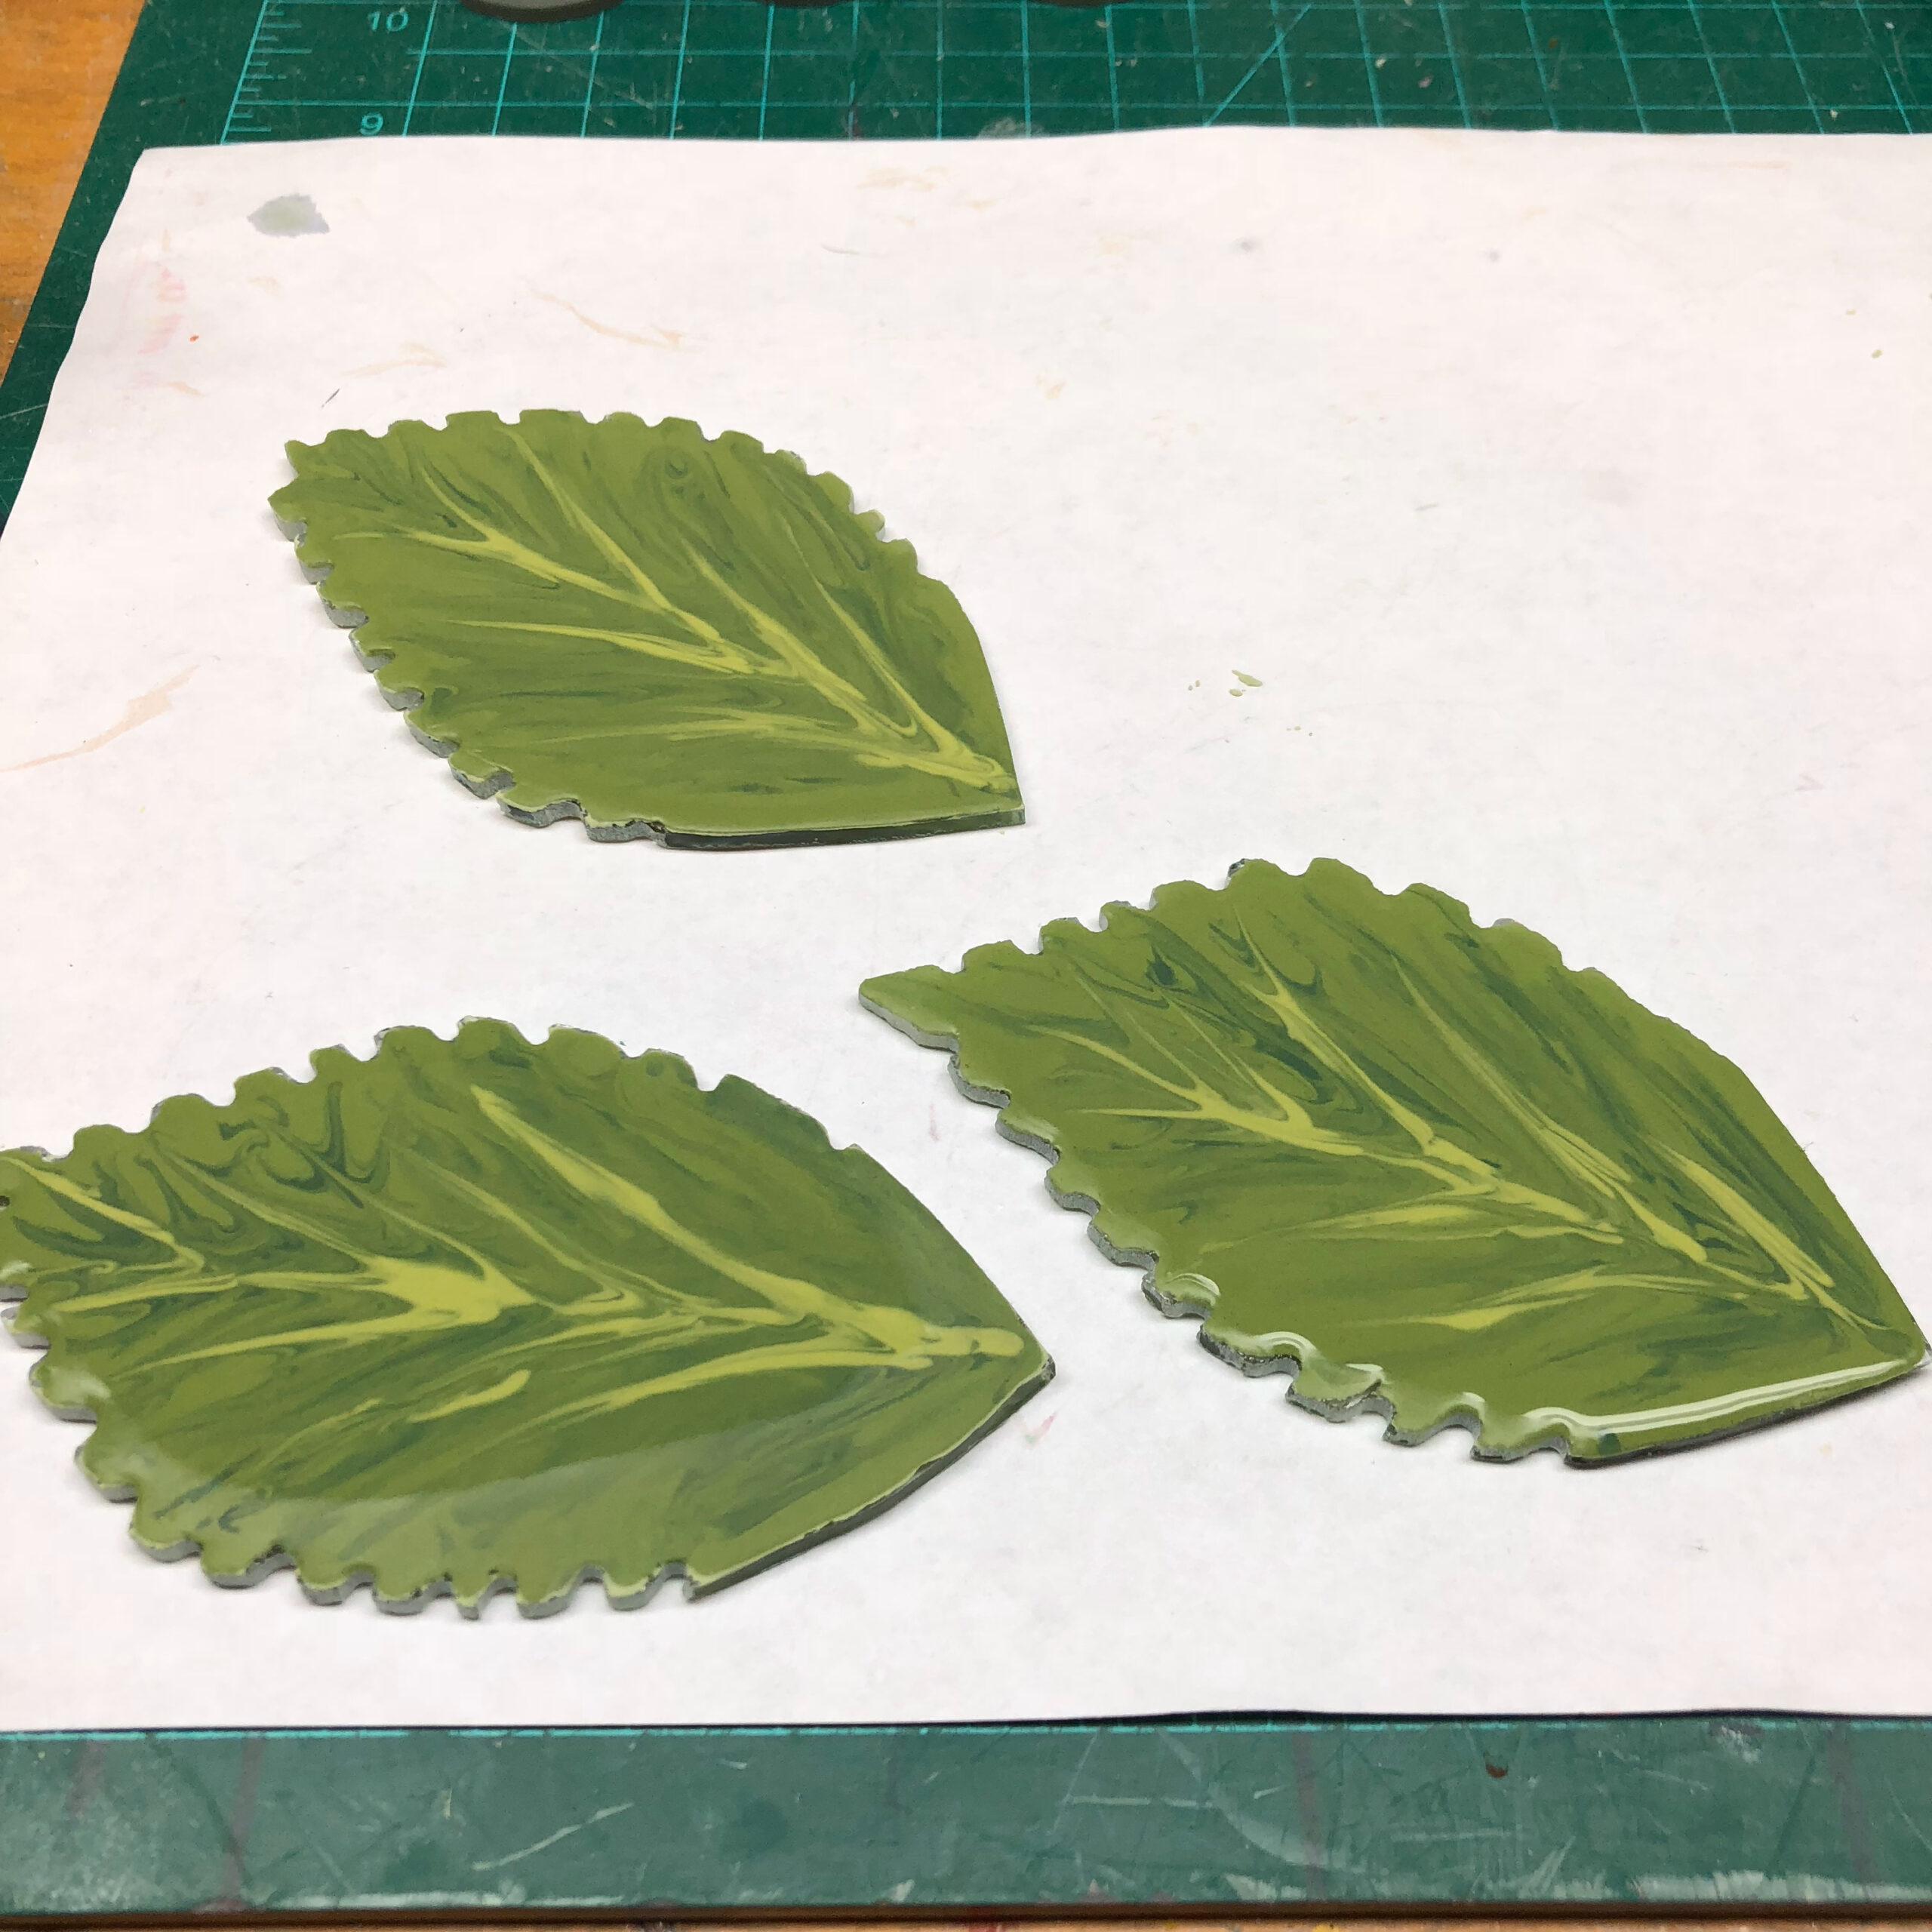
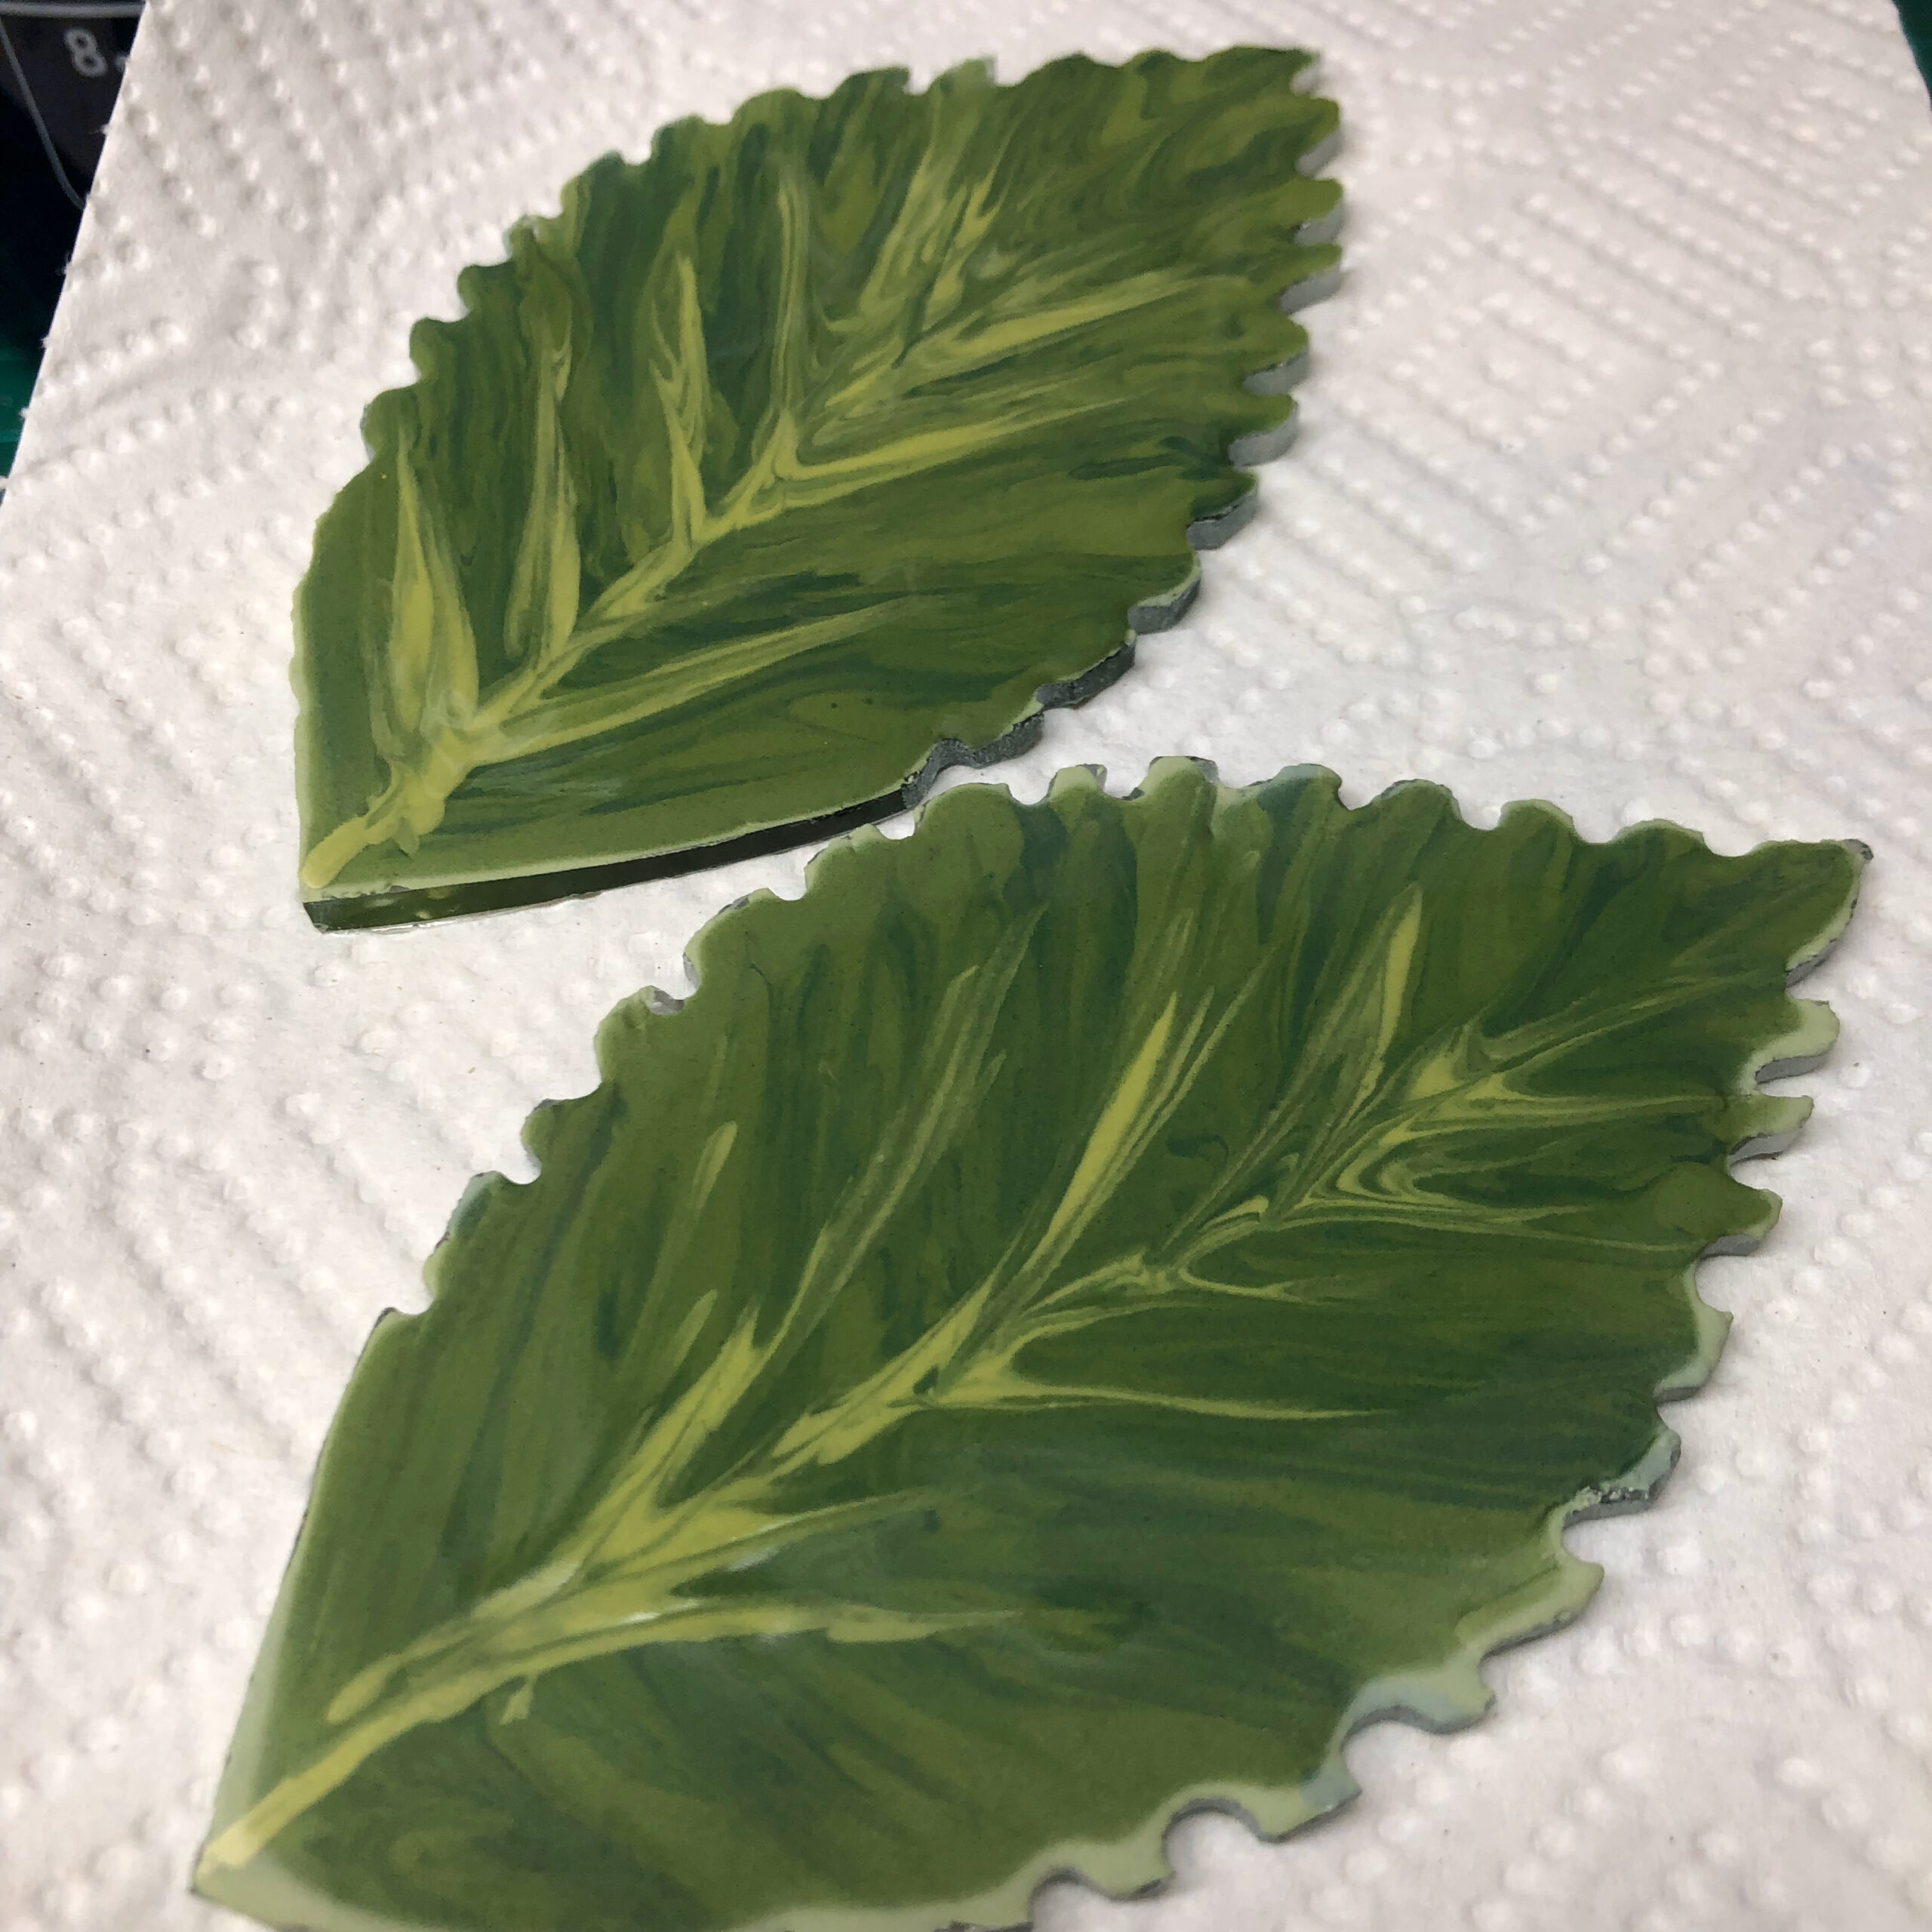
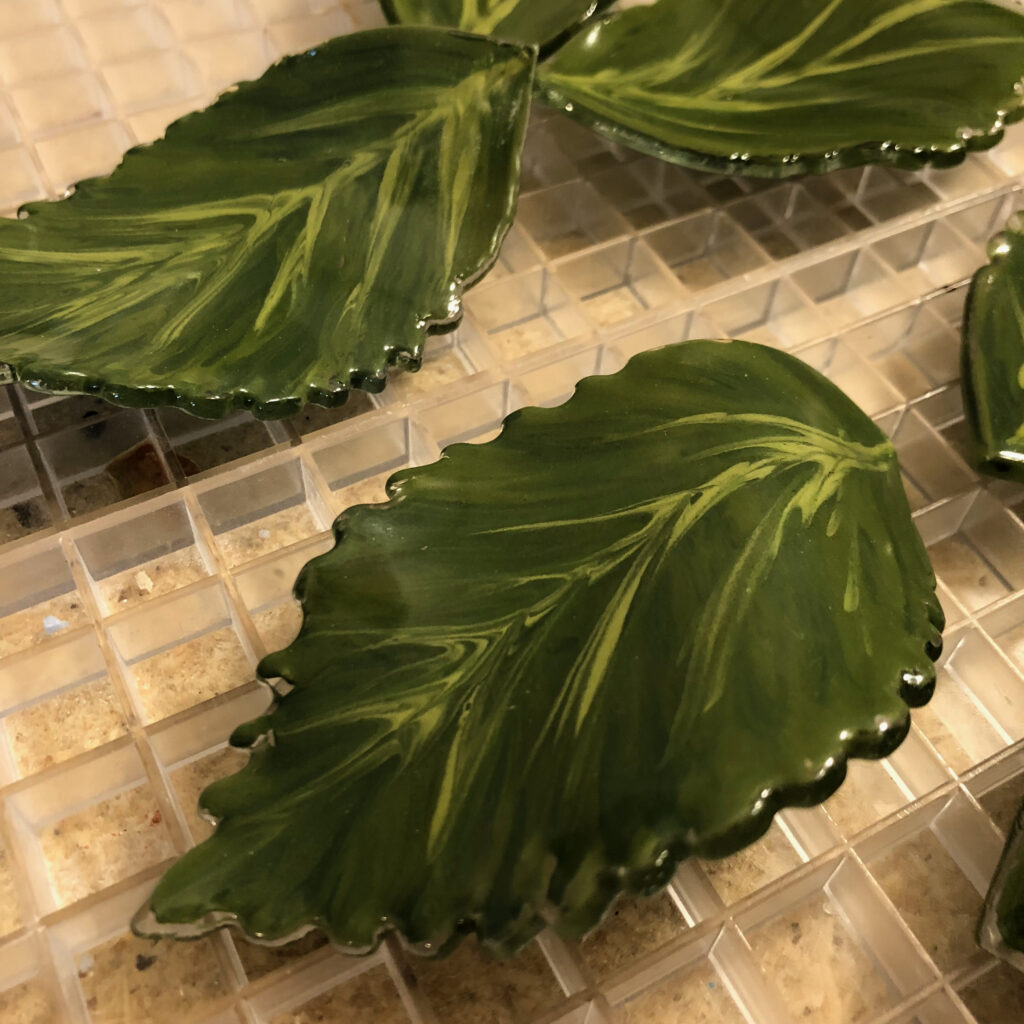
I looked at a few photos of Hydrangea leaves and ended up cutting some clear sheet glass on the ring saw and painted them with enamels. I fired to set and soften, similar to the petals. To give the leaves some shape, I bent some piece of Adjustamold and did a second firing, using a slumping schedule. Adjustamold is an awesome mesh product from Bonny Doon Fused Glass Tools, available here.
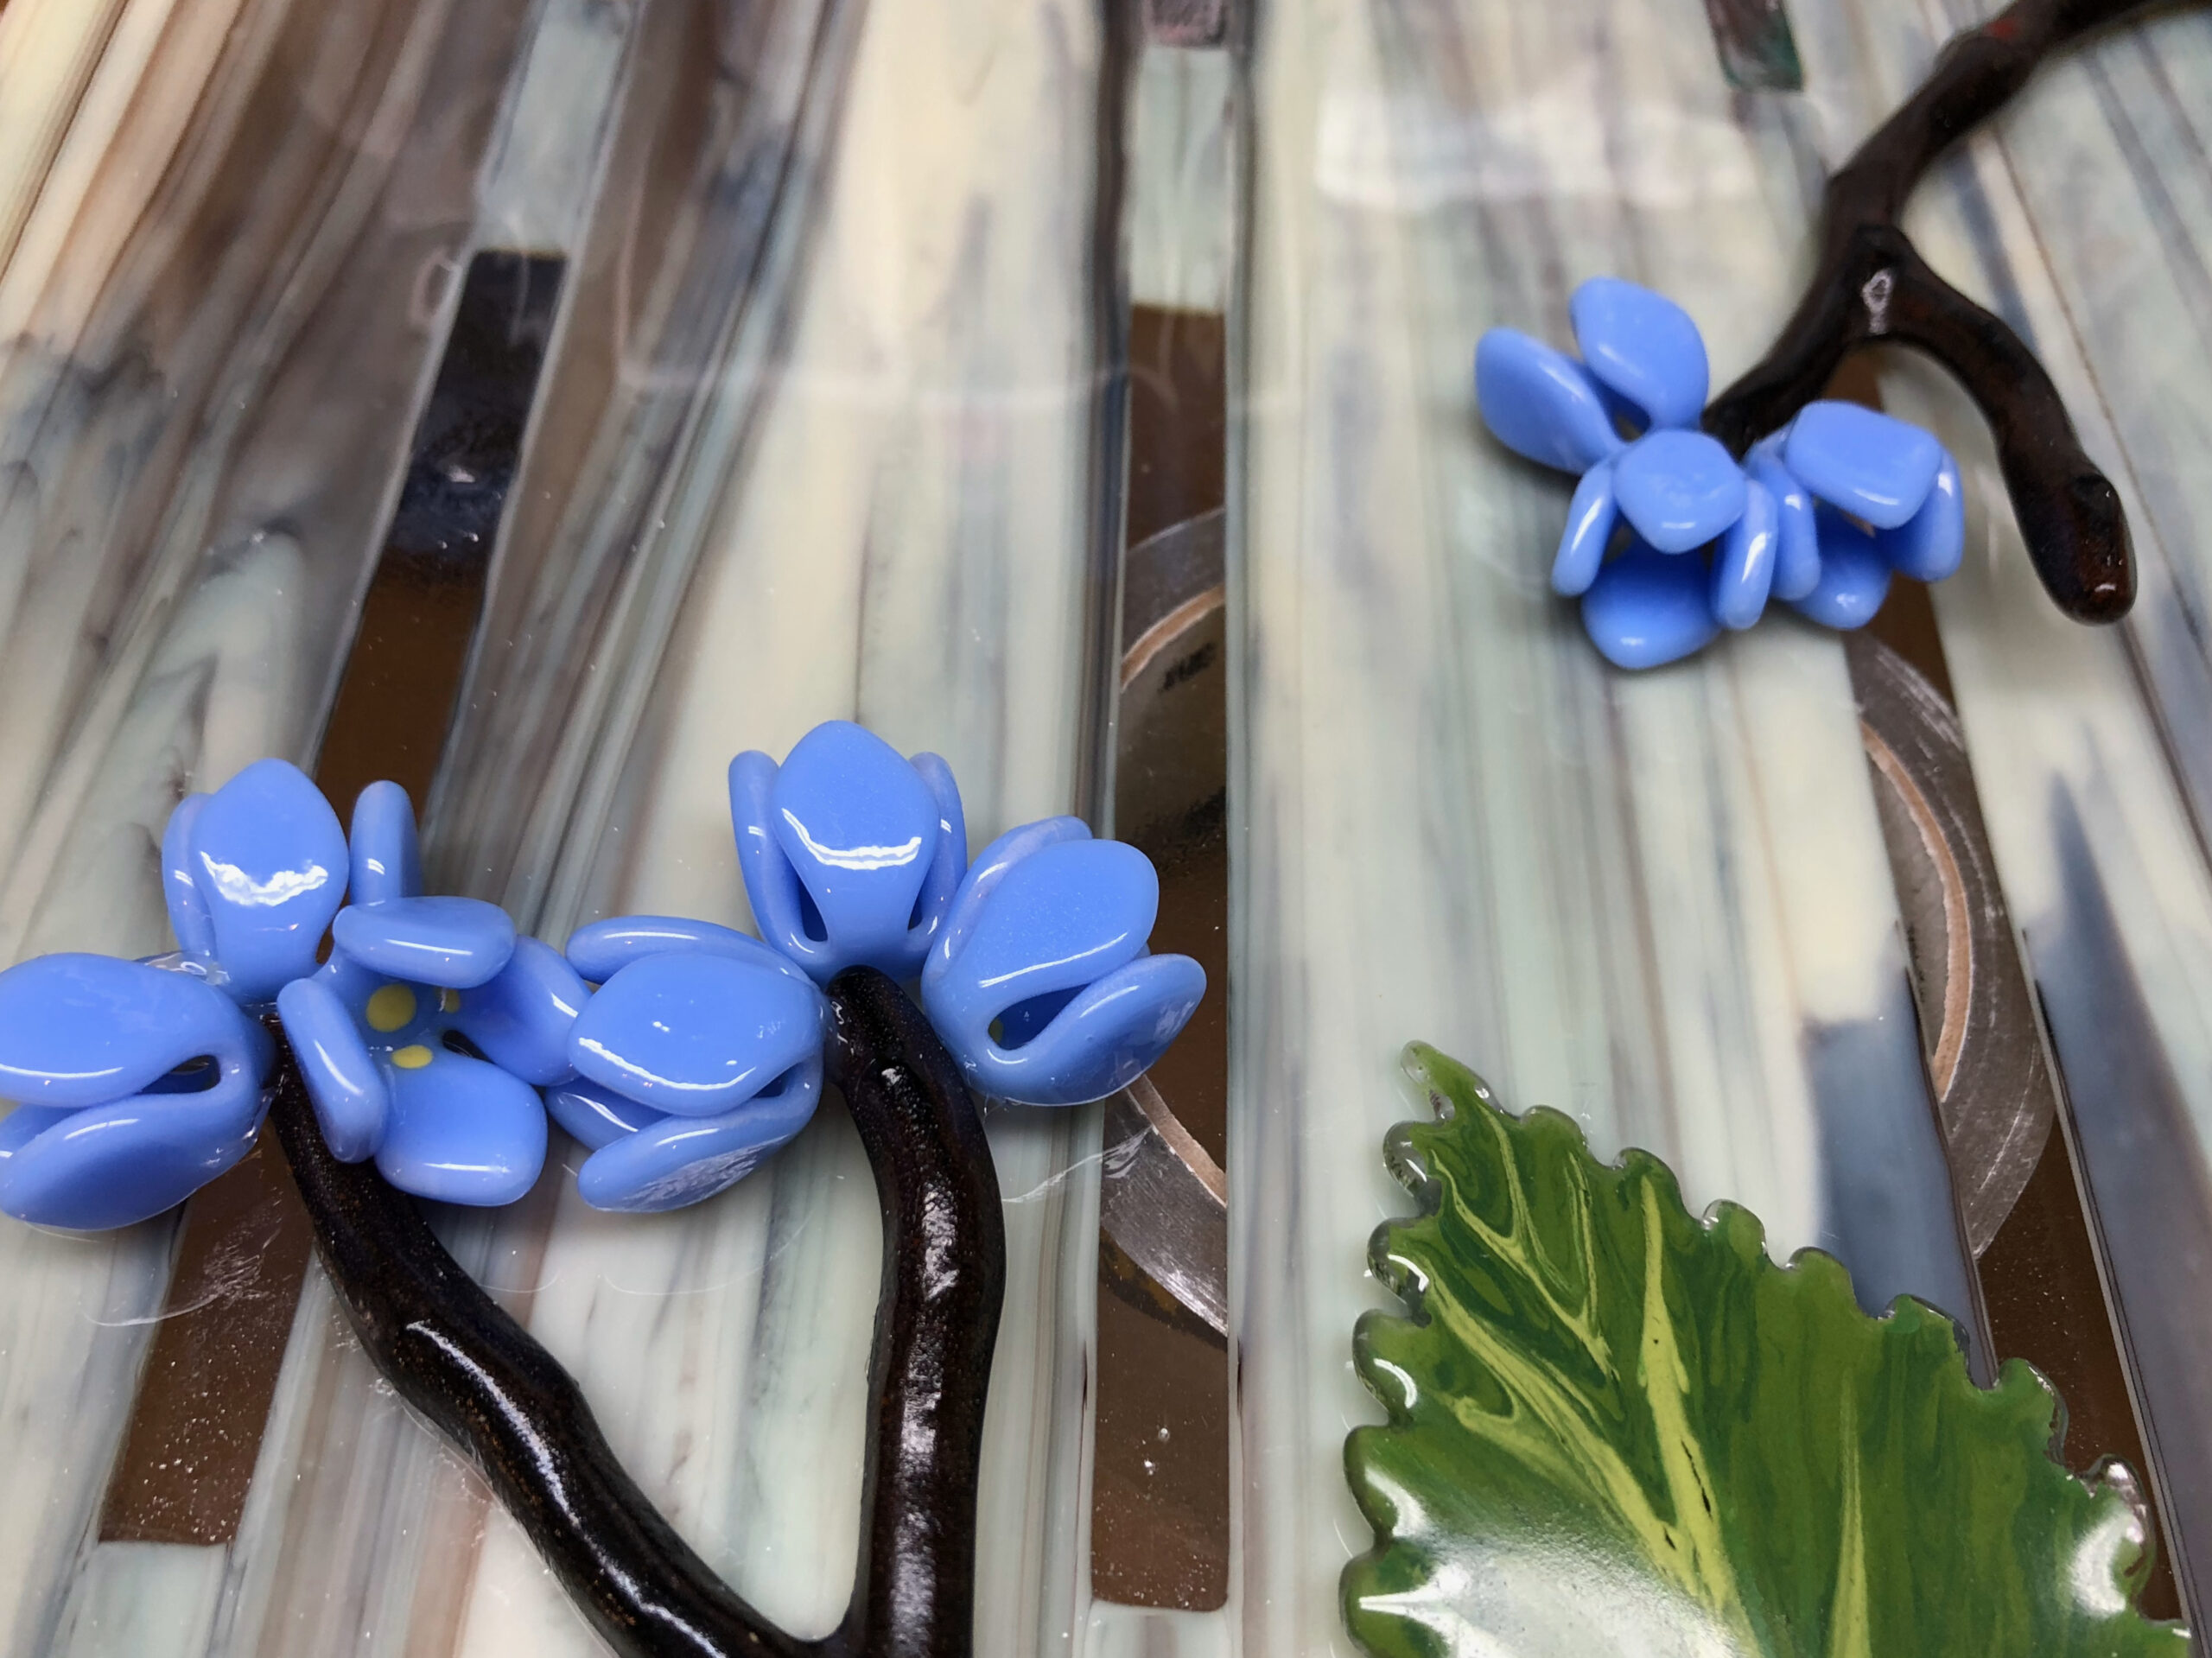
Bringing it all together
I went through my stash of components and found some branches that had been cast in the Colour deVerre Branches mold, available here. I started laying out pieces and moved everything around until I had things roughly where I wanted them permanently and then attached to the base glass, using clear silicone.